Plugins for Audio Post-Production: What the Pros Are Using
Article Content
A work of great cinema shouldn’t be entirely reliant on cutting-edge technology. I’d far prefer a compelling story that provides an intimate look into the lives of characters, than a movie that is propelled strictly by slick production values. Regardless, if you’re hoping to work in audio for film, television, and other media, it’s important to know the tools that are commonly used by professionals.
I will mention before providing this roundup of important plugins when working in audio post-production, that properly capturing the source (whether it be dialog or sound effects) by choosing the correct microphone(s), and proper placement and recording technique, is more important than knowing what the latest noise-reduction plugin is.
Similarly, thoughtfully choosing and layering sound effects, as well as mixing all the components that make up a production’s soundtrack as to enhance the cinematic experience is more essential than making sure that you have every single piece of industry-standard software ready to go within your DAW.
I was fortunate to have several of my friends and colleagues offer insight into what they’ve been using recently in their work. Dan Kenyon, Sound Effects Editor at Warner Brothers, Brendan Byrnes, composer and sound designer for podcast production company Stitcher, and Logan Byers, sound effects editor at Levels Audio helped me create this list of plugins that professionals use each and every day on the films, television programs, advertisements and podcasts that we consume.
iZotope RX
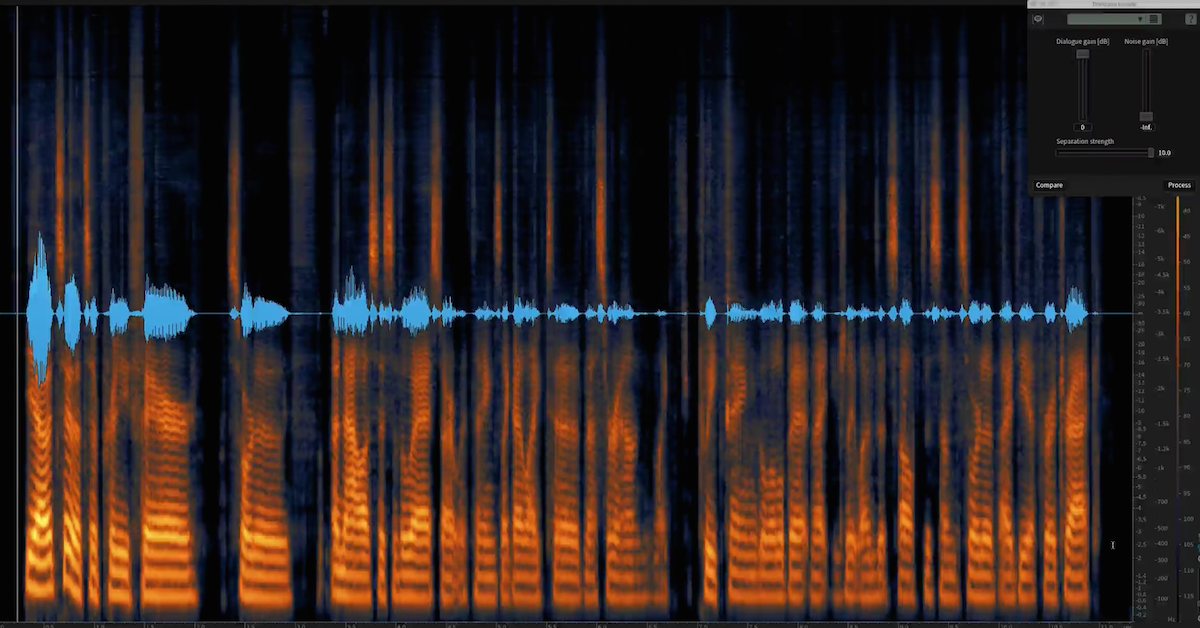
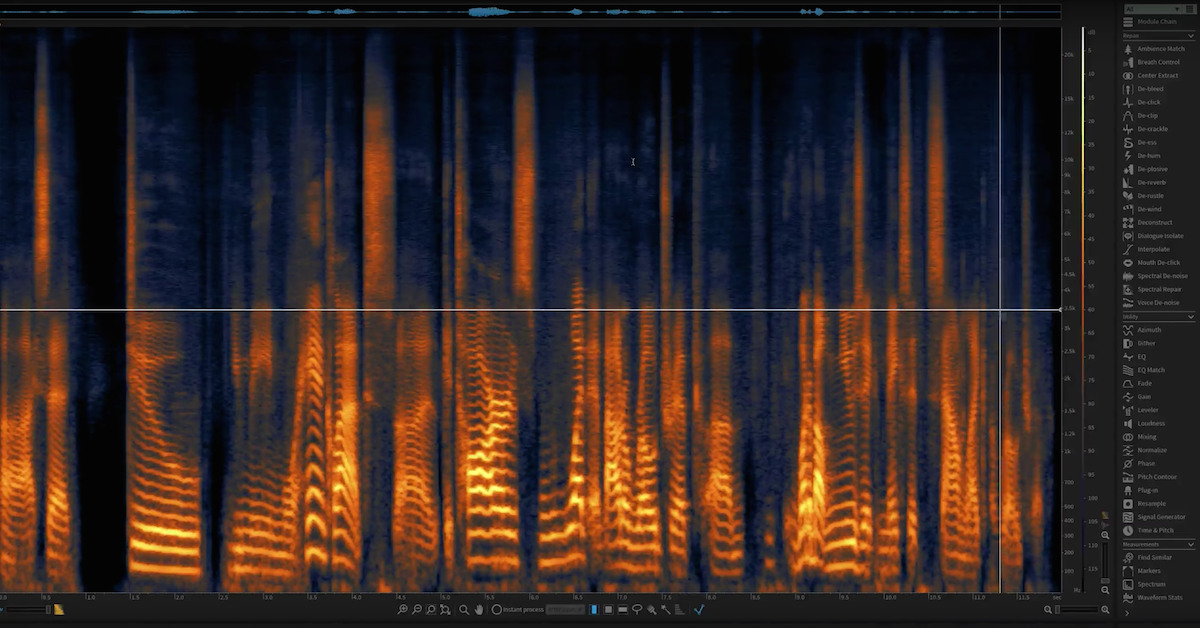
I’d argue that if anyone is interested in a career in audio post, this collection of tools designed for audio repair is a must-learn, if not must-own. iZotope has thought of virtually every problem audio engineers for film, television and broadcast may come across, and masterfully designed tools to quickly and effectively solve those problems.
The first three entries on this plugin roundup are from iZotope, starting with the groundbreaking RX plugin suite. From broadband noise reduction to spectral repair to removing the sound of wind in recordings to matching ambiance between recordings to removing excessive reverb in dialog, and pretty much everything in between, RX 7 can repair most any sonic deficiencies, and it has revolutionized audio-post workflow.
Whether you’re editing dialog, cleaning up sound effects, or working later on in the post-production chain, RX 7 is an impressively versatile set of tools.
iZotope Dialogue Match
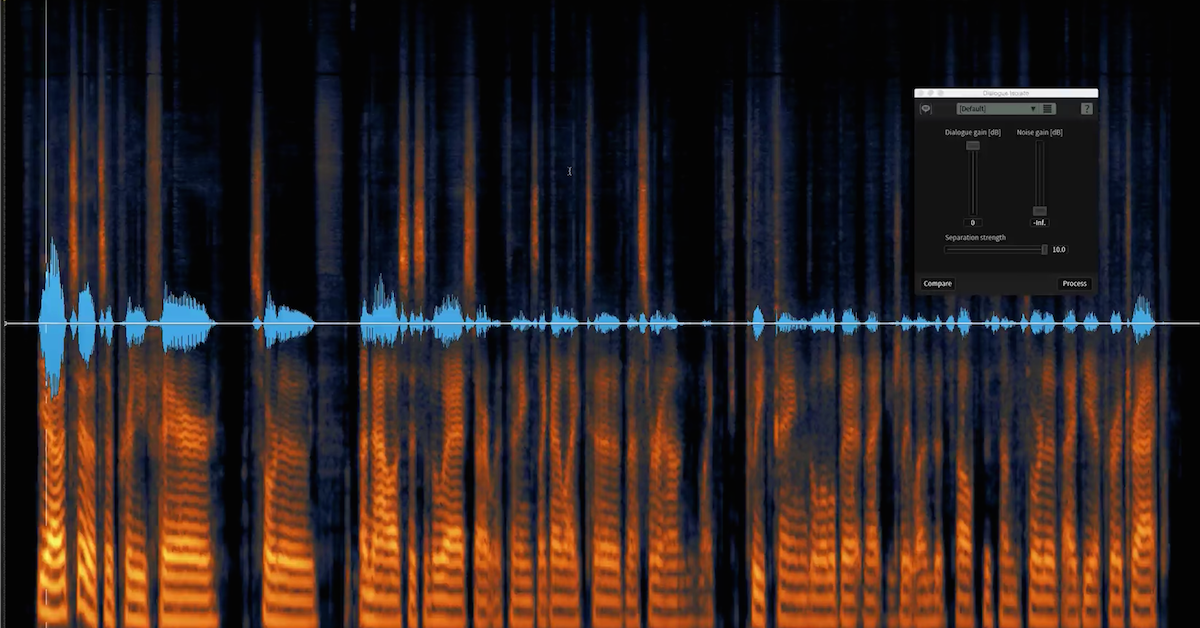
The premise of Dialogue Match is that it allows users the ability to match the tonality, sense of space, and ambiance of multiple dialogue recordings, quickly and effectively.
For example, matching lavalier and boom microphone recordings can be both time consuming and tedious, depending on their sonic differences, but Dialogue Match, which features three independent EQ, Reverb and Ambiance modules, is easy to use and sounds great.
It promises to be a game-changer for post-production workflows. It’s available as a standalone plugin, but can also be purchased bundled with the RX Post Production Suite 4.
iZotope Insight 2
I use Insight 2 often for both music and post-production applications. It’s a precise and intelligent set of meters, so while it’s not as creative and therefore “fun” as some other entries here, it’s perhaps more essential. It comes loaded with industry-standard loudness profiles, so if you’re working in broadcast, it can tell you if your program material is compliant with loudness standards.
Other useful features include an intelligibility meter that can help users be sure their dialogue is present enough, a beautiful spectrogram to give users an accurate picture of potential frequency-related problems and multichannel support up to 7.1.2 Dolby Atmos.
Soundtoys 5 Plugin Bundle
You never really know what kind of crazy things you’ll be asked to create as a sound designer. Some of the bizarre sounds I’ve been tasked with bringing to life in my career include: Shaquille O’Neal jumping over a monster truck while on top of an erupting volcano, a screaming, burly man killing weeds with a laser that shoots out of a large container of Spectracide, and a woman giving birth to a giant, crying Reese’s Pieces baby.
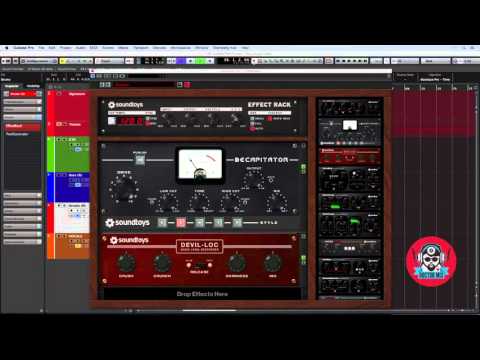
Those sounds were designed using a combination of originally recorded and library effects, which were then manipulated and meticulously balanced. For when you need to transform sound effects in highly creative ways, or even create sounds from scratch, the Soundtoys Bundle is hard to beat.
The Tremolator is fantastic for adding warble to sci-fi elements, the Crystallizer can help you generate ghostly reverse delay effects, and FilterFreak is great for pulsing, rhythmic filters. EchoBoy (which has nearly endless musical applications) is one of my go-to delay plugins for when I need to create a natural-sounding echo in an actual environment.
These are just a few of the ways in which I’ve found the Soundtoys plugins to be great for creative post-production work. They truly live up to their name, and playing with them is incredibly fun and inspiring for both music and post work.
Audioease Altiverb 7
Using convolution reverb technology, we can digitally simulate actual physical spaces. Audioease has been at the forefront of developing impulse response technology, creating IRs of theaters, studios, outdoor environments, and many more spaces for use with their Altiverb plugin.
Audioease elaborated on this concept with the design and release of Indoor (which is covered later in this article), but Altiverb remains a highly effective reverb plugin for both music and post. The Altiverb Library comes loaded with impulse responses of spaces, including bedrooms, closets, car interiors, sports stadiums, and even the cockpit of a 747. Altiverb is a super useful tool for placing both dialogue and sound effects within proper sonic contexts.
Soundminer
Soundminer is an audio file management and implementation system that has been used in post facilities since 1998 but wasn’t commercially available until 2002. Time is money in audio post, and the less time you can spend searching through libraries for the perfect sound effect, the better.
Soundminer allows users to quickly find what they are looking for via a comprehensive metadata search system. Imagine searching for a squeaky screen door close to match picture, rather than slowly parsing through gigabytes (if not terabytes) of different door closes, users can type in specific qualities of sound effects, (think ‘sqeuaky’, ‘old’, ‘screen door’, etc.) and as long as that metadata has been embedded in the audio files, Soundminer will locate them.
Users can then quickly and intuitively trim and pitch shift the files before spotting them into their sessions. Soundminer has become deeply integrated into workflow for audio post. As my friend Dan Kenyon, Sound Effects Editor at Warner Brothers, stated, “I can’t live without it.”
Any Equalizer That You’re Comfortable With
I spent years using the stock Pro Tools EQ III. It’s fast, simple, and sounds mostly transparent. Using the control + shift + click shortcut, you can solo a band, which is excellent for hunting down nasty, unwanted frequencies. I’ve since moved on to the FabFilter Pro-Q 3, since it has far more features than the stock Pro Tools EQ, including a Dynamic EQ mode, which makes it great for editing dialogue. I know engineers that swear by Massenburg EQs, and others that use the Waves Renaissance EQs, but for simple cleanup, filtering and subtle brightening, basically any parametric equalizer will do a serviceable job.
A Transparent Compressor, Limiter & De-esser
It’s hard to go wrong with the FabFilter offerings for these types of processing. They impart minimal color onto sources, provide useful visual feedback, and can achieve desired results quickly. You may be able to get the job done with the stock DAW plugins, and that’s just fine.
My go-to for subtle taming of dialogue, using greater amounts of gain reduction for voice-over, and general transient shaping duties for sound design is the FabFilter Pro-C 2, as it has a clean sound, is chock full of useful features, and provides beautiful, insightful metering. There’s pretty much nothing that this compressor doesn’t do well, but similar to the advice I offered for equalizers, learning how to use the tools quickly and efficiently is more important than the brand itself.
Generally, for post work, I use a limiter to help meet deliverable requirements, which can vary from project to project. Whereas in music production, limiters are employed (in some cases) to squeeze every last bit of perceived volume out of a piece of music for its duration, in post, they are more used for safety, in far less creative ways. In addition to sounding great and providing the beautiful metering you’d expect from FabFilter, the Pro-L 2 offers up to 7.1.2 Dolby Atmos support, making it a top-tier limiting option for post.
For editing dialogue, having a quality de-esser in your arsenal is a must. Again, FabFilter has created a great all-around product in the Pro-DS. It transparently removes sibilance from sources, and has an expansive set of controls that allow users to improve even the most problematic sources.
Your Preferred Pitch Shifting Plugin
If you are designing sound for visual media, pitch shifting and time stretching are highly important tools. I hesitate to endorse a specific plugin for pitch shifting and time stretching, as the wide variety of products on the market are all generally serviceable. Believe it or not, my first choice is usually the stock Pro Tools offering, Pitch Shift Legacy. Other options include Serato Pitch ‘n Time Pro, Waves Soundshifter, Melodyne, and even Soundtoys Little Alterboy (although this one doesn’t handle time-stretching).
Each of these aforementioned products may respond differently to program material, so it’s advisable to have experience with several and be able to identify when unwanted artifacts are introduced. Regardless of which plugin you choose, a best practice when time-stretching audio is using source files with higher sample rates, as the more digital information a file has in the first place, the less “artifacty”-sounding it will be upon processing.
Don’t forget the supremely useful Vari-Fi Audiosuite plugin from Avid for raising and lowering the pitch of sounds over time.
In addition to the aforementioned plugins which I use regularly, I had a chat with my good friend Logan Byers (Sound Effects Editor at Levels Audio), and asked him which plugins he commonly uses. Here are his recommendations:
Audioease Indoor
One of my favorite plugins is Indoor by Audio Ease. It is an amazing convolution reverb plugin that sounds absolutely perfect for getting both ADR and dialogue to sit into production. Audioease meticulously sampled 60 rooms and provided 1000 impulse responses. There’s a log cabin, a garage, an RV, and many more spaces. It works in Stereo, 5.1, 7.1 and Atmos, and is also compatible with Ambisonic content. The plugin is potent, and a little goes a long way.
One really nice feature is the ability to pan the dry source within the plugin and you get nice realistic reflections that sound very natural. Our mix stages have this plugin and get regular use.
KFootsteps
If the budget on a show is low and we can’t record Foley steps, I turn to two different footstep libraries. The first one is a free Kontakt Library called KFootsteps. It contains about six different kinds of shoes on numerous different surfaces. It includes walking very slowly, regular walking, running, jumping and scuffs.
It is laid out on the keyboard in an organized and intuitive manner. When using this VST, I usually layer footsteps to make the steps more dynamic and believable. I then print those two tracks down into one mono stem once I have balanced the layers. I have found this approach to sit in the mix more than just using one footstep.
Edward Ultimate Suite
The other Foley steps library we use is Edward Ultimate Suite. It is $399 and very comprehensive. It includes reverb and EQ to help sit things in the mix. The EQ is quite serviceable and I’ll use it on footsteps to help dull them out, so they aren’t so piercing and so the transients don’t cut through so hard. They also include cloth and foley object patches, which some might find helpful.
Usually, once I am done cutting footsteps with these two libraries, I will use Indoor to help the steps fit into an inside space and use EQ and compression to help with proximity.
FutzBox
A plugin that I have used for years for futzing both dialogue and effects is FutzBox by McDSP. This is such a great and versatile plugin that makes futzing a breeze. The presets are fantastic and range from headphones, radios and TVs to weird (but still useful) stuff like megaphones or old cell phones.
Normally I start with a preset and then I can tweak from there. I can tweak how much signal is going into the filter in order to crush it. I can then scoop out any frequencies with the built-in EQ and add squelch in between words or phrases so it sounds choppy. It also has noise generator, distortion and gate sections, making it a really versatile sound sculpting tool. It’s both powerful and CPU friendly. The studio had a demo copy of it when I got there, and I requested the full plugin because it is so powerful. Once we got it, the mixers were very appreciative.
GRM Doppler
More recently, I’ve been integrating Doppler by GRM into my workflow. As the name suggests, it’s a doppler plugin. In our physical reality, as a sound source moves closer or further way, it will either raise or lower in pitch. This plugin allows you to achieve that effect, which is helpful because it’s common in films and TV to have things like cars or sirens pass quickly through the frame, or move further away from the camera. It was a little tricky at first to get things to sound realistic. I was going way too heavy-handed because I didn’t quite know how to use it, but now that I have a better understanding of how it works, it’s a very versatile plugin. Not only does it simulate realistic doppler effects, but it’s a great tool for designing trippy elements. Along with Doppler, the entire GRM tools collection is worth a long look, as it’s filled with forward-thinking and expressive effects.
FabFilter Pro-Q 3
Anytime I work on dialogue, I always use this plugin to pull out ringing frequencies. I have found this plugin to be perfect for dialogue because it does not color the sound in harsh ways. The studio has the entire bundle on all mix stages and edit bays.
Cedar DNS One
One of the best tools our studio uses is a de-noising plugin called Cedar DNS One. It comes in both a hardware and plugin version. We had the hardware unit in our two Atmos stages but have moved exclusively to the software version.
The way I’ve seen our mixers use it is on each DX track as an insert plugin. They then automate the plugin to reduce background hiss and noise. Once that clip is done the plugin is bypass automated. Having watched our mixers use it firsthand, I am blown away at how much noise is reduced while still retaining the quality and clarity of the dialogue.
What is interesting is that it does not pre-analyze like iZotope RX does. It’s all in real-time. All of our mixers use iZotope RX to pull out clicks and pops, but use Cedar to remove wind, freeway noise, and other nasty stuff. It is very expensive but an awesome plugin.
I was also fortunate enough to speak with my good friend Brendan Byrnes, composer and sound designer at Sticher, about his workflow, and some of the tools he uses during the recording and mixing of sound and music for podcasts.
IV: Are there any specific plugins for metering (of dialogue and on the master output) that are widely used in post for podcasts? If so, how do you use them?
BB: The Waves WLM and WLM Plus work just fine for podcasts and dialogue. You can set your target LUFS and the big numbers on the meter make it easy to keep it in your periphery and mix into it to stay in the loudness range you want to be in. Insight is also great obviously and there’s a good free meter from Melda.
IV: Any particular equalization and noise reduction plugins you’re using for dialogue?
BB: I mentioned the HOFA which sounds good and has a dynamic EQ that’s great. You can set the oversampling to whatever you want so you can master with it if needed. I use the stock Pro Tools EQ for simple cuts on podcast dialogue. If you’re in a decent room with a decent mic and not much room sound, any extensive equalization is probably just going to make the dialogue sound worse. “Sweetening” isn’t necessary in podcasting, and since it’s just dialog, the EQ’ing will just sound obvious if you do a lot to it. There are plenty of great EQ options including offerings by DMG, Massenburg, etc.
IV: What about virtual instruments? What have you been using for creating sound design elements in your work?
BB: Native Instruments is a great all-arounder. Synthmaster is a good, cheap synth that has a lot of good stuff for sci-fi, stingers, synth underscoring stuff.
IV: Are there any other industry standards that are worth mentioning? This could be microphones, monitors, anything.
BB: For podcasts, I’ve found it easier to get music to dialogue levels right on “lesser” monitors. I have those Amphion one18 monitors, and while they’re incredible for music mixing, I sometimes mix music a touch too low for podcasts. This is because I can hear so much detail that I sometimes think the music is getting more in the way of the dialog than it actually will on other playback systems. So, always checking on earbuds, Auratone-style monitors, a car system, etc. is essential.
IV: You made a really excellent point about preserving audio quality, and the negative effects of over-EQing. Any other additional thoughts or rules to stick by?
BB: I guess I sort of addressed this above, but I’d say as a rule that most engineers know but is good to keep in mind is to only EQ something if you hear a problem. The phase distortions that are introduced is the cost that comes with changing tonality, so make sure it’s worth the cost, especially when it’s only dialogue that is being listened to.
NPR sounds great because it’s a great mic recorded with very little room tone and no EQ other than the high-pass filter on the mic. Also, being careful not to double high-pass anything is important. For example, if the mic had a HPF engaged, putting an HPF on it again via a digital EQ isn’t helpful and things can get phasey and weird.


