4 Tips for “Mixing as You Go” While Recording, Producing & More
04/4/2019
Article Content
If you study how music recordings were made in the 1960s, you’ll find that engineers took a lot of time both getting the sound right at the source and using inline processing to ensure that little to no additional processing would be needed after the initial capture. This, of course, was before the days of the DAW — no huge track counts, and no plugins — it certainly wasn’t fast or easy to apply effects once something had been recorded.
There is a benefit to that approach. If one properly records so that it sounds like a mix, and mixes so it sounds like a master, one can make their own “sonic imprint” on a production. This is why many of my favorite recordings from decades ago have so much character — technical limitations made sure that the engineers committed to unique and expressive sounds earlier on, and the productions were better for it.
Today we do have virtually limitless track counts, more plugin effects than we know what to do with and the ability to try unique processes without worrying about analog tape degradation. Because of this, one might be tempted to record with the cleanest possible signal path, and leave the decision making to the mix engineer. I actually urge the opposite — that recording engineers/producers should make broad-stroke sonic decisions early on, and continue to do so as elements are added.
Some call this the “mix-as-you-go” approach, and here are some best practices when employing this method.
1. During the Recording Process
I say if you’re trying some sort of dramatic processing that adds character and excitement to a performance, have at it. As long as it doesn’t absolutely ruin the recording beyond repair, unique microphone configurations, expressive use of signal processing and other methods provide a sonic vision that will inspire your mix engineer.
To be honest, you might stumble into an instance in which “ruined” might be the exact sound a particular part needs. Recording Unhinged is a wonderful book by Sylvia Massy, who is a great engineer, writer and artist. It contains plenty of ideas for those interested in incorporating unorthodox recording methods into their productions. Great recordings sound inspired, and I’ve found that one of the techniques to help musicians feel creatively comfortable is by using interesting techniques while recording (as long as they’re both reliable and safe, of course).
I always have a Shure 520DX “Green Bullet” Harmonica Microphone handy when recording vocals and encourage the singer to record with it (in addition to a more traditional microphone). I’ll have the 520DX routed to an amplifier (usually my Vox AC30) in an isolated room and make sure to capture that sound. It’s often a bit thin, harsh and biting, but has a unique character that I find inspiring and entirely usable within the context of a mix. Sometimes, I’ll even incorporate the AC30’s spring reverb.
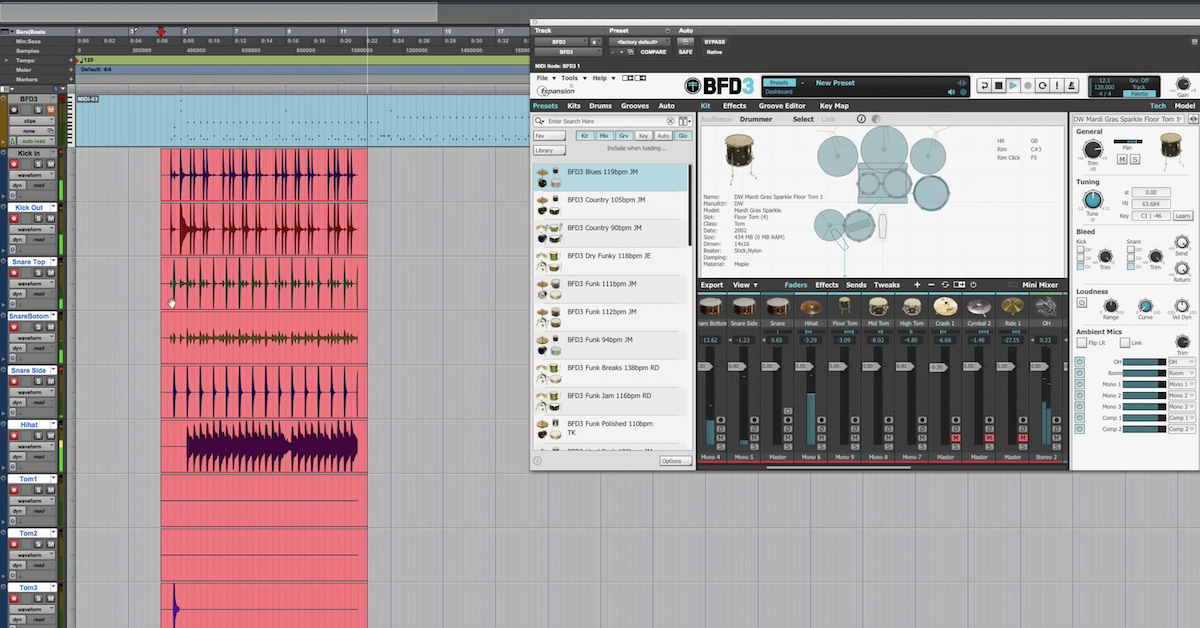
I am also a big fan of a “crush track” when recording drums. I’ll set a mono microphone or stereo pair in an interesting location (a closet, a corner, inside a garbage can) and obliterate the signal with compression. It may not end up in the final product, but it gives sonic options for whoever will be tasked with mixing, and drummers almost always love the sound.
I’m also never afraid to liberally apply hardware equalization, filtering, compression, etc. while tracking. Especially if a console or outboard gear is accessible, I’m going to make an effort to get as much character onto the recordings as possible. Compression is arguably the riskiest effect to apply at this stage, so be mindful of the amount of gain reduction happening. This approach may not be advisable if you’re new to recording and audio technology, as the point at which processing can compromise your recordings can be hard to anticipate with minimal experience.
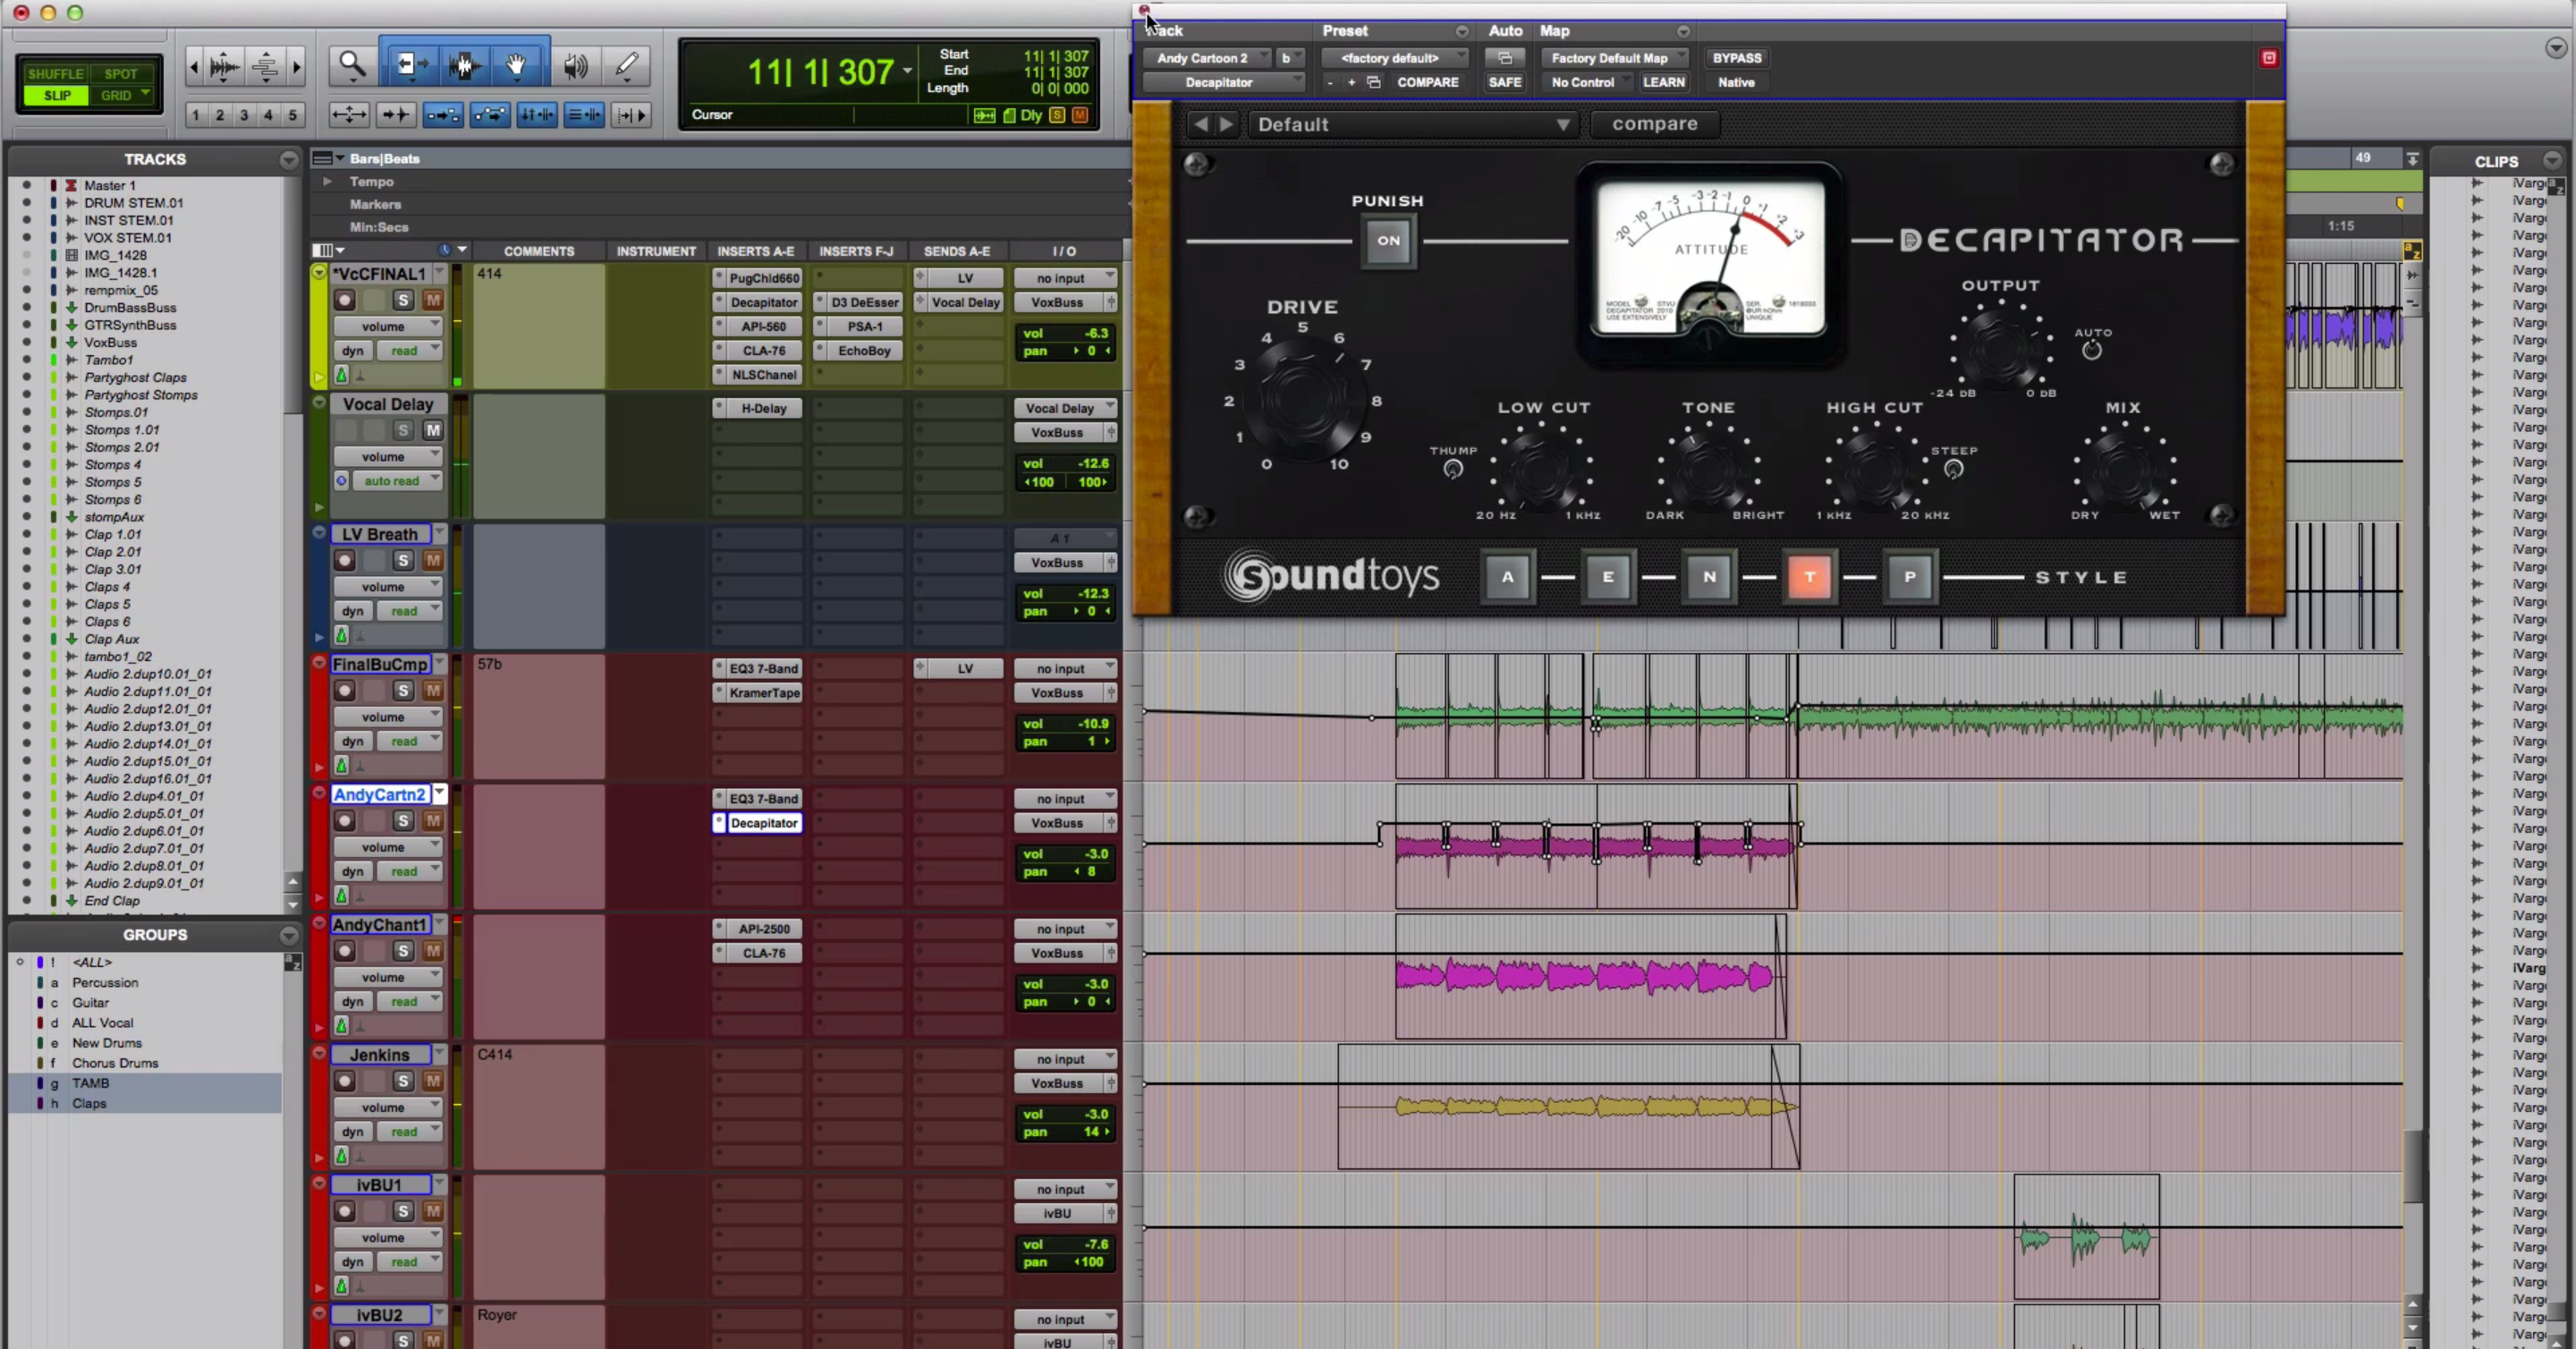
I’m a huge fan of the Universal Audio Apollo interfaces and often track through several of UAD’s incredible effects when recording. I’ll often commit equalization, tape saturation or even something more esoteric such as the UAD Galaxy Tape Echo when tracking with my Apollo x8. There’s even a feature that allows you to monitor the applied effects without committing them to the recording, which is a great way to get things sounding more refined for the artist, without risking damaging the recordings irreparably.
2. When Mixing for a Client
When I receive sessions to mix, I’m always appreciative if the producer/engineer has already done some work in establishing balances, using equalization, compression and time-based effects. Sure, that means it’s less work for me to do, which is nice, but it’s also beneficial to know what kinds of sounds they’re hoping to achieve.
There does need to be an extra bit of communication if perhaps the producer has some plugins that I don’t, but at the very least, they can provide versions of the audio files with the effects “printed” or “committed”.
In the track I used for my Mixing Pop course, the producer provided both committed and entirely dry audio files for me to work with, in case I wanted to use a combination of both. In this case, it’s relatively easy to place the tracks with committed effects on an alternate playlist, making it convenient to compare to the unaffected versions.
There have been a few instances throughout my career in which clients send files that are processed in such a way that I need to request the untreated files, but I would rather suffer that slight inconvenience than being delivered a sterile, vision-less production in the first place.

Ready to elevate your ears?
It doesn’t have to take years to train your ears.
Get started today — and you’ll be amazed at how quickly using Quiztones for just a few minutes a day will improve your mixes, recordings, and productions!
If you’re an artist or producer, it’s important, regardless of which DAW you use, to understand how to export both processed and unprocessed audio files so that a mix engineer can implement them into their DAW of choice. Similarly, if you’re an aspiring mix engineer, learn how to walk inexperienced artists/producers through the file export process. I prefer to work in Pro Tools, but clients of mine have created music in Ableton Live, Logic and numerous other DAWs. I’ve found navigating compatibility issues to be an essential skill.
3. When Producing Using MIDI
I find adopting the “mix-as-you-go” approach to be almost essential when producing music that is heavily reliant on virtual instruments and MIDI. On a recent production for SIGNALS, each of the songs had multiple layers of software synthesizers. There are a few issues that can arise when producing this way …
CPU usage can become a problem when creating with processing-intensive virtual instruments. Secondly, when creating densely layered arrangements, things can start sounding muddy relatively quickly. To combat this, I would apply processing so that what I was playing fit well with existing elements, and using the fabulous “commit” function in Pro Tools, turn my MIDI-generated parts into audio tracks.
Sonically-speaking, virtual instruments have come a long way in the past decade, but I generally find that they benefit from having a bit of character or coloration added to them. I’ll insert analog emulation equalizers like the Waves API Series, saturators such as the UAD Studer A800, or transient shapers like the brilliant SPIFF from oeksound to sculpt the dynamics and timbre of the sound to be as inspiring and “mix ready” as possible before committing them to audio tracks within Pro Tools. I understand why one would feel compelled to commit them with no processing whatsoever, but I personally apply whichever type (and amount) of processing is in line with my vision for the final listening experience.
When working this way it’s important to archive your sessions in such a way that you can get back to the original MIDI performances in case you go a bit overboard when committing effects. I always save different versions of sessions when both producing and mixing, to make sure that I can get back to specific checkpoints of the production.
4. Busses & Master Fader
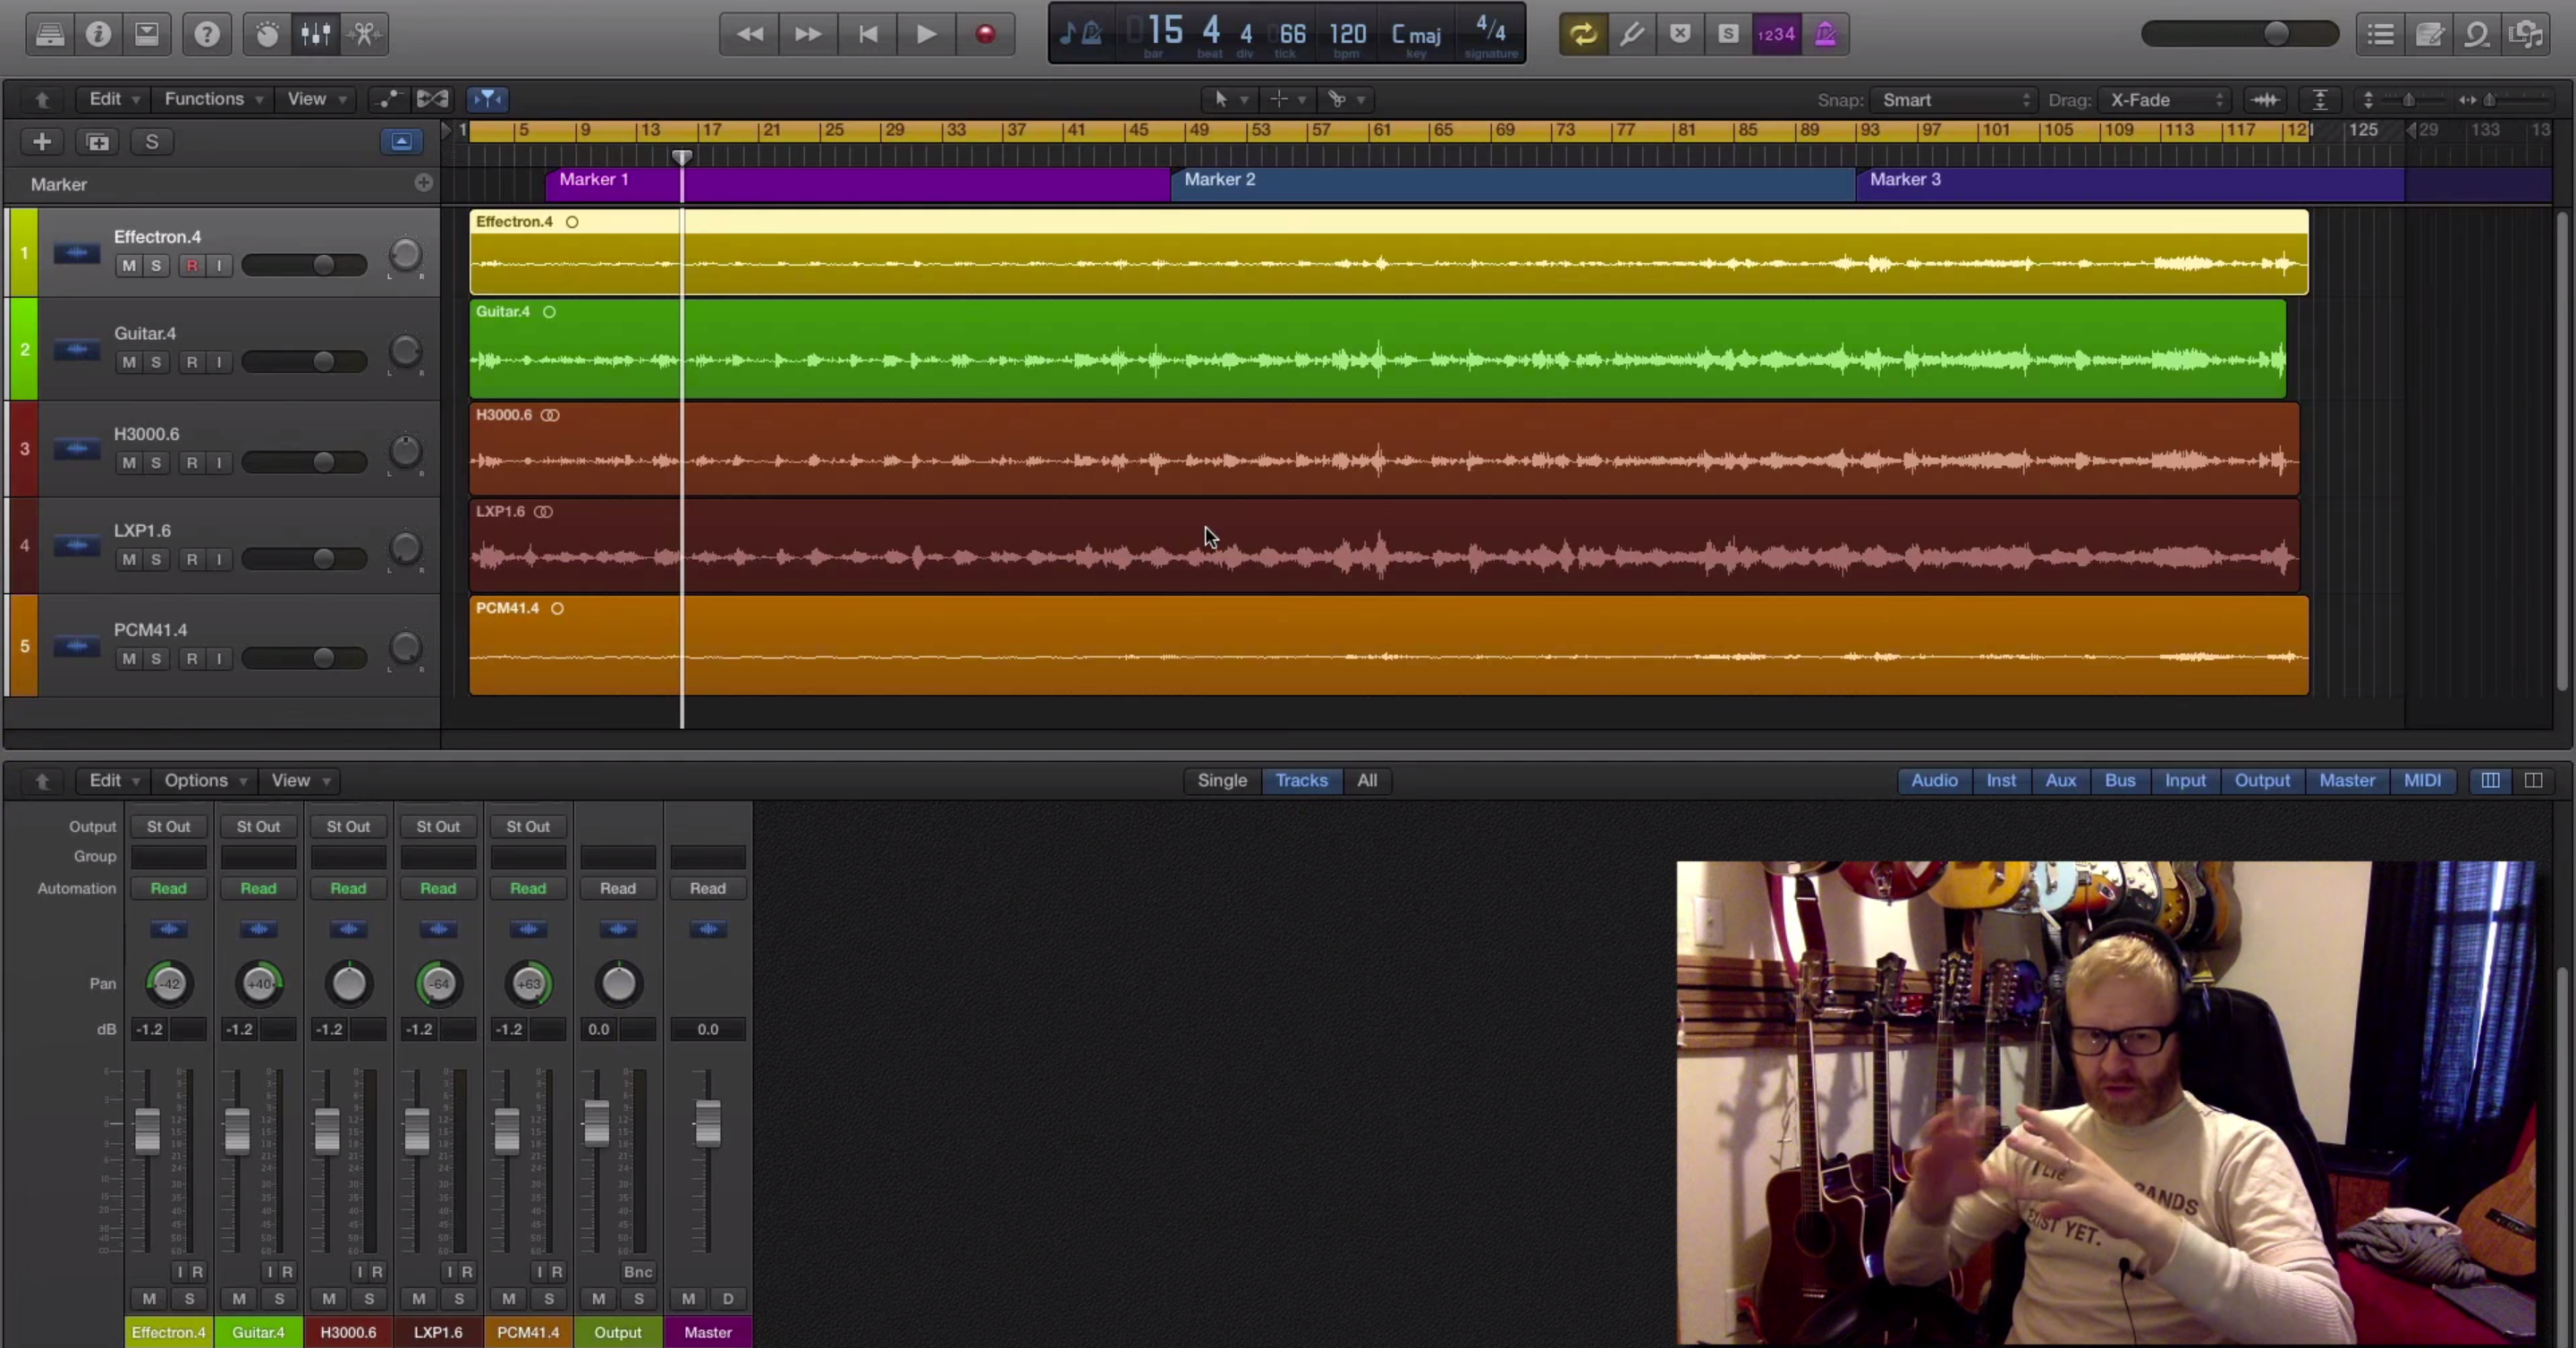
One producer that I work with regularly sends me sessions that are generally 70-80% complete, from a mixing perspective. He’ll apply processing, fades, volume automation — he also routes elements to busses, and even treats the master fader. He’ll have backup vocals, drums, keyboards, etc. all sent to their own busses, and apply subtle equalization and compression to the master fader.
When I’m producing, I’ll set up my multi-buss technique very early on, and will use a subtle bit of tape saturation and a safety limiter on the master buss. While it’s possible to overload a compressor that was inserted and set early, once you start adding elements, it’s an easy fix if you keep track of what’s happening within your sessions, and have a solid grasp on gain staging.
Looking back to the sentiment I outlined earlier in the article, record so it sounds like a mix, and mix so it sounds like a master. The closer the session sounds to a finished product, the better the mix engineer will be able to create an accurate portrayal of the artist and producers’ vision.
Eleveate Your Ears