5 Interesting Ways to Use Delay in a Mix
Article Content
I love the “sound design” element of mixing records. Crafting interesting tones and textures is kind of like my version of being a playing musician. One of my favorite tools for doing this is the Delay — a repetition of the sound it’s applied to. It’s amazing what you can create with something as simple as a repeat of a sound.
1. Stereo-izing
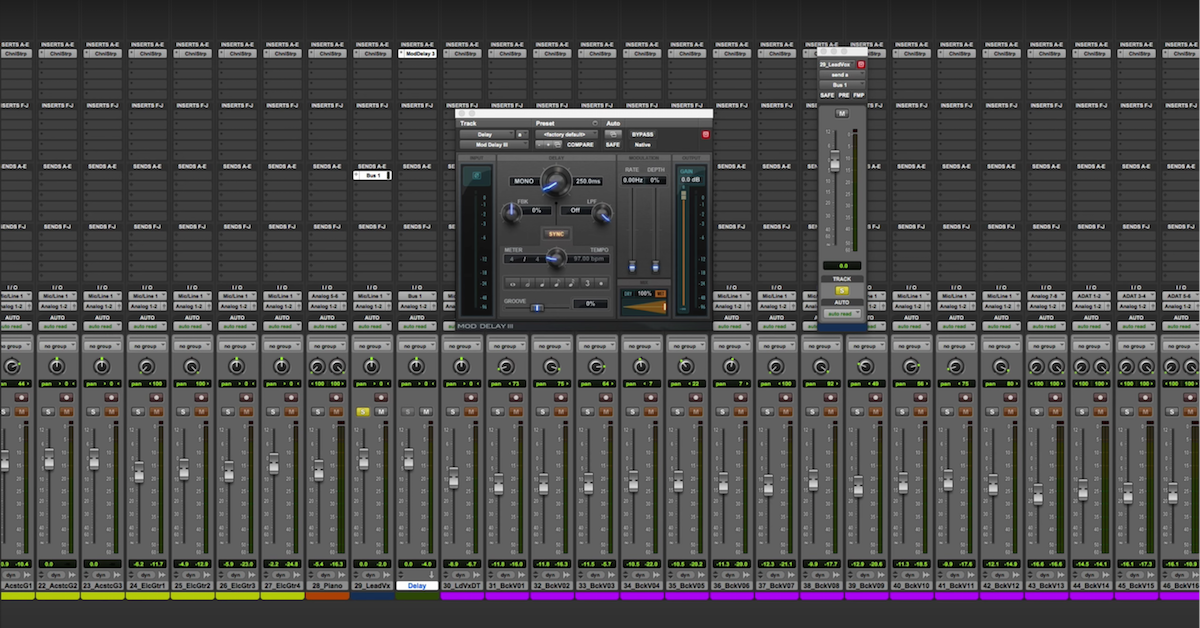
One really cool thing you can do with a delay is to turn a mono sound into a stereo one. This works by pulling up a mono sound on two channels, panning one hard left, one hard right, and putting a delay on one side. Turn the wet/dry ratio to 100% wet, set the feedback to zero, and time the delay between 5 to 20ms. Magic stereo sound.
Usually, you’ll want to use a transparent delay that has no specific sound of its own to do this, but there’s no rule against using a stylized delay to create a unique sound.
An alternative to this approach is to use three channels: one panned left, one panned right and one panned up the middle. Put your delay between 5 to 20ms on one side, and between 15 to 30ms on the other side, and make sure the times are not the same. Then pull the volume on the hard panned signals down until you don’t really hear them much. This creates the effect of a mono instrument that spreads across the stereo field. Generally, this works better on sounds that aren’t too transient heavy: guitars, keys and pads. With drums, this can be a bit tricky to make work.
2. Modulating Delays
Put a delay on something; maybe a vocal — whatever. Now, hit playback and as it’s playing start changing the time constant. Not only will you hear the delay change in tempo, but you will hear the pitch shift up (if sped up) or down (if slowed down). This effect works really well on triggered delays: delays that are set up to hit only on one word or one note.
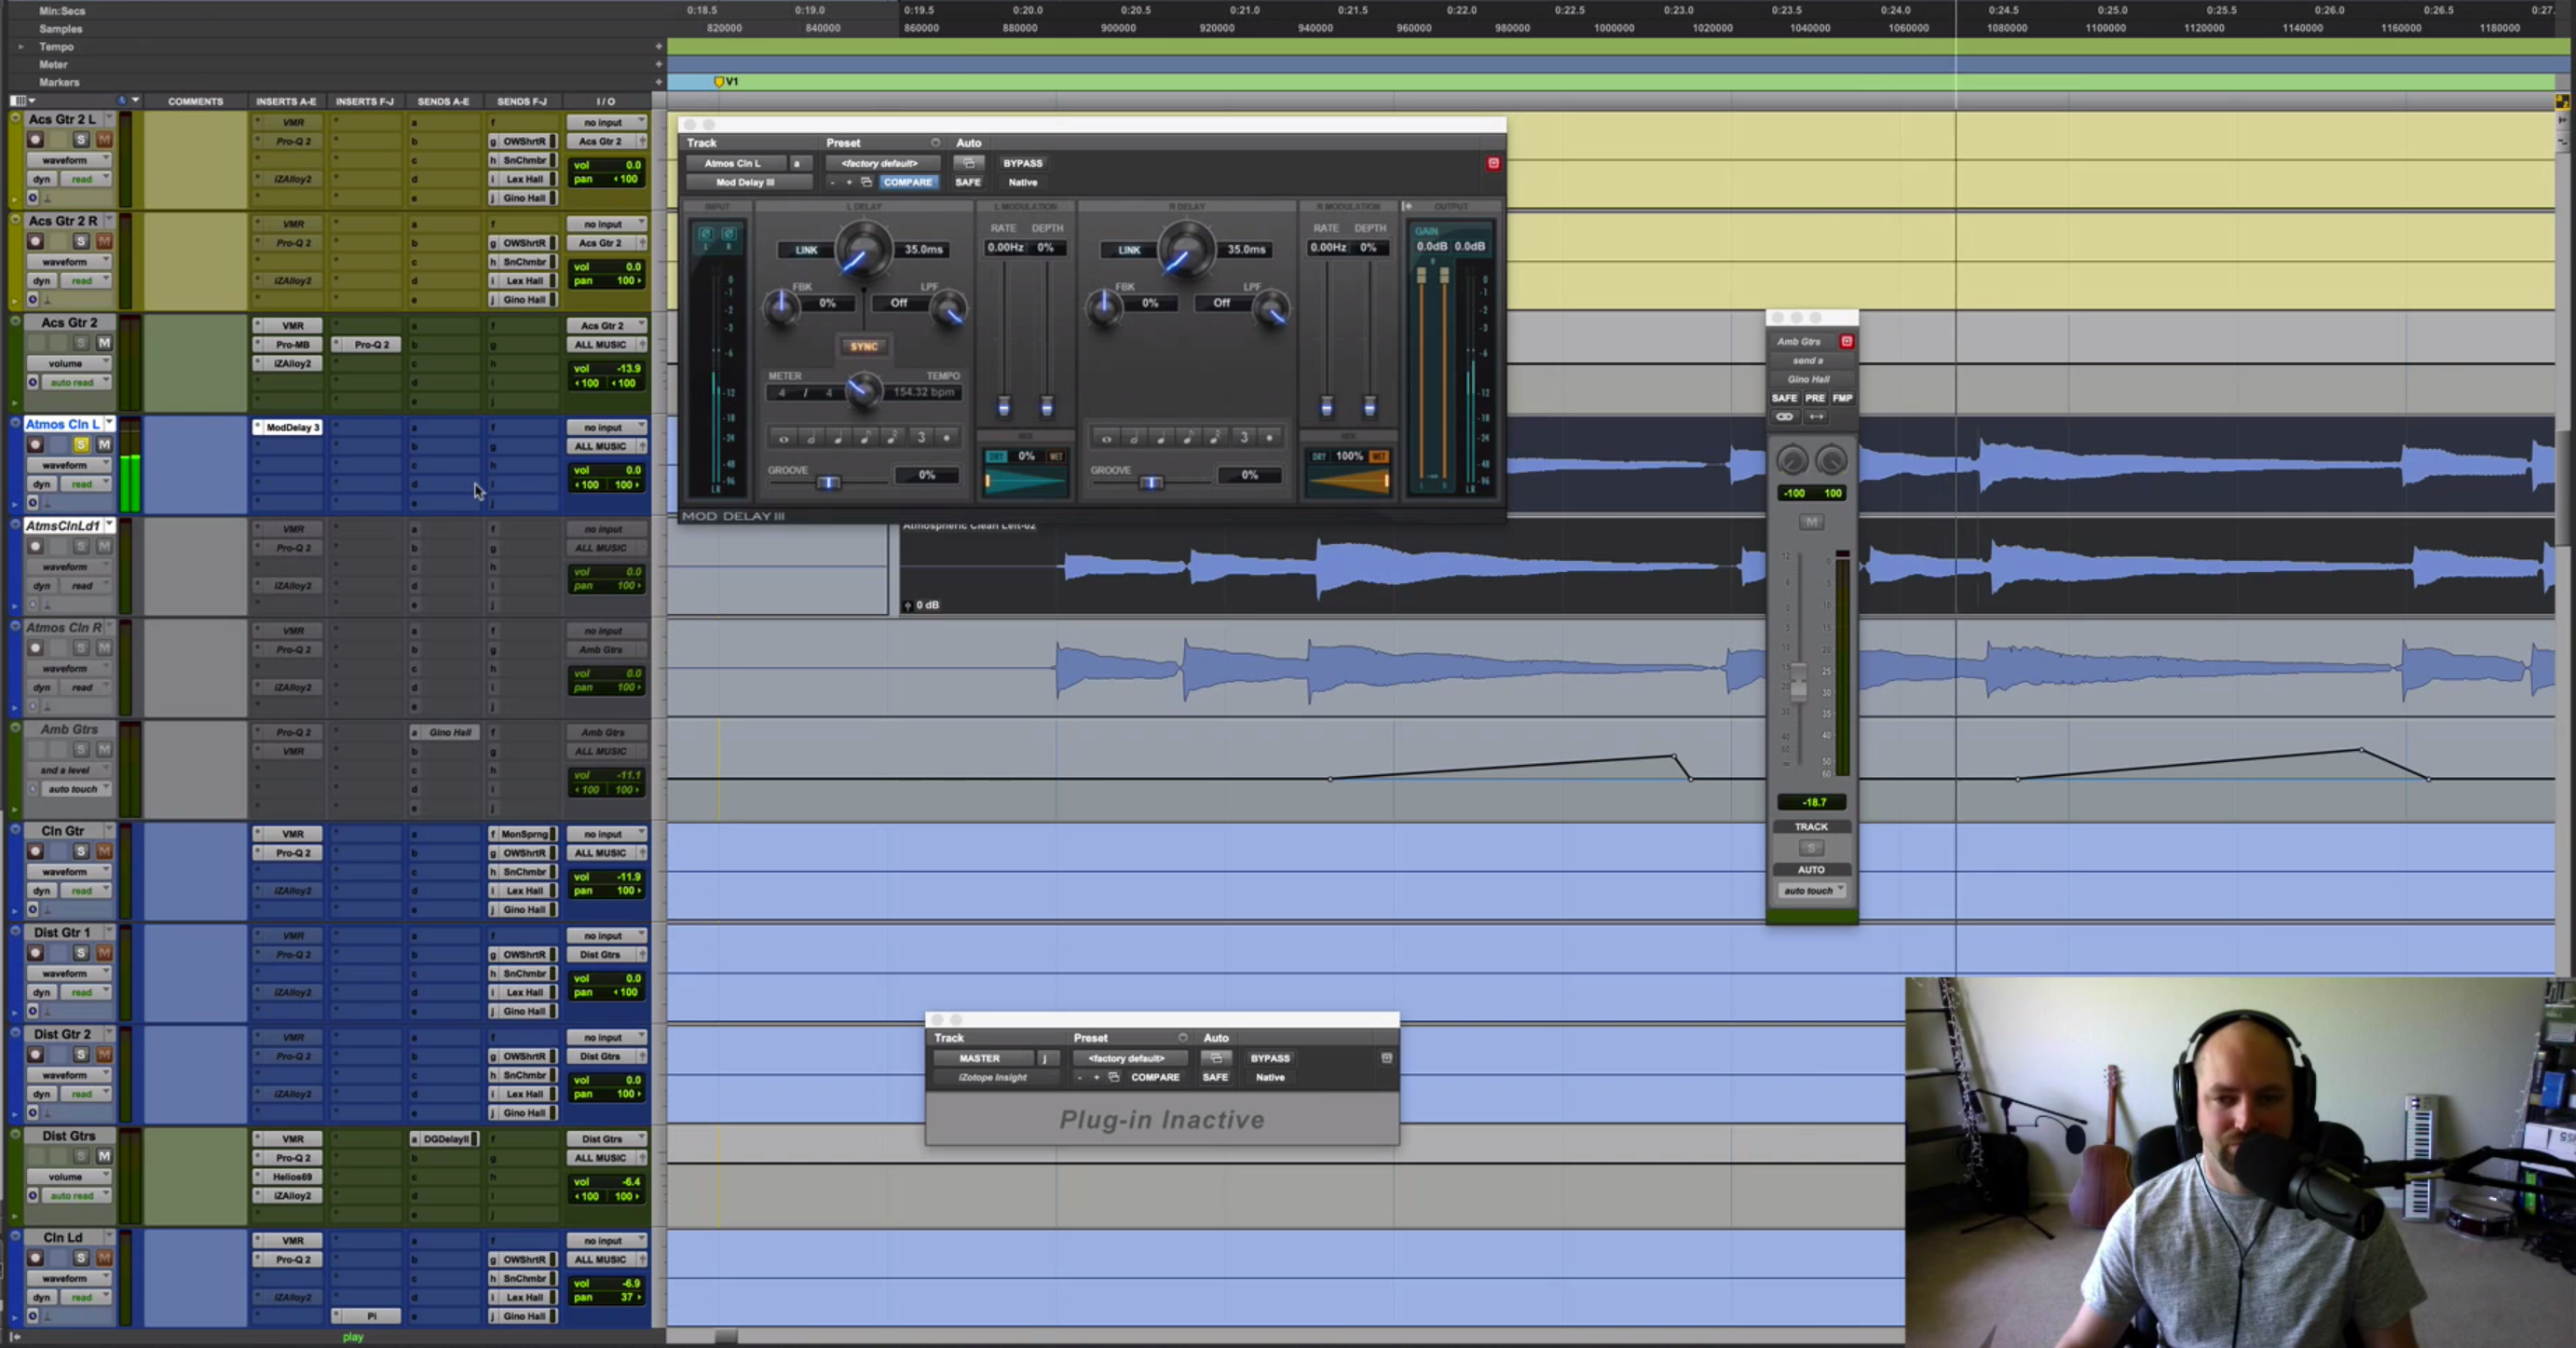
A really fun alternative is to set up a dual mono delay. If you make micro adjustments to the timing constant on one delay going one way, and go the opposite way on the other delay, you can get some really cool effects. If panned apart you get a delay that has a “doubler” effect with a very wide sound. If panned together the delay actually choruses, creating a cool texture. And the real fun is if you do a partial panning — like 50% left and 50% right, you can get a spread-chorus effect.
Because you want to be making very tiny adjustments — like sine wave automation/LFO within 10-20ms time variations, you can actually use this as a consistent delay on an element like vocals or guitar. The rhythm of the delay stays the same — only the texture really changes.
3. Chorusing and Robo-Texture
When we think of delays we usually think of spaced out echoes like 1/4 note returns on a vocal, or a slap back on a guitar. We don’t usually think of what happens if we set the delay so fast it actually modulates the waveform we send to it! Some fun stuff starts to happen when we get into the sub-30ms realm.
One of those effects is what I call “Robo-Texture” because I’m bad at making up names for things. This happens between about 5 to 10ms. The waveform modulation causes enharmonic dips and peaks throughout the frequency spectrum which kind of sounds like talking metal. A primary example of this would be the drums from Busta Rhymes “Light Your Ass On Fire”.
Now, if we go even faster than that we start to get a flanging effect which can be modified a few ways. We could go straight flange if we set up the delay with no feedback or modulation. Or we can create a chorusing effect by turning up the feedback — or we can create something similar to a phaser by using a delay with a modulation control and automating slight changes to the timing (automating up and down by like a millisecond).
4. Delayed Delays
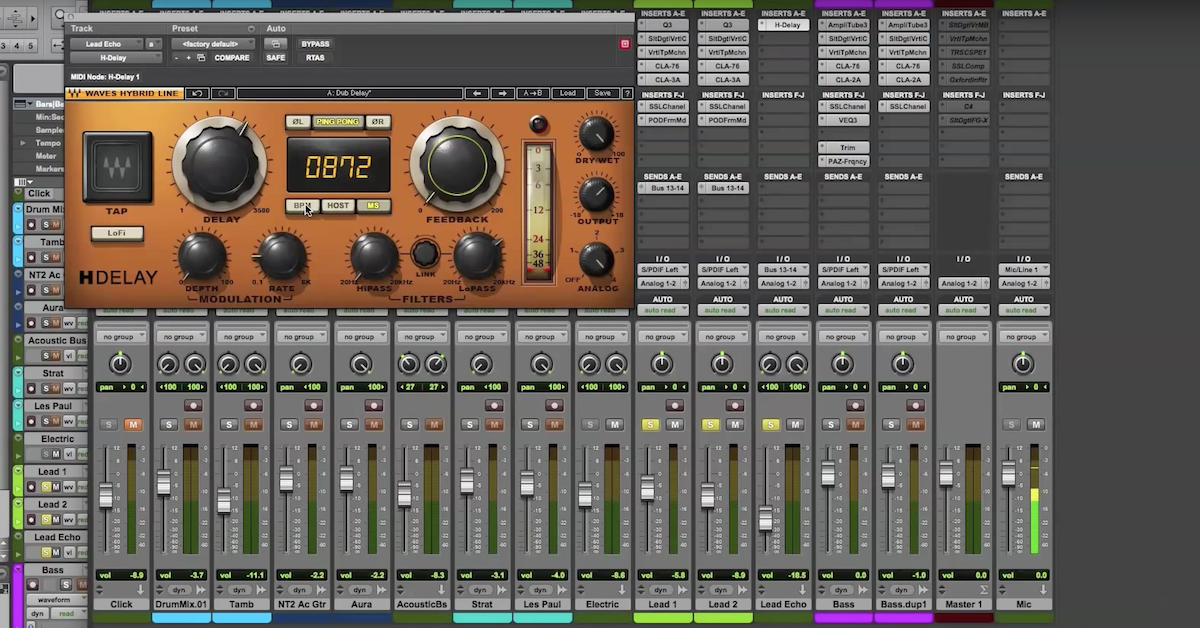
What’s better than one delay? Two Delays! By putting one delay in line with another we can create very fun rhythmic signatures. For example, we could put a 1/8th note multi-tap delay with two taps and no feedback after a 1/4 note delay with feedback and create a 1/8th note rhythm that accents on the quarter note.
Or, we can do a 1/4 note delay with no feedback and follow that by a 1/16th note ping-pong delay. This creates the effect of 1/4 note delay that scatters around the stereo field and sounds kind of trippy … makes for a pretty fun delay throw — or, you could vary this technique by doing a dotted 1/8th note with no feedback followed by a 16th note ping-pong set to 100% wet. This would have an ethereal quality of flying around the stereo field like a specter of a 1/4 note throw.
5. Feedback Delays
This requires a bit of work but there’s a ton of possibilities. A feedback delay is when you turn the feedback up to amplification rather than decay. This causes each tap through the delay unit to become louder, rather than quieter. In turn, this causes whatever tone the delay unit is imparting on the sound to become exaggerated and eventually cause the amplifier to overload.
This can be a great effect for creating a rolling texture or a unique riser at a transition point. The only caveat is that you have to ride the level manually otherwise your song is going to get overwhelmed with endless delay. You also may have to ride the feedback up and down in order to keep notes or words from just being trapped in the sound as the song progresses.
Different timings create different effects. Longer timings create discrete escalating returns, while faster timings start to sound more like swells.
Of course — all of these possibilities become magnified when you start putting EQ, reverb, distortion, compression, side-chained compression, flangers, etc. into the equation. From there you can create an almost endless sound palette to play with.


