How to Get 1950s Guitar Tones in the Studio
Article Content
I’ve been thinking lately about the guitar sounds of the 1950s. It’s so hard to recreate, and I think there’s a lot of misunderstanding — especially about things like overdrive.
You need to understand the entire signal chain: guitars, microphone preamps, microphones and tape.
Let’s start at the beginning of the chain.
Guitars and Pickups
Electric guitars weren’t invented in the 1950s, but that’s when they really became a part of popular music culture. The big players were Fender, Gretsch and Gibson. There were three varieties of guitar bodies: solid, hollow and semi-hollowbody. There were also three varieties of pickups: single coil, P-90s (another type of single coil) and humbuckers. But if you’re trying to capture an early 1950s sound, you should avoid humbuckers since they didn’t come out until the late 1950s.
Google your favorite guitarists from that era — you’d be surprised to find out what guitars they actually used. For instance, Chuck Berry is often associated with a Gibson ES-335. He did eventually use a red Gibson ES-355, but early on he played a Gibson ES-350 with P-90s. This may not seem like a big deal, but there are significant differences between the two models. The ES-350 is a hollowbody guitar with P90 pickups, and the ES-355 is semi-hollowbody with humbucker pickups.
If you had to choose one pickup to capture 1950’s tones, it would be the P-90.
Amps
In the 1950s there weren’t as many options for amps as there are today. Fender and Gibson were both making amps along with a few other companies. Though the amps each had their own unique character, they all had a rich midrange quality. They also had a lower wattage, meaning they would overdrive easily.
Find any amp from the 1950s and you’ll get that vibe. But Fender probably produced the most highly-regarded amps including models like Tweed Champ, Harvard, Deluxe, Princeton, Pro and Bassman. They were all magical!
If you combine an era-specific guitar with one of these amps, you’ll be more than half way to your destination.
Strings
People don’t often realize that roundwound strings didn’t become popular until the 1960s. So guitarists actually used heavy-gauge flatwound strings. This is an underestimated part of the sound! Keep in mind that you don’t have to suffer with the heaviest gauge, though. Simply using flatwound strings will sound 1950s enough.
Proximity
This was the era before multitrack recording, so guitar amps were recorded with the room mic along with the rest of the band. They rarely miked guitar amps directly. So if you’re trying to create a 1950s guitar tone with a mic right up in the grill, you’re barking up the wrong tree. Move that mic back … way back! Try several feet. Listen to those tones on record. It’s all room.
You can deal with this in-the-box (ITB) with the UAD Ocean Way plugin, which allows you to simulate a great-sounding room. Simply select one mic (a 1950s tube mic, of course) within the plugin and move it around.
Totally Tubular
In this time period, they used either ribbon mics or tube mics. This is important because there’s a lot of harmonic overdrive that builds up on those guitar tracks. So just overdriving the guitar amp isn’t enough. It’s more like cascading overdrive, but coming from different sources.
In most cases, guitarists pushed the amps to breakup a little. But they didn’t dime them; instead, there were other stages of gain that added more saturation.
Microphones
Try running a tube mic into a tube preamp and dialing in a little grit. Don’t go for a pristine, clean representation of the sound, but also be careful not to add too much grit. We’ll be adding more of that from other sources.
If you don’t have a tube mic and tube preamp, you can emulate some of this with ITB plugins. So try using a condenser with a tube preamp emulation.
Compression
You can also try adding a little tube compression. Don’t be heavy-handed because a little bit will go a long way. Plus, they didn’t over compress in the 1950s. A good Fairchild can get you there — compress lightly and pick up some harmonic distortion.
Tape
The last stage was tape. Again, we’re not looking for pristine audio quality. Try running your tape machine or plugin at 7.5 ips. Experiment with the gain staging from the plugin, too. Try to get a touch of tape saturation.
You’ll notice it’s a cumulative effect. You’re adding a dash of spice with each piece of gear. Each element leaves a little of its harmonic DNA on the tone.
Modern Times
For many of today’s engineers and producers, getting tones like this can be a real challenge. Not everyone has a nice big room to record in. Few people have access to vintage tube gear as well.
Don’t feel bad for using plugins. Some companies have done a great job at emulating the gain structure of vintage gear. I tend to use UAD plugins. To my ears they sound the best. There are others that make similar products, so I encourage you to experiment.
My examples will be based on UAD. I like that they paid close attention to the actual gain staging of the gear. They’ve emulated how each piece of gear reacts when pushed. This is important when creating period-specific tones.
My ITB box chain for this would be:
- Era-specific guitar (doesn’t have to be vintage, it just needs vintage qualities)
- Condenser mic
- UAD 610 Preamp
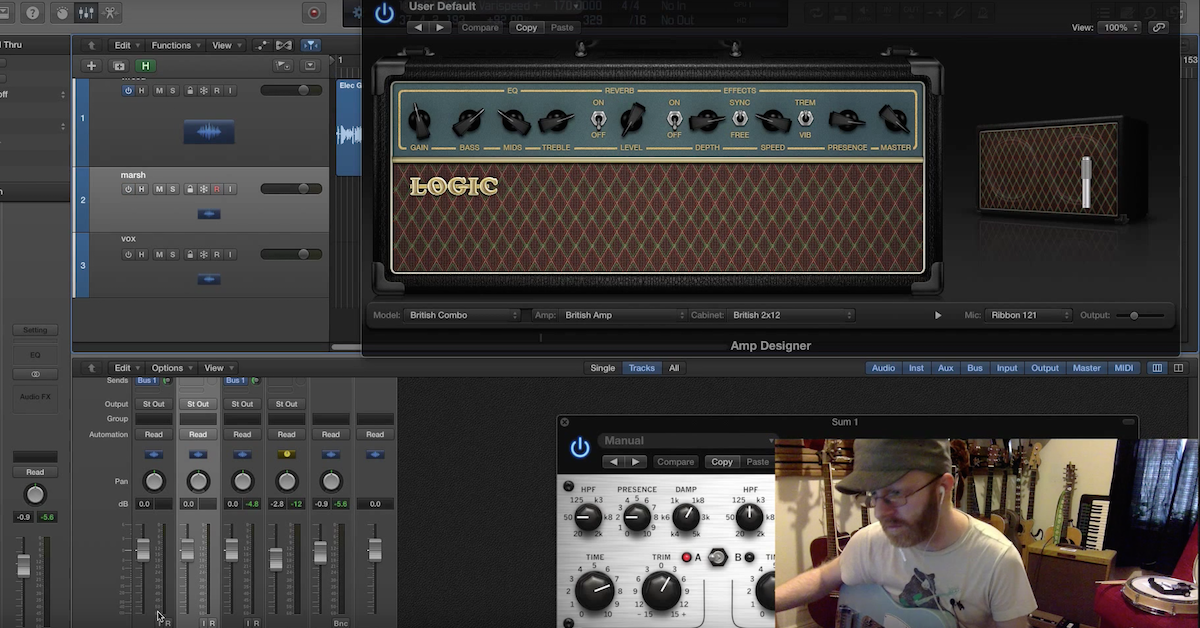
- UAD Fender Deluxe Amp Sim
- UAD Ocean Way Studio
- UAD Fairchild 660
- UAD Studer A800
Yes, the room verb (Ocean Way) is coming before the compressor.
My hybrid setup:
- Era-specific guitar (doesn’t have to be vintage, just vintage qualities)
- Victoria 518 or Victoria 35115 amp
- Condenser or ribbon mic (distant from speaker)
- UAD 610 Preamp
- UAD Fairchild 660
- UAD Studer A800
Now that you know the recipe, it’s time to consider the era-specific compositional aspects. Get to work!


