How to Dial in the Perfect Headphone Mix for a Vocalist
Article Content
If you work from a home studio or a modest project studio, you probably don’t have an expensive system that allows vocalists to dial in their own custom headphone mixes. Even if you had extra cash for something like that, I bet you’d prioritize the purchase of a quality preamp or a microphone. For those of you who “make do” with the headphone output from your interface, be careful not to ignore this crucial fact: A stoked vocalist performs best.
One of the main sources of “stoke” you can offer a vocalist, whether they’re spitting bars or barking death metal, is providing them with the best headphone mix possible. While you may not be able to offer them fancy customizations because of the limitations of your setup, there are still a variety of things you can do to make their headphone mix the best it can be.
Pre-Session Prep
Before the session starts, I highly recommend making a separate sub-mix for the background track information. You’ll want to be able to change the level of the entire accompaniment with one fader move, whether it’s a rough mix of a multitrack session or a fully produced stereo file of a beat.
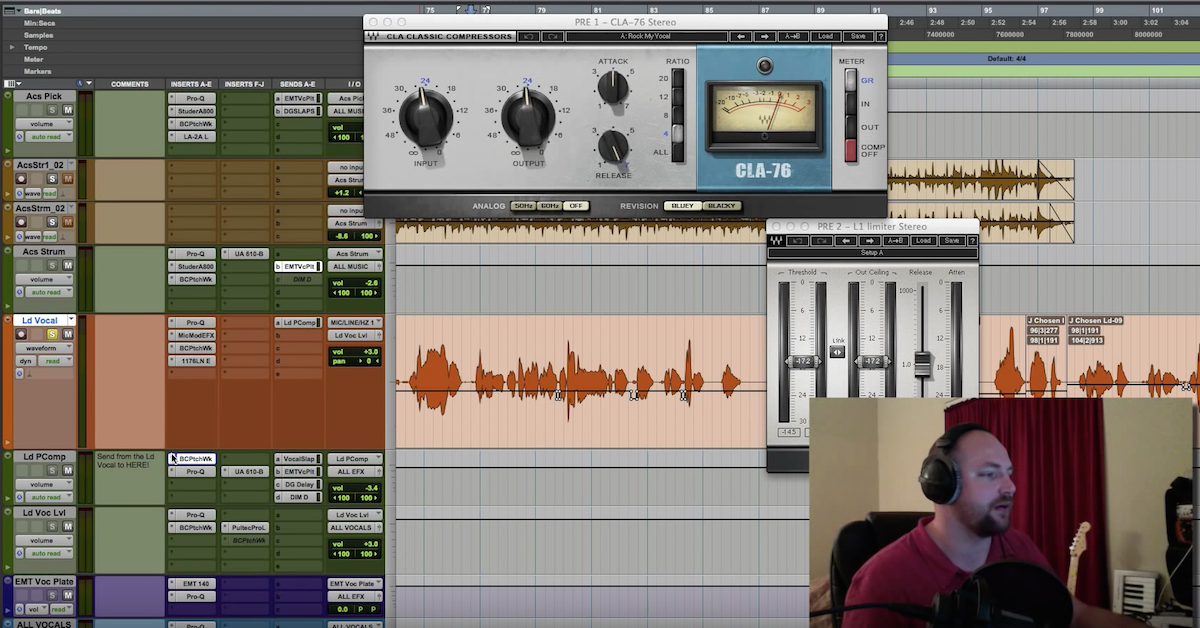
If you’re low on DSP resources, consider bouncing out a rough mix and creating a new session so you’ll be able to use real-time processing on the voice without having to up the buffer size (thereby creating an unwanted monitoring delay). I also suggest popping in a few of your go-to vocal processing plug-ins: EQ, compression, delay, reverb, etc. If you need to set up aux tracks and sends, do that now as well. Don’t make your vocalist wait any longer than they have to. They came to perform, not watch you engineer.
When the vocalist arrives and you guys get settled, let them know that your goal is to optimize their tracking experience. Explain that part of that process will require walking through several steps in order to dial in the best headphone mix possible. Give them an idea of approximately how long this will take. Do your best to keep it under 5 minutes. They’re anxious and excited to start recording, so internal thoughts like, “Man, this is taking forever!” will cause frustration and eat away at valuable creative energy.
Pump Up the Volume
When you’re both ready to begin, make sure the performer is comfortable with the overall level coming out of the headphones. Seems like an obvious “no duh,” but everyone has different loudness preferences.
Start by playing the backing track at average tracking levels in your DAW and have them motion thumbs up/down as you alter the headphone output volume knob on your interface (not the DAW’s track fader!) until it’s just right. That level will change, especially when you add in their voice, so regularly check in with them about overall volume throughout the session.
Because I’m All About the … Vocals
At this point, your top priority should be helping the vocalist hear what they want to hear of themselves when they perform into the microphone. Forget the music for now. Mute the backing track sub-mix. If you can get them stoked with just their voice, headphones, and a mic, most of your job is done. However, some vocalists may not feel comfortable performing solo. If that’s the case, bring in the accompaniment, but make it as quiet as you can get away with. If they keep signaling for more, you’ll need to explain what you’re trying to accomplish at this stage. Ensure them that you’ll bring the music up once you optimize their voice.
Back to School
Your job as a recordist is to choose the right mic, find the perfect placement, and capture an ideal signal level. Whatever you do, don’t mess that up. I’ll assume you’ve already chosen the appropriate mic and mic position. Next, briefly explain to the vocalist the difference between recording level and monitoring level and request their patience while you try to dial them both in simultaneously as they sing through a representative passage repeatedly.
Communicate during the process so the vocalists feels involved and in-the-know. The moment you’ve reached a fair approximation of your average capture input level, immediately move on to feeding them a comfortable monitoring level of just their voice. Use the interface headphone output to dial in this level. Leave the track fader in your DAW at 0 dB. Have them use thumbs up/down gestures until they give you an approving nod.
From here, there are three main considerations for crafting the best headphone mix for your vocalist: clarity, evenness, and vibe.
Clarity
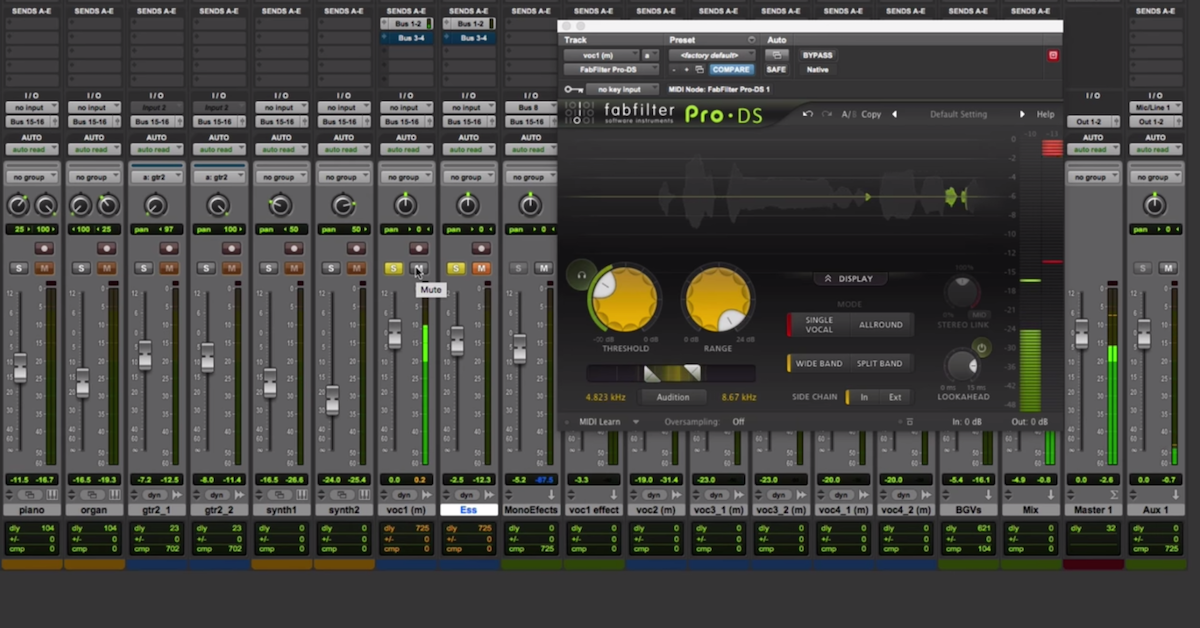
Achieving clarity usually involves non-destructive EQ. Have them keep singing through the song. (Always be in record in case something magical happens!). Discern whether their voice sounds too boomy, shrill, or dull, and then throw an EQ on the track and get to work.
Once you’ve quickly smoothed out the obvious problems, add another EQ and ask the vocalist what they prefer: “Would you like more highs or lows? Is it full enough? Is it bright enough?” You’ll need to speak to the experience level of your vocalist so they understand what you’re asking. This can be a fun exercise because your performer will probably like to experiment. That’s why I recommend dedicating a specific EQ to their preferences. If it turns out that they like how you had it at the beginning after all, then just make their EQ inactive.
Evenness
Some performers will be thrown off if they can hear the natural volume fluctuations in their performance. In my experience, most vocalists will want their performance to sound as even as possible. Compression to the rescue.
Dial in as much non-destructive compression as you need to level things up while not creating distracting pumping/breathing artifacts … which they will definitely notice because they’re singing without the backing track at the moment. You may need to increase the amount of gain reduction or makeup gain later as you add in the music, so be mindful of your settings and anticipate how they may need to change.
Vibe
Some vocalists won’t become stoked unless they have vibe. Adding “vibe” means applying whatever non-destructive effects the vocalist needs to hear in order to immerse themselves in the world of that song. This is your chance to explain what’s possible.
Ballad singers may want some big reverb to get that full Whitney Houston experience. Rockabilly guys will most likely want some subtle slapback echo to help them feel like they’re at Sun Studios. An industrial act might need some distortion to help conjure up their inner Trent Reznor. Rappers will probably want it bone dry; no distractions. The point is to dial up whatever sound that allows them to deliver the emotional content of the song.
Some options I’ve used (with or without reservation) include: a doubler, extreme auto tune, an exciter, “phone voice” EQ, spring reverb, 1/8th note delay, etc. Just be mindful that monitoring any of these effects while tracking may increase the possibility of hindering an optimal performance. For example, too much reverb can give a false sense of being on pitch when they’re actually consistently flat.
Having said that, I once pulled a more pitch-confident performance out of a self-conscious singer who needed to sound doubled to feel comfortable. It’s worth exploring effects and processors until things click. Watch for the increase of enjoyment level in the vocalists eyes or facial expression. If they’re struggling to find the right vibe, you may need to bring in the backing track at this point. Sometimes context is needed to make things click.
Put Me in, Coach
Once the vocalist is actually stoked to hear themselves in the mic without main accompaniment, it’s time to bring in the music. Slowly raise the backing track sub-mix fader at a place in the song they’ll recognize so they can start performing to it. Have them give thumbs up/down signals until they find a level that’s loud enough but not overbearing.
As a recordist, you’ll want to step in at this point and apply an appropriate dose of clarity, evenness, or vibe to the backing track in order to preserve the overall feel you just dialed in with the vocalist. This may include scooping out 250-500Hz to reclaim vocal clarity, notching out around 2.5kHz to eliminate voice-competitive frequencies, or adding overall compression to keep the backing track from over/underwhelming the vocals. I wouldn’t involve the vocalist in these decisions. This is something you should just do. Alert the vocalist that you’ll need to make some adjustments, and then work as fast as possible.
Rinse and Repeat
At this point, check in with them once again about overall levels. A lot has changed since you started, so they may want to adjust the overall headphone output now that they’re warmed up a bit. Actually, I recommend quickly revisiting everything you’ve done up to this point. Double check input levels as a recordist’s first priority. Find out if the clarity, evenness, and vibe aspects are still working for the vocalist. It’s your job to ask for occasional headphone mix status reports along the way and make necessary adjustments.
By this point, though, your vocalist is pumped and ready to do what they came to do, so don’t sap vital performance energy by keeping them involved in technical matters for too long. Even if things aren’t perfect, it’s time to start capturing takes. You can always tweak here and there once you start tracking.
Happily Ever After?
Dialing in a compelling headphone mix is possible, even with a simple home studio setup. A lackluster headphone mix can deflate a performer and thereby ruin a session. Invest in the session by spending the time it takes to optimize the headphone mix!
As a bonus, you’ll find that working with a vocalist in this way will often be the trust bridge you’ll need to make the rest of the session a success. Once you’ve proved that you’re dedicated to making them sound awesome, it will be easier for them to accept the necessary recording and/or production suggestions you’ll need to make as the session progresses.
Now, put on your producer shades and get to work. Good luck!


