Tips for Dealing With Harshness in a Mix
Article Content
➥ Download the free sample pack from Cristofer Odqvist
Harshness is a word that often comes up when digital technology (as opposed to analog) is being discussed on internet forums. This term is often used when there is a fatiguing and somewhat unpleasant quality to a sound. Although this likely was an inherent problem with early converter design, the technology being used today should not create such problems in and of itself.
That said, a lot of analog technology like tape machines, and the abundant use of transformers, can help tame buildup in the frequency range that we usually describe as harsh. So maybe more than ever it comes down to the skills of the recording and mix engineer to combat this seemingly horrible affliction.
The Source
Leaving too much of the process for the mixing stage is seldom a good idea. An annoying quality to the tone of the instrument or voice you’re recording might seem like something that could be fixed with EQ. But then you come to realize after sweeping a bell filter across the frequency spectrum that this annoying quality is somewhat present in most of the midrange in your recording. I bet you’ll spend a little more time moving the mic around next time around.
I think every engineer who has worked in a studio with a band or an artist has been in a situation when time is not abundant and you as an engineer are under pressure to move the session along. It’s easy then to tell yourself that the sound you’re hearing coming from your monitors is good enough and that you can process it later to make it work. To me, this is one of the biggest lessons you learn when you start recording with EQ and compression (or at least apply it before recording to get a sense of how it sounds) — you instinctually start to know if processing can actually get a sound where you need it to be.
The process before recording could look something like this:
- Listen to the instrument in the room, does it sound less than great? Can anything be changed to make it sound different/better? If so, do it.
- Listen to the instrument/voice and identify the the quality of it. Is it midrangey? Overly bassy? Does it have a sharp piercing quality to it? Consider the Shelly Yakus rule and go get a mic that has a tone that is the opposite of your source tone.
- Try 2-3 mic positions even if the first one sounds good enough.
- Having found the best possible microphone and position that time allows for, try to get as close to the final sound as you can by applying EQ and compression. If you use plugins, you don’t really risk anything here if you don’t record through them. Printing through hardware EQ and compression can be great but it is best to split the signal and get an unprocessed version before you’re really sure of what you’re doing.
Tools At Your Disposal
So, what if you’re given someone else’s recording to mix or you’re using samples or software instruments that come with a harsh quality to them?
One thing to consider is not choosing too many sounds that have the bulk of their energy in the 2k – 5k range.
This practice is really a part of good arranging. Having said that, a lot of the time we need to fix things in the mix. EQ is probably the first tool that comes to mind for this task. Consider the Fletcher-Munson curve.
The curve depicts human sensitivity to different frequencies at different amplitudes. There is a sizable dip at all amplitude levels between 2kHz and 5kHz. It’s probably no coincidence that the cry of a baby has most of its energy right in the center of that range. We as humans are built to be sensitive in that particular region, which makes it a good place to start cutting if you want to tone down the assault on your ears.
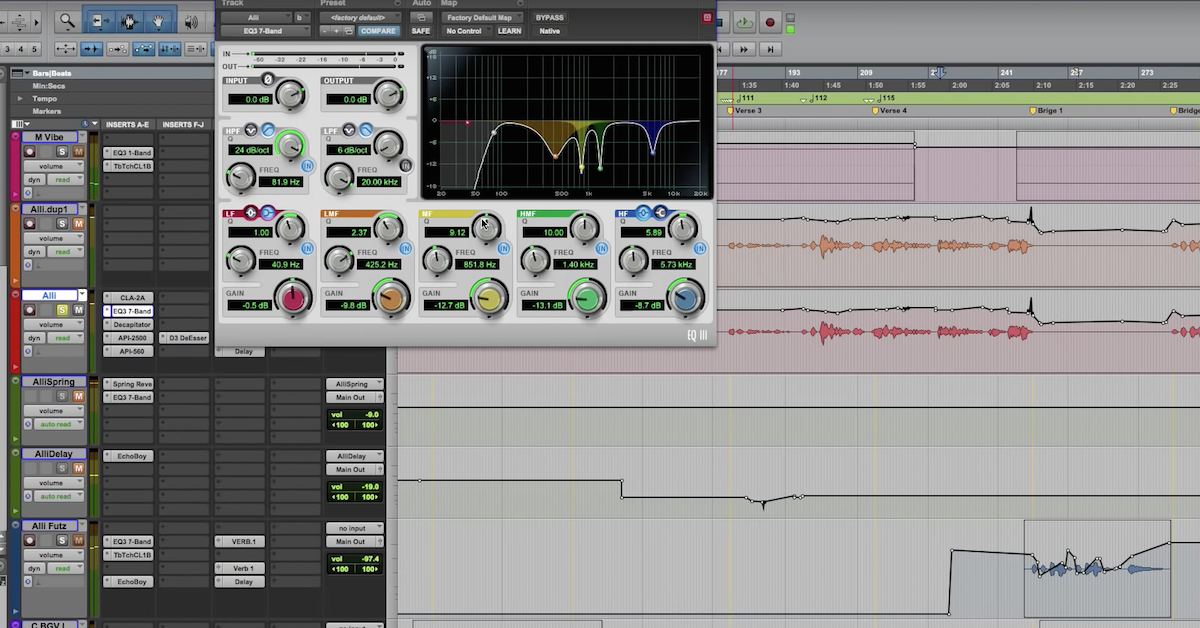
Using a dynamic EQ programmed to react to these frequencies can be a good idea. It can even be used on the master bus since it only reacts to frequency buildup over a certain threshold and does not dull the overall sound.
One thing to think about is that there might not actually be a problem in the 2k – 5k range, it might just be matter of overall balance; a slight boost in the lower mids could then be a less obtrusive way to go.
High-pass filtering or using a de-esser on your reverbs is an effective technique, as is filtering out the top end from the tracks that do not have any useful information there.
Another thing to consider when using EQ to combat harshness is to EQ your signal before compression. This technique is rather popular among some of the top mixers in the industry. The reason this works is that when you boost a frequency in the presence/harshness range, the compressor reacts to it and clamps down on the peaks. The dulling of the transients and reduction in amplitude will let you get away with brightening your signal without it getting more fatiguing to listen to.
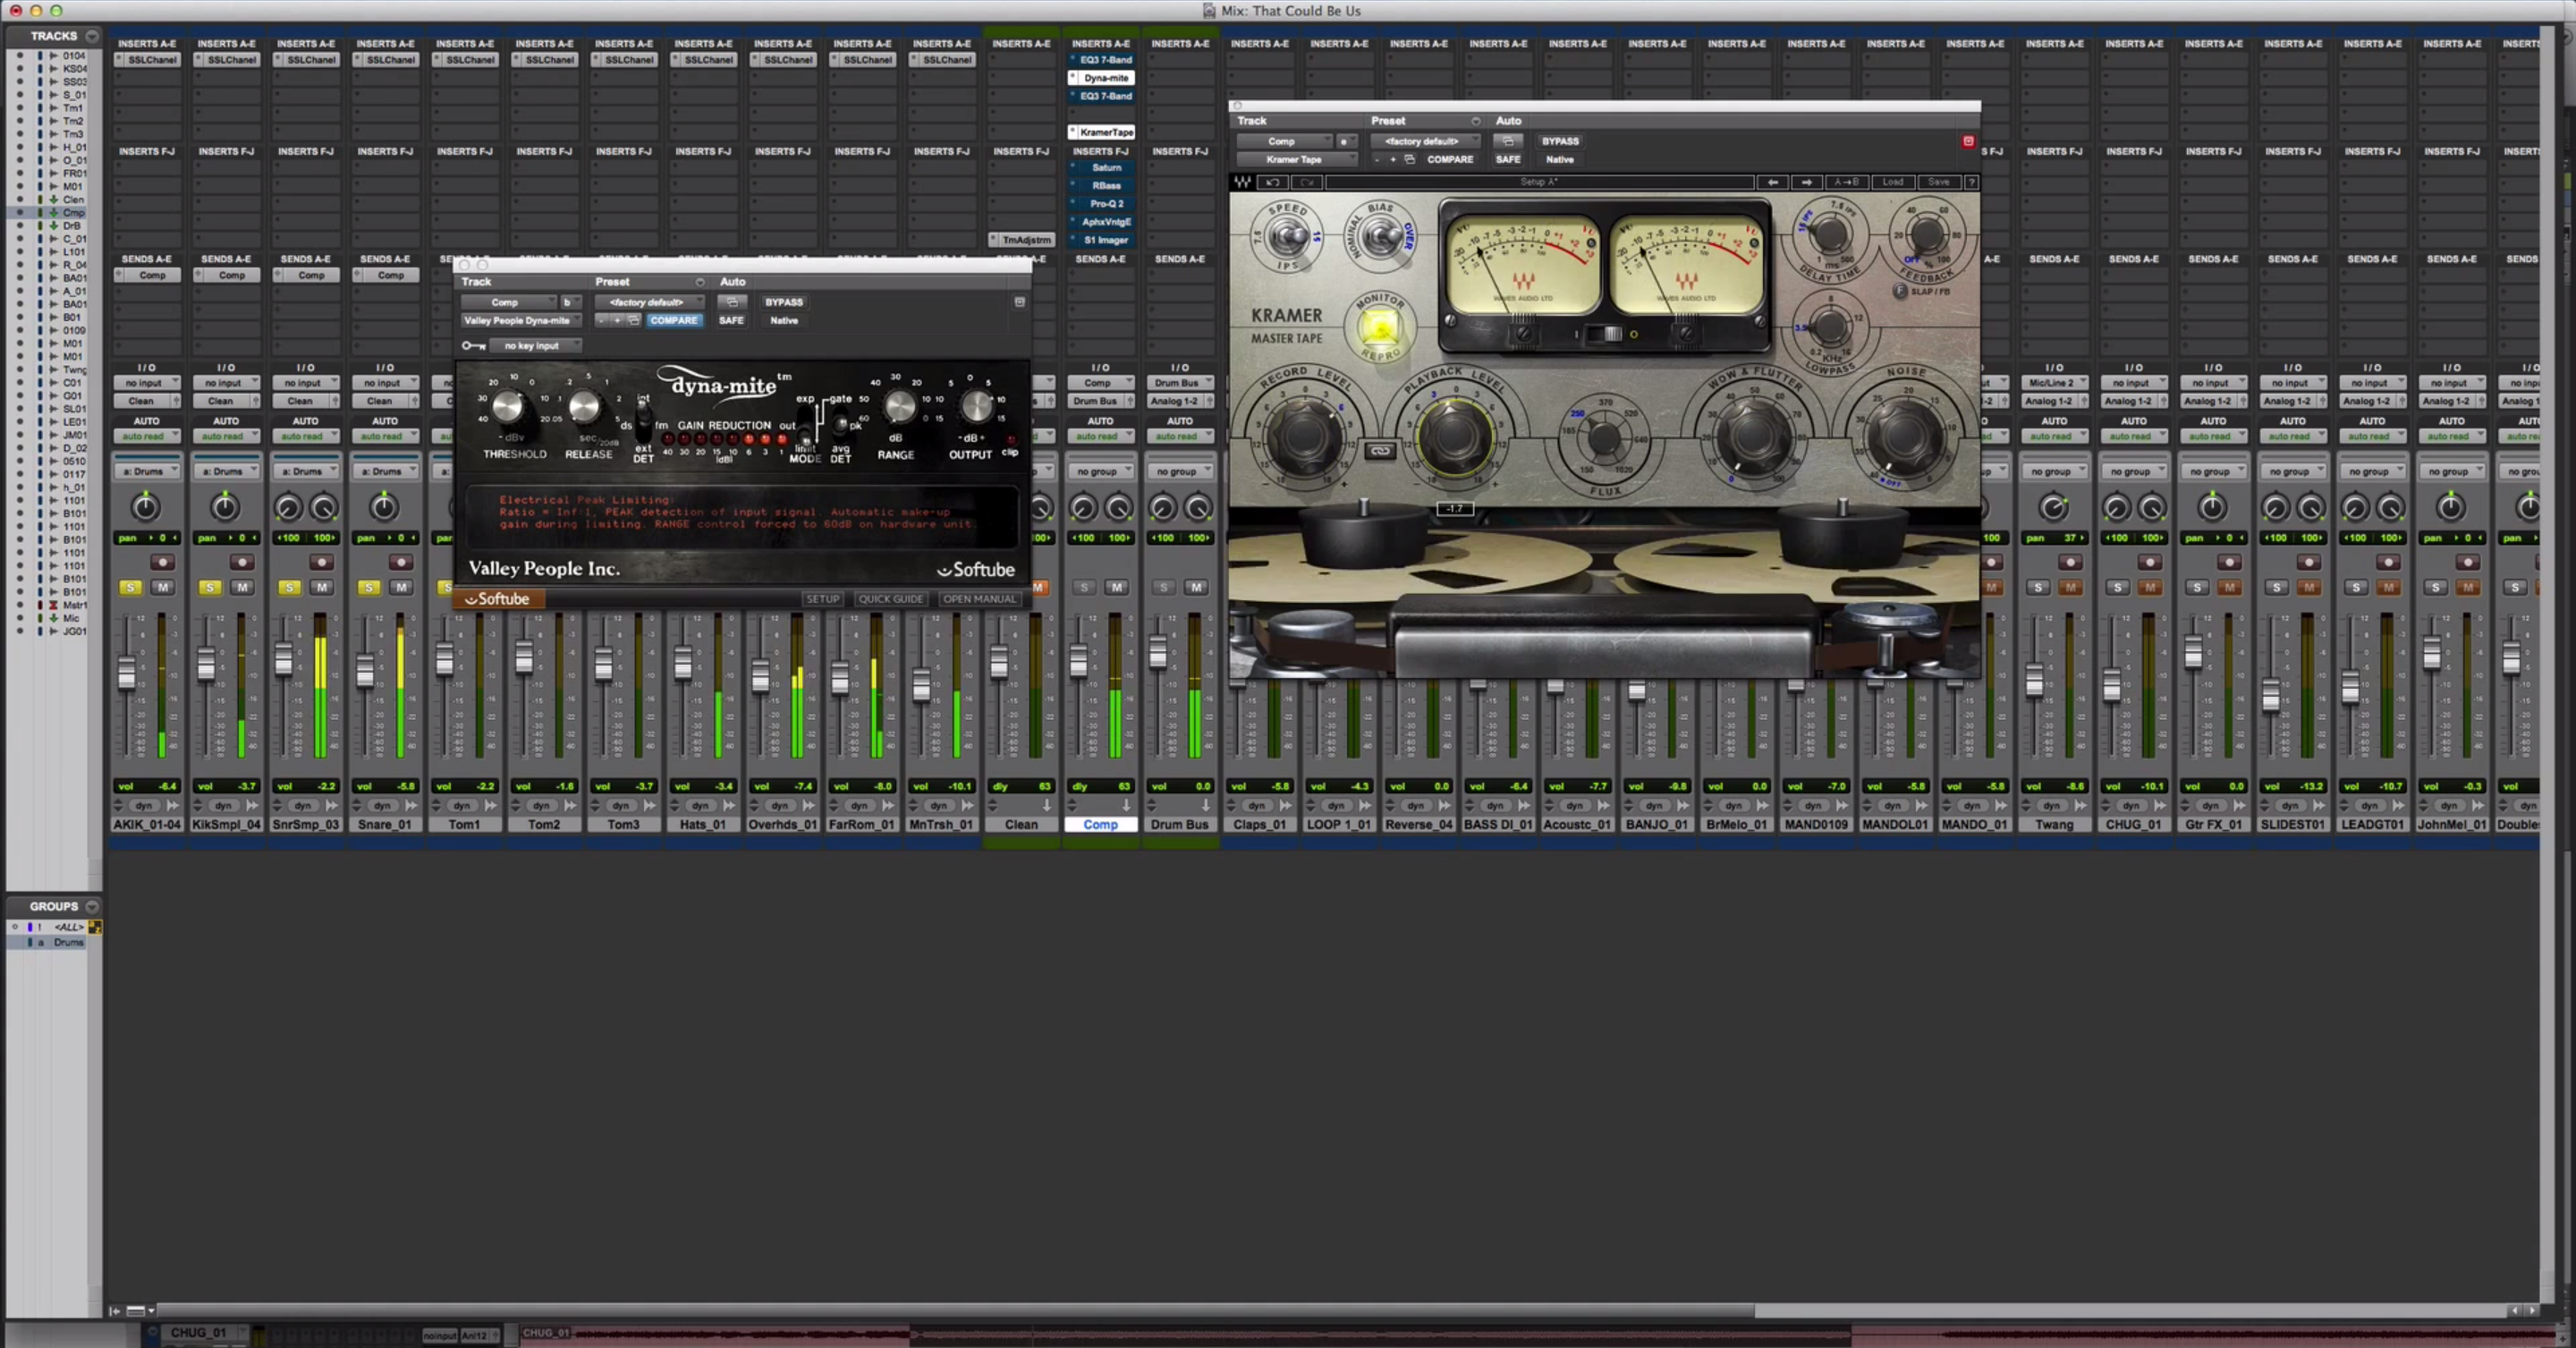
Compression alone can be effective too with a fast attack, which will slow down the transients and make the sound darker without EQ. Analog tape or any good emulation will also make the transients rounder. Tape saturation is also known to absorb some of the top end which can help with overly bright and harsh sounds. Keep in mind, however, that tape saturation will create new harmonics and can actually make a sound more harsh if used liberally. Cymbals in particular can suffer from this.
Check Your Gain Staging
Of course, none of the above will really get you out of trouble unless your gain staging is sane. You’re probably working in 24-bit, so there’s really no excuse not to have a good amount of headroom when recording.
This means never even get close to clipping your converters!
While gain staging might seem less important once you’re inside your DAW, you can still clip your plugins if you’re not careful. Digital clipping, unless consciously done by a mastering engineer, is never a good idea and can result in unpleasant, harsh distortion.
Take Your Music to the Next Level
Making Sound is available now, a new e-book filled with 15 chapters of practical techniques for sound design, production, mixing and more. Quickly gain new perspectives that will increase your inspiration and spark your creativity. Use the 75 additional tips to add new sparkle, polish and professionalism to your music.


