What is Compressor Ratio? (+ 3 Mix Scenarios)
Article Content
There’s pretty much no avoiding compression in music production. At some point, all of us have to learn to use this essential tool, but the variety of options and sometimes elaborate-seeming controls can be somewhat intimidating to the uninitiated. In this article, I’m going to be taking a look at how to use a compressor’s ratio setting to get the sound you’re after. Let’s break things down a bit first.
What Is a Compressor Even Doing?
Before I answer this question in earnest, I’m just going to get this out of the way:
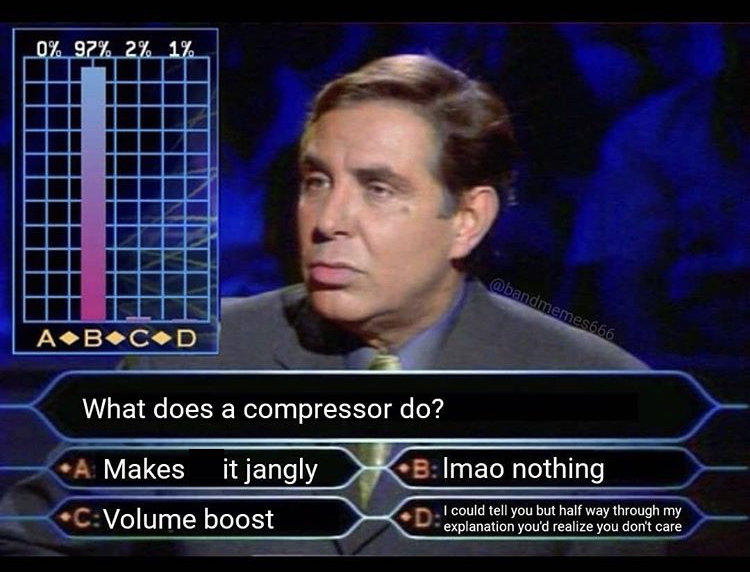
Whew! Ok, we can check that off the list. Now back to business.
Compression is, at its core, all about reducing dynamic range. When incoming signal exceeds the compressor’s threshold, the compressor starts reducing gain, leveling out the track’s dynamics.
Of course, the devil is in the details. The particulars of the ways in which various compressors act on signal can make a huge difference in how we use them and the sounds we get. That said, reducing dynamic range is the common thread that unites all compressors, and for now we’ll stay focused on that.
So What Is Compressor Ratio About?
If the threshold sets the point at which a compressor starts reducing gain, the ratio determines just how much gain reduction is going to happen. If I set the threshold at -12 with a ratio of 4:1, it means that for every 4 dB of signal that passes above -12, the compressor will only allow 1 dB to get through.
So if a track peaks at -8, and I compress it with a ratio of 4:1 and a threshold of -12, that means the resulting peak after compression will be -11 dBFS. The difference between the peak and the threshold was 4; those 4 dB of gain are reduced by a factor of 4:1.
If it’s a little hard to follow this concept in the abstract, this chart makes it a bit easier to understand what’s going on:
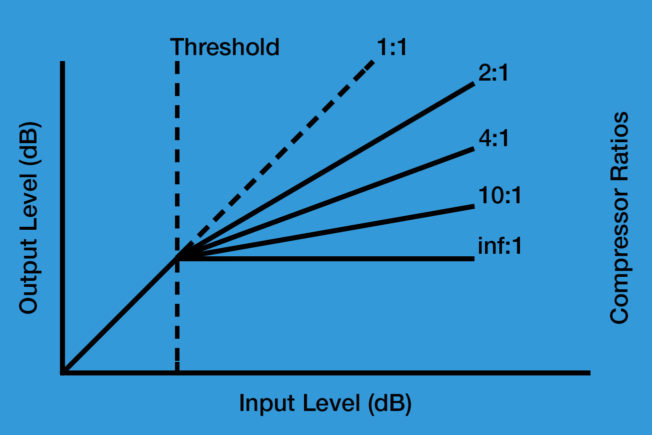
The dotted vertical line represents the threshold. Below (to the left of) the threshold, gain in translates to gain out at a 1:1 ratio. Above (right of) the threshold, it takes increasingly more input to result in diminishing output, depending on the ratio you set.
The compressor math I gave above is intentionally simplified to make this concept easier to understand. In practice things are a bit messier, and a compressor’s behavior is often less linear than we might expect. As always, experiment with settings and trust your ears to help you get the sound you’re after.
Let’s look at three scenarios where you might choose different compression ratios:
Scenario #1: Gentle Mix Buss Compression
When we use mix buss compression, the typical reason is to subtly “glue” a mix together in a musical way. In these situations, we’re after transparent compression to give the whole track a subtle lift.
Ratio isn’t the only variable that determines how transparent a compressor sounds, but it’s usually a safe bet that higher ratios are going to be more aggressively coloring. For that reason, it’s common to use a lower ratio for buss compression.
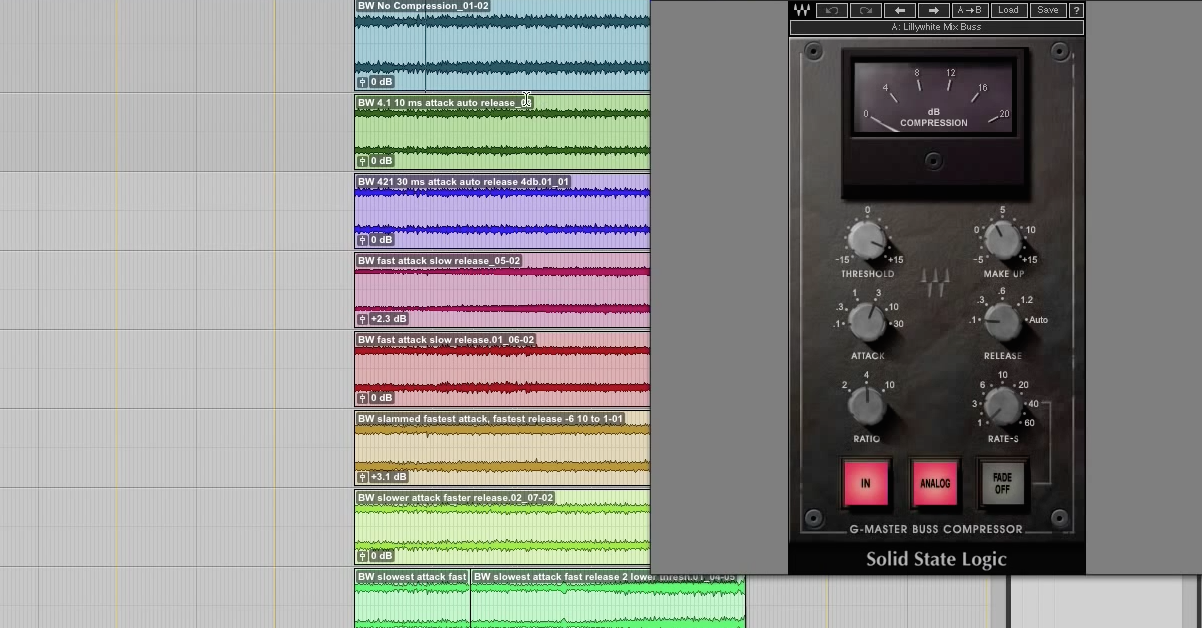
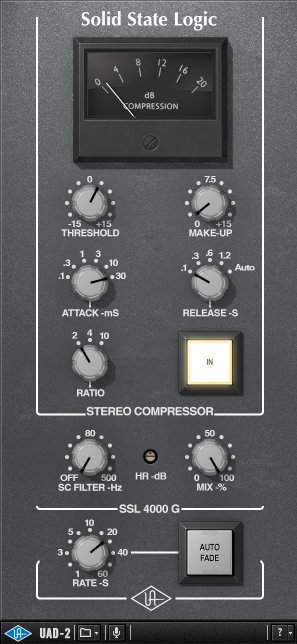
Many buss compressors will feature ratios even lower than 2:1 — 1.5 is common — though some engineers prefer ratios as high as 4:1. I personally would not go higher than that, and usually stick to 2:1 or lower on a mix buss.
Because the goal is transparency, mix buss compression often works well with a slow attack and fast release. Of course there will always be exceptions, so use your ears to find what sounds right for a given mix.
Scenario #2: Moderate Ratio Vocal Dynamic Control
While mix buss compression generally calls for a light touch, there are other situations in which we may be willing to sacrifice some transparency in exchange for more efficient dynamic control. It’s very common to see this sort of no-nonsense compression be used on vocal tracks, especially when the singer’s performance features lots of quick peaks.
In these scenarios, the goal is compression that is targeted at those loudest moments, rather than fluid, consistent gain reduction. For that reason, a moderate ratio will control those peaks efficiently without introducing too much coloration. Start with a ratio around 4:1, and set your threshold so reduction only occurs on those loudest moments.
You can hear this sort of “utility dynamic control compression” in the example below. I used the FabFilter Pro C to dial in at most 2 dB of compression that only kicked in on the loudest notes:
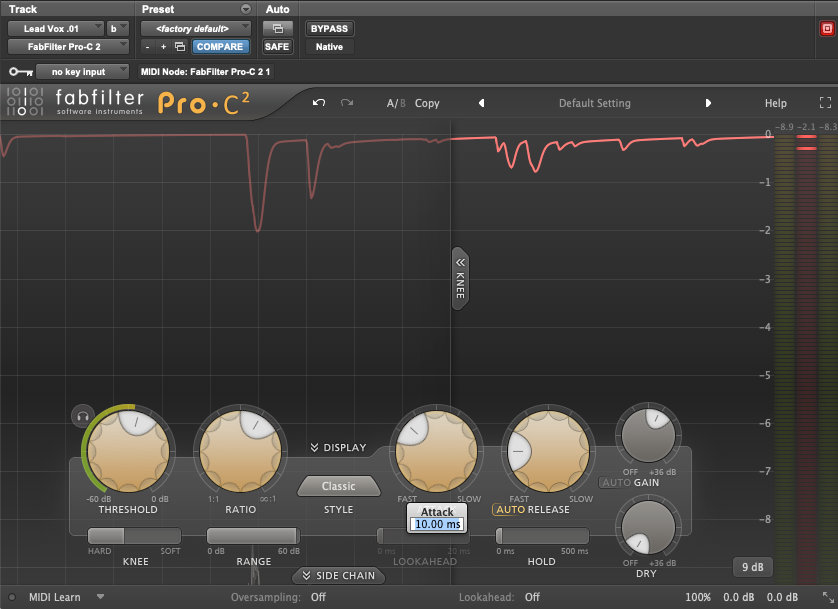
The compressor is set to miss all but the loudest moments of the vocal part
Here’s the before:
And after. Listen to the vocals sit more comfortably in front of the mix:
Scenario #3: High Ratio Drum Destruction
Many drum mic setups will feature one or more mics intended to be “crushed” with heavy-handed compression (room, front of kit and “wurst” placements are common choices). In these situations, high ratios can really shine. Remember when I said that high compression ratios tend to be less transparent? This sort of compression application is all about being anything but transparent. In fact, inducing distortion — and not the subtle kind — is sort of the whole point.
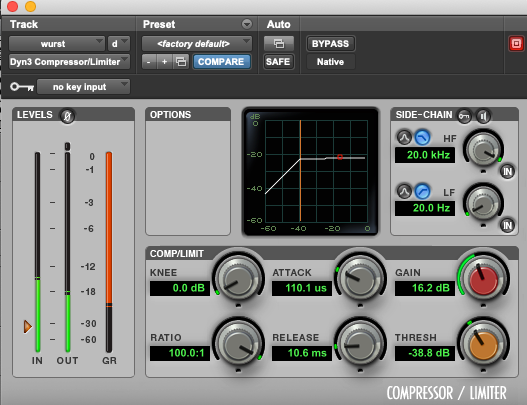
If your drum mic setup includes some sort of “crush” placement, try hitting it hard with some high ratio compression. The goal here is sonic obliteration, so you can dial in lots of reduction with a fast attack and a release that moves with the rhythm of the part. The classic choices for this type of compression are an 1176 with all its buttons in or a Distressor in “nuke” mode, but you can achieve this effect with just about any compressor that offers ratios of 10:1 or higher.
I personally would use my favorite 1176 emulation, but just for kicks I tried this move out using the Pro Tools stock compressor on a wurst mic placement. That’s a mic in the middle of the kit, more or less looking at the drummer’s knee. I set the ratio all the way high — 100:1 — with a fast (below 1 MS) attack and release, looking to get 15-20 dB of compression:
Here’s the kit before:
And after:
Conclusion
A few of you might be noticing at this point that I made a huge jump from the 4:1 ratio in example 2 to the 100:1 ratio in example 3. Are there uses for compression ratios of 8:1, 10:1, 20:1 and beyond? You bet. But for now, “mild, medium and extra spicy” are the options we’re looking at. Hopefully this article has gotten your gears turning about how you might start using the ratio on your go-to compressors to get a wider range of results.


