5 Compression Tricks You Won’t Believe Actually Work
Article Content
Compression, in essence, is a simple concept. When a signal gets louder than you want, the compressor turns it down. Easy.
But things quickly get more complex when we consider how fast the compressor acts, how quickly it stops acting, how it interprets the signal threshold, and how it interprets the signal it’s reacting to. It turns out you can do a lot with compression outside of its primary functionality.
1. Enhancing Punch with Slow Attack
One of the techniques I like to mention is that you can use compression to increase dynamics, not simply decrease it. This can be done by setting a very low threshold and a very, very slow attack. In this case, the compressor will react to the whole of the signal.
Picture a kick drum. You have the transient punch of the beater hitting the drum head and you have the sustaining resonance of the drum. Imagine we feed our kick through a compressor and we set the threshold so low that it’s acting not only on the punch but on the sustain as well. In this case, we would effectively be reducing the entire sound of the kick. But the punch of a kick is very fast, so imagine now that we set the attack of our compressor so slow that the punch is barely acted on. We end up attenuating more signal over the sustaining part of the drum than the punch.
Because we are turning down more sustain than punch, we are essentially exaggerating the attack portion of the kick. In this way, we can increase our dynamic range rather than decrease it. Depending on how we set the compressor and what type of compressor we are using we can reshape the drum to have an exaggerated but “rounder” attack, or an exaggerated “spikier” attack.
For some applications, this can actually be more effective than a typical transient designer. A great example of this would be approaching this technique with the Slate FG-Stress to get that quintessential “batter-forward” rock kick sound (which is achieved by using a high ratio).
2. Swelling or Pumping for Rhythm
Another common “uncommon” use of compression is to purposefully set the release too fast or too slow in order to impart the compression action onto the sound. This can be profoundly powerful in bringing out the rhythmic idea of a record.
For example, we can use fast compression to emphasize ghost notes and “inside groove” elements in a percussion bus. 1176 emulations are great for this. Alternatively, we can set a very slow release time in order to create a “pulling” sensation where the music seems to swell up between the beats. The most common example of this is in EDM where the kick drum is used to trigger compression on the bass. The effect of this is highly influenced by the compressor’s release curve. Softening the curve will reduce the swelling effect but preserve the overall fullness of the sound (think House/Big Room bass). Using a more logarithmic curve will create a hole-punch effect where the level attenuation is very audible (think Future Bass synths reacting to the kick). For this kind of application, I really like the Sonible Smart Comp as the timing and attack/release slope are fully customizable and it’s an overall very transparent compressor so it can be pushed a little further without imparting much of anything except the desired dynamic movement.
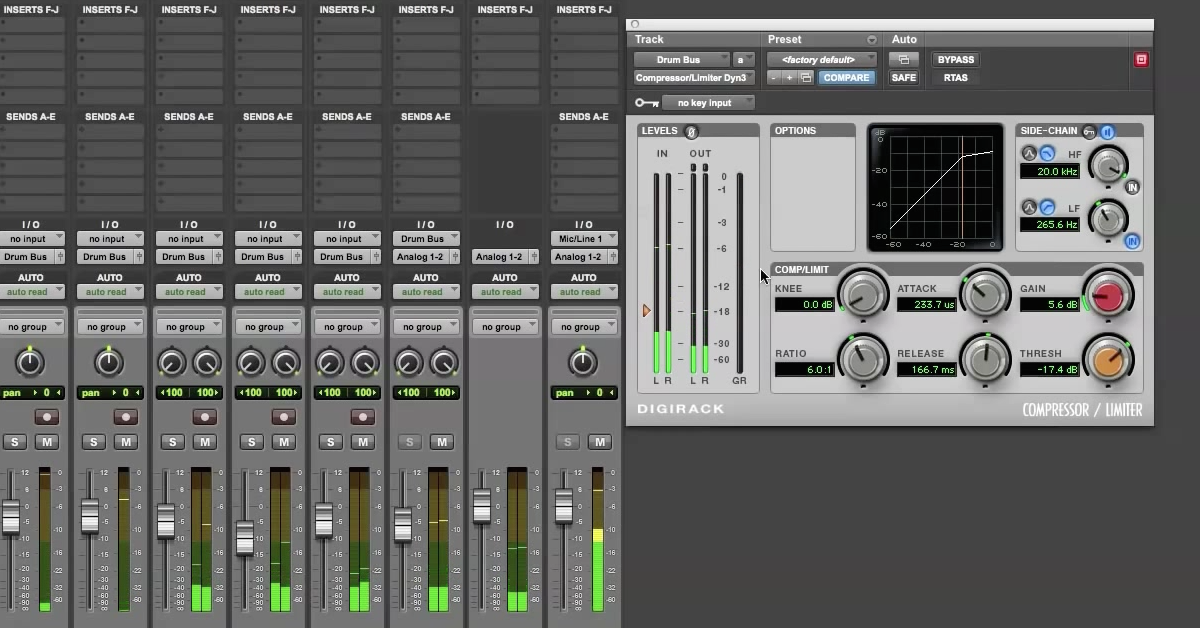
This can be great for compression over the entire mix. By timing the release to bring out the groove you want, whether it’s faster for a fuller, inside-note type sound, or slower for a stretchy, taffy-like effect, this technique can put a fresh spark into the mix. The trick is to use very low ratios as any dramatic compression over the mix will likely create unwanted artifacts — or use a heavy ratio, because why not? Sometimes that’s exactly the sound you want.
3. Frequency Focused Compression
Dynamics account for total amplitude but do not account for the way that we perceive sound.
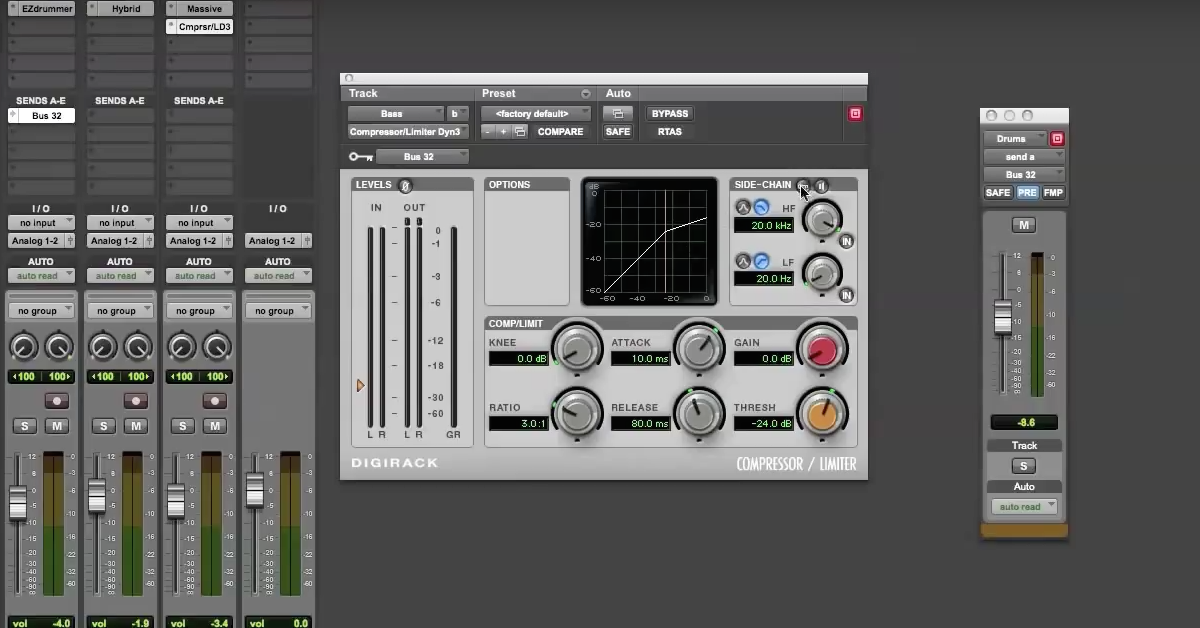
A very easy example of this is how compressing a vocal brings up sibilance, or compressing drums brings out the cymbals. While the esses and cymbals might have less physical amplitude than the body of the vocal or the snare and kick of the kit, because they are bright, cutting sounds, we hear them in a much more pronounced way. We can account for this difference by EQ’ing the sidechain signal within the compressor (the Fabfilter Pro-C 2 allows you to do this very easily).
By extension, we can get a compressor to react more to certain frequency ranges. Over fast moving elements, this has a unique effect. Imagine a vocal where every “i” vowel bursts forward with energy in the 1k-2k range. But when we EQ this range down, suddenly we lose much-needed presence to the vocal. How can we tame this sound while imparting the least amount of artifacts? We can boost that range into the sidechain of a compressor. Because the wide-band compression reacts more to this range not only do we tame down the “i” vowels, but we soften any place where this range starts to over focus. The net effect of this is that we perceive the vocal to have less 1-2k range, but without losing any of the 1-2k presence. It’s almost like multiband compression, except no phase artifacts.
4. Compressing Delays & Reverb
Reverb and delay are inherently rhythmic processes because they are based entirely on time. When we set our reverb or delay we time our tail to complement the feel of the record. Sometimes getting the feel right isn’t just a matter of how long the tail is set, but the slope in which it decays.
Now, that might sound a little confusing but imagine we have a word at the end of the phrase being sent to a delay throw. We may want to hear the delay audibly repeating to fill out the space to the next phrase. If the decay of the delay is perfectly linear we may hear the first echo clearly, but the second one might be low, and by the time we get to the third it is close to inaudible. We could extend the delay tail, but then the echoes might run over the next phrase.
So what do we do? We compress the delay return so that the quieter echoes come up, while the overall tail length stays the same. This concept applies to reverb as well. We can compress the reverb return in order to keep the room sound full, but without it tailing out too long at the end of phrases. This is particularly true when we want very short reverbs like “natural” rooms to be present on vocals. A room tail could very well be under a second in length, which can leave a vocal sounding particularly dry. By compressing this short reverb we can bring the room sound up without turning it into a “large room” sound.
5. Creating/Erasing Transients with Delay + Sidechain
Now this one is a bit difficult and requires very specific circumstances. Sometimes when we are compressing a signal we want to soften the attack tone, but our compressor is not fast enough to actually grab the attack in full. The leading edge of the sound stays sharp and piercing. This happens when we have “clicky” instruments, like an upright bass.
To soften the attack we can create a duplicate track, and shift it earlier in time by 10ms. We then feed the duplicate track into the sidechain of a compressor placed on the original. This way the compressor is effectively reacting to the same signal but has ten more milliseconds to act on it.
In addition to softening a clicky signal, this technique can also be very useful for ducking one element from another. Say for example we have a hi-hat and we want it to cut through a very bright synth. We might not be able to get a compressor to work fast enough to adequately duck the hi-hat and make the hat cut through the way we want. If we duplicate the hi-hat and move the copy even five milliseconds ahead, and feed that signal to the compressor, then we give the compressor enough time to make room for the attack tone of the hi-hat, giving us a little bit more cut and clarity.
Compression, am I right? What can’t it do?


