How to Start a Podcast: Recording
10/3/2017
Article Content
Podcasts are one of the fastest growing forms of popular media. As of 2017, 112 million Americans have listened to a podcast at least once, and 67 million Americans listen at least once a month, so it’s no surprise that businesses, brands, and even musicians are starting to record their own podcasts.
The problem is, most of them don’t know the first thing about audio engineering, and while they may have great discussions, chemistry, and rapport, it doesn’t do them much good if their podcasts are plagued with technical problems.
Don’t worry, we’ve put together a simple guide to help you produce a high-quality podcast even audiophiles will enjoy.
What Do You Need To Record a Podcast?
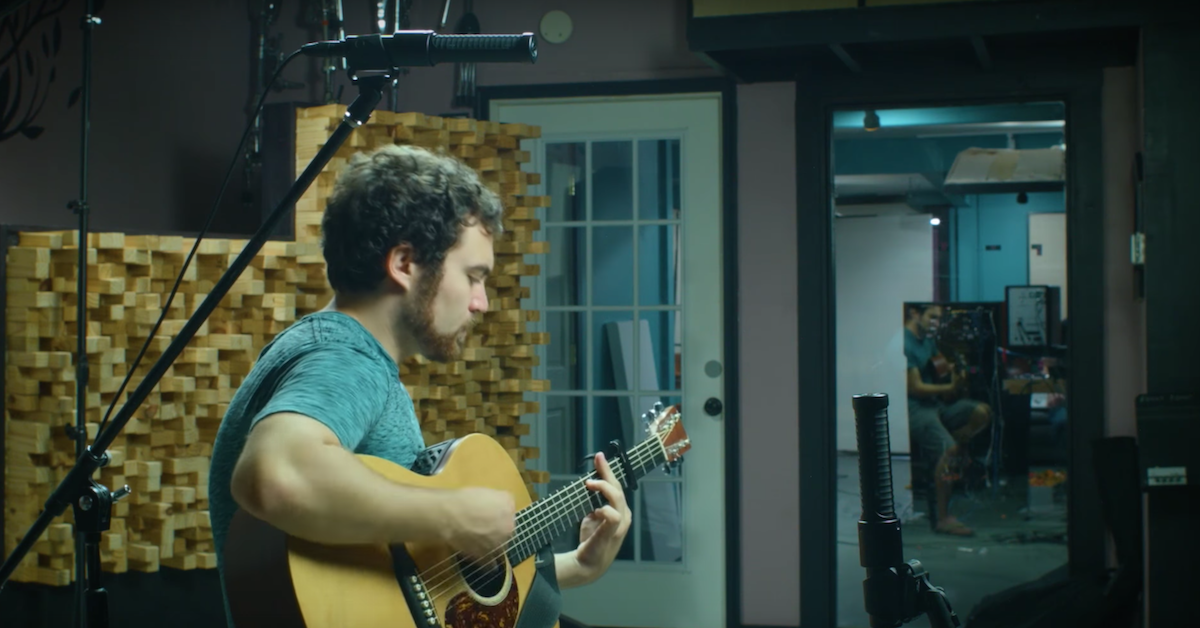
All you need to record a podcast is a story. Well, that’s not entirely true — if it were, this would be a pretty short article. But, if you’re looking to record your first podcast and you don’t have any equipment, it’s honestly not a bad idea to record a couple trial episodes using your phone. Most laptops include internal microphones that work well too.
It’s a great way to get a feel for the flow of your podcast and work out the kinks without dropping a ton of cash on recording equipment.
USB Mics
After a few trial runs, if you’re looking to step up from mobile-quality audio, USB microphones are a solid, budget-conscious choice for podcasters. They connect directly to a computer via USB cable and record audio directly into a DAW for editing and processing.
Unfortunately, with only one microphone, you and your guest/co-host have to share a mic, which isn’t ideal. Blue and Audio-Technica both have popular USB microphone models.
Portable Recorders
Portable recorders offer one or more built-in high-quality microphones, as well as options to connect external microphones. That’s where the true benefit of portable recorders come in — the ability to connect multiple, independent mic signals.
When connecting external mics to a portable recorder you have the option to set up a single stereo recording, or two individual mono recordings. This allows you and a co-host or guest to each use your own dedicated mic, which makes for a much cleaner, more professional sounding podcast.
Portable recorders save digital audio files to an external memory card, which can be imported to your computer and edited in a DAW. Zoom and Tascam both make popular models.
Recording Interface
Recording interfaces allow you to record multiple mics, each with independent control, directly into your DAW (digital audio workstation). Most portable units come with 2-8 preamps for controlling mic gain, and connect directly to your computer using USB, Firewire or Thunderbolt. Although it’s the most expensive option, it also offers the highest potential audio quality and the most control.
For a truly professional sound, you and your guests/co-hosts can each get your own recording interfaces and microphones and use third-party software to record over the internet. Focusrite, Universal Audio and Apogee all make great portable recording interfaces.
So what’s the best way to record a podcast? Well, that depends. How many people are going to be recording at the same time? Are they going to be in the same room or separate studios? And most importantly — what’s your budget?
Microphones
If you choose to record your podcast using an interface, you’re going to need to pick up a microphone or two. These mics can also be used as external mics on portable recording devices, in case you need to do some field recording.
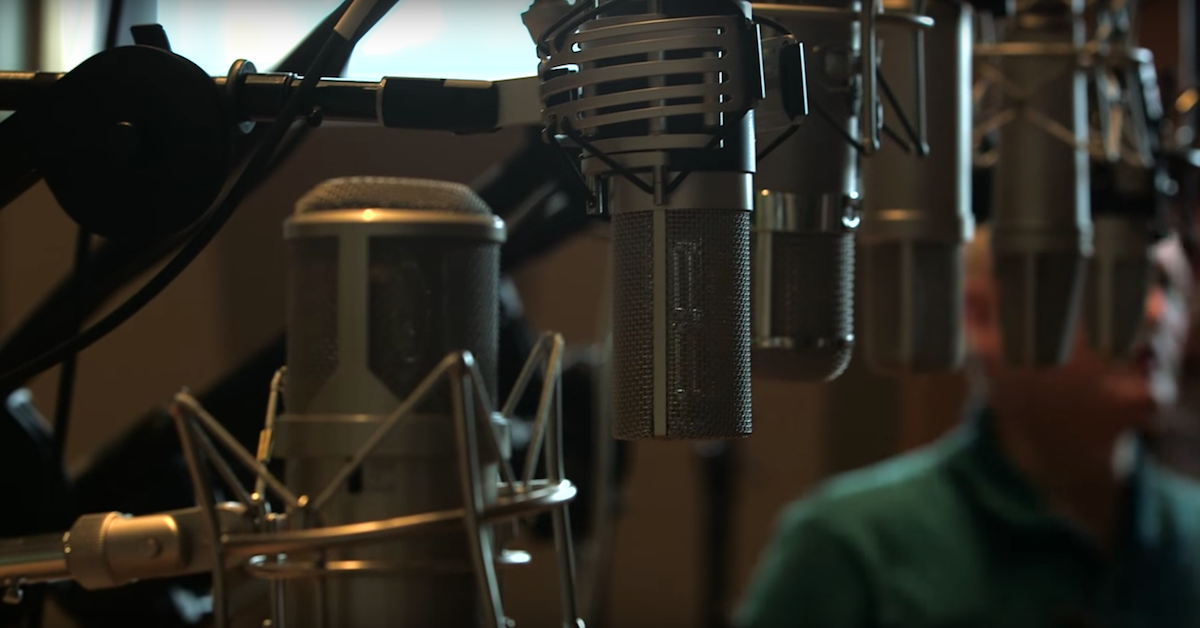
Many podcasters prefer the clarity of large diaphragm condenser mics, like the AT 4040 or the NT1-A. However, many professional broadcasters use dynamic mics like the SM7b or the RE-20 for their increased low-end response.
Every voice is different. The only way to know which mic is going to sound best with your voice is to try them all. Schedule a demo session at your local music store and “shootout” a few microphones before you purchase. See which one sounds best for your voice.
Here are some reasonably priced microphones commonly used for recording podcasts:
Audio Technica AT 4040
AKG C214
Blue Bluebird
Electro-Voice RE-20
Rode NT1-A
Shure SM7b
Digital Audio Workstations
At some point, no matter which recording method you chose, you’re going to need to use a Digital Audio Workstation (DAW for short).
DAWs are used to record, edit, and mix audio recordings. This is where you’ll be arranging the various vocal recordings and music beds, as well as editing out any unwanted parts of the recording.
This is how you turn a two hour recording of a conversation between you and a friend into a polished and professional podcast. Many podcasters choose to record the main portion of the episode first, and then record an introduction and closing remarks after editing.

Ready to elevate your ears?
It doesn’t have to take years to train your ears.
Get started today — and you’ll be amazed at how quickly using Quiztones for just a few minutes a day will improve your mixes, recordings, and productions!
Thankfully, as a podcaster you don’t need a DAW with tons of bells and whistles. Popular commercial DAWs like Pro Tools, Logic, and Ableton Live are all great, but they offer a lot of advanced features which you might not need when you’re starting out.
Pretty much every DAW lets you adjust levels and edit clips, which is basically all you’ll need as a podcaster, so before breaking the bank on a big-name DAW, you may want to try out something more budget-friendly or free like Reaper, GarageBand, or Audacity.
Sound Quality
First and foremost, if you’re going to be recording somewhere other than a recording studio, you need to put up some acoustic treatment. The nicest mics in the world can’t make an office sound good. You don’t need to cover your living room in egg cartons (seriously, don’t do that), but a little bit of soundproofing can go a long way.
Many podcasters also choose to pick up some pop filters to help reduce plosives (popping p’s and b’s), and sibilance (hissing s’s), and some even choose to pick up portable vocal booths to further reduce room noise.
Mic Technique
After setting up your recording rig, it’s time to push the big red button! But first, you should do a quick sound check.
Start by placing the mic roughly 3-6” from your mouth — ideally with the pop filter about an inch away from the grill. This is just a starting point; if you’re soft-spoken you may need to move closer, and if you’re a loudmouth you may have to move back.
Speak into the mic and slowly turn up the mic gain until your voice can be heard clearly. The meters should be green, bordering on yellow, but never red. If your meters go in the red you run the risk of clipping, which can cause distortion — a big no-no in podcasting.
Try a few sentences with some p’s, b’s, and s’s to make sure there are no problems with sibilance or plosives. If you hear any popping or harshness, try angling the mic “off axis”. Instead of placing the mic directly in front of your mouth, place it either above or below, and angle it at about 45º so your breath doesn’t blow directly into the capsule.
Hit record and capture 30 seconds or so of silence, quiet talking, and loud talking to make sure there are no problems. Check for buzzing or humming during silent parts. Check for “room tones”, like the sound of a squeaky chair, a ceiling fan or a police car driving by.
If everything sounds right, gather up your notes, cue the intro music and hit record! It’s time to go live. Just remember, you can always edit later. If you stumble over a word, talk over your guest or just straight up forget what you were talking about, take it from the top. It’s just like being in the studio — it doesn’t matter if you have to do it more than once, as long as you get the take.
Stay tuned for the next installment where we’ll discuss podcast editing and mixing techniques.
Eleveate Your Ears