How to Achieve Stereo Width Without Fancy Plugins
Article Content
➥ Download a free sample pack from Cristofer Odqvist
There are a lot of elaborate tools out there for widening your stereo image. Whether they’re for making a stereo track sound ”more stereo” or faking a stereo image for a mono track, they can surely be both a blessing and a curse.
A wide stereo image can sound lovely, but though it’s often a very euphonic effect, it can mess with phase to the point where you end up losing punch and mono compatibility. Even though we tend to like wide mixes, it’s often the mixes that hold together best when summed to mono that will also sound best in stereo.
Stereo width is essentially a simple concept: it’s mostly about how much difference there is between the left and the right channel. The greater the difference, the wider the mix will appear to your brain. Most of the time you don’t really need all the bells and whistles that come with the high-end plugins.
For the record, I’m not opposed to using fancy mixing tools, but I do think it’s a great learning experience to dig in and do things manually before using a prefabricated solution.
There is so much raw creativity waiting to be unleashed once you start experimenting with some basic concepts.
It Starts with Arrangement
Before you even record, program or mix anything, you can work out your arrangement to aim for a wide stereo field. If you have two guitars, or any instrument playing chords, a classic way of mixing them to get a wide sounding mix is by panning one of them all the way to the left and the other all the way to the right.
This is a good start and perhaps they’re already perfectly arranged to achieve maximum width in the mix. But in case they aren’t, let’s go through some techniques to increase the difference between the right and left channel.
There are two aspects of the sounds that I’ll go into here: texture, either through basic arrangement of the notes played or through processing—and how the sound is placed in the space.
Let’s start with the chord voicings. If you’re playing a C major chord on a keyboard or guitar, chances are that the sequence of the notes will be stacked like this: C (root note) – E (major third) – G (fifth). Arrange the parts stacking the notes differently for the other instrument. Simply put a different note at the bottom, for example G. The sequence will then be G – C – E. This can be done in a number of ways, but try out different combinations to see what’s most effective for your song.
Another way to do it is playing one of the instruments in a higher or lower octave. This is less subtle than the previous technique and can also be combined with the voicing technique.
Arranging like this will not only make the stereo field appear wider, but the mix will sound richer, it has a good chance of sounding great in mono, and it’ll inevitably need less EQ. All of this just cannot be achieved by using a widening plugin.
Additional Texture and Space
Another great way to increase the difference between the left and right channel in an organic way is by placing the two instruments differently in time and space.
Try putting one of the instruments through a reverb and the other through a tape delay.
Use two different amplifiers/speakers or emulations of such things (more on widening using speaker emulations below).
Play with filters and tone controls while listening to both instruments in context to ultimately find the most pleasing combination.
EQ Trickery
While mid/side EQ is becoming a pretty standard feature for EQ plugins, it still borders on being ”fancy”, so we’ll stick with basic EQ modes for this article.
Insert an EQ on both tracks, linear phase mode works best for this. Do a slight boost on one of the tracks—a bell curve boosting a few dB somewhere in the upper-mids is a good starting point.
On the other track, do the opposite curve using the same center frequency, Q value and dB, but doing a cut instead. This technique will increase the difference between the channels without changing the overall frequency content. Depending on the EQ used it should sum fairly well to mono.
Another EQ technique I’m really fond of is designed to emulate the imperfections of an analog console when you’re doing EQ on a stereo track with separate EQs on two mono channel strips panned left and right.
To do this, copy the EQ settings from one of the tracks to the other track, and make small deliberate changes in all of the parameters. The changes you make are extremely small, like a third of a dB and so on, but the changes will stack up since you’re doing it to the Q value, the center frequency and the amount of boost or attenuation. The difference should be big enough to be heard but small enough to avoid any major phase issues.
Phase Inversion Tricks
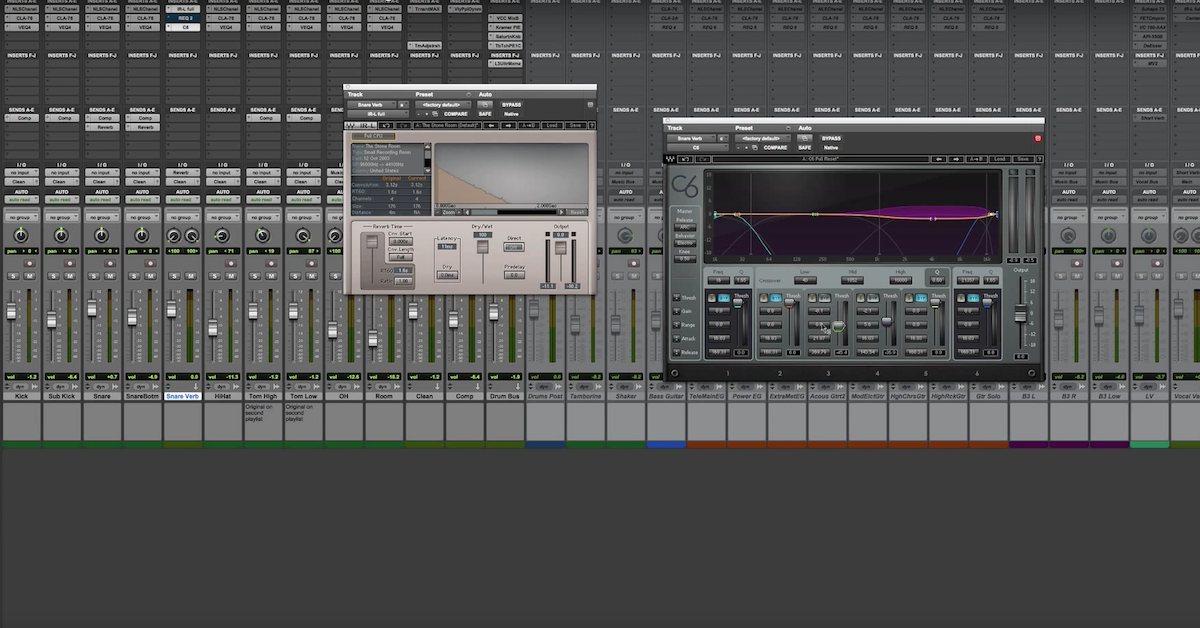
A pretty cool and subtle technique to achieve a convincing stereo image for mono sounds involves using speaker emulations or short reverbs. Loading an impulse of a guitar cabinet into a convolution (IR) reverb is a great way to go here.
Algorithmic speaker emulations and reverbs with a reverb time well under a second can work too.
Here’s the recipe: Use two mono auxes and, on both aux tracks, insert a trim plugin or any other plugin that lets you flip the polarity (phase). Insert your choice of speaker emulation and pan the auxes hard left/right and flip the polarity on one of the auxes.
On your mono track, turn up the sends to both of the auxes until you have a stereo image you like. This stereo effect has the great advantage that it will disappear completely in mono without messing up the phase of the original track.
Another technique every mixer should know about is the Haas technique. It’s been explained many times, so I won’t go into it here, but you’re wise to look it up if it’s not familiar to you.
Take Your Music to the Next Level
Making Sound is available now, a new e-book filled with 15 chapters of practical techniques for sound design, production, mixing and more. Quickly gain new perspectives that will increase your inspiration and spark your creativity. Use the 75 additional tips to add new sparkle, polish and professionalism to your music.


