Tips for Mixing Bass Guitar in a Metal Track
So, I mean I ended up with a pretty aggressive sounding bass — a lot of percussiveness and it’s also kind of grindy. There’s definitely some gain on there which is something I wanted.
First of all, you know, getting a good bass sound for this genre like any genre really starts with getting a good raw recording. For this track I ended up using a Fender Jaguar with a single coil pickup into an ART MPA-2 Preamp, which was subsequently followed by an ART Pro VLA Compressor. There was a little bit of tracking compression applied at about a 3 to 1 ratio to kind of tame some of the peaks. Because it was a really dynamic performance and I didn’t want to clip the convertors and I wanted to make sure everything was going in pretty solid. As you can see the waveform is not super dynamic how it went in. And I put a high pass filter at about 45 Hz going in as well. So I’ll kind of just solo this sound too again.
[solo bass guitar]
So that’s how it sounds solo’d. It has a really nice kind of warm sound to it — I liked that as well. So we’ll go ahead and start with the processing and show you guys how I approached this. I always tend to start with the amp simulator when I’m working with a DI track and in this case I used the Waves GTR 3 super tube preamp model with a bass 8×10 cabinet. I didn’t use an impulse on this particular track here. I found this worked just fine for me. I haven’t been super stoked on the GTR 3 stuff, but I mean this worked fine for the application. It’s much better on bass than it is guitar. So I have a little bit of drive dialed in there and there was some minor EQ made there. Pulled a little bit of the mids out, boosted a little treble, and a bit of the bass as well. And so with just the amp sim here’s what we’ve got.
[bass guitar + Waves GTR 3 amp simulator]
So nothing spectacular, but what I’ve been doing is I’ve been boosting the lead with an Ibanez Tube Screamer emulation like this overdrive pedal which is also from the GTR 3 Suite as you can see. And here’s how it sound after that’s been added to the mix.
[bass guitar + Waves GTR 3 amp simulator + overdrive pedal]
I found that keeping everything at 12 o clock worked pretty well here. You can see that the tone makes it a little darker when you go kind of clockwise — you go further clockwise and it starts getting a little too bright. And a little bit busy for me, so right in the middle at 12 o clock worked fine.
And now we kinda talk about EQ. What you should always really be doing for the bass guitar and for most instruments really is start by cutting, you know, pull out frequencies before you boost to keep it sounding natural, and especially if you’re putting an EQ before a compressor I don’t advise boosting any frequencies if you want that compressor to behave uniformly and really react naturally to the track.
So, I’ll wipe everything clean here and we’ll just kind of go through the EQ here together. So let’s let it just kind of loop through and go for it. So I’m gonna put another high pass at 47 Hz even though I tracked with one. It’s always safe. And I’m also gonna put a low pass so let’s kind of listen and see where we lose usable information when I put on the low pass.
[bass guitar + Waves GTR 3 amp simulator + overdrive pedal + LPF EQ]
I really don’t notice anything really past 5.6. I feel like it loses a little bit of usable information when I go to 3.9 so let’s go to 5.6. And about the EQ, this is just a parametric EQ from the Waves Gold Bundle. And I advise you guys use parametric EQ’s when you can. Just for the simple fact that it kind of helps you associate a sound to a number, you know. You don’t have the visual aspect of it like you do in a graphic equalizer. So this kind of forces you to learn what different frequencies sound like. So use a parametric if you have it. There’s a lot of good cheaper ones out there. I don’t know if — I can’t remember if Pro Tools came with one or not, I think it’s parametric — excuse me, a graphic — but definitely try a parametric if you guys can.
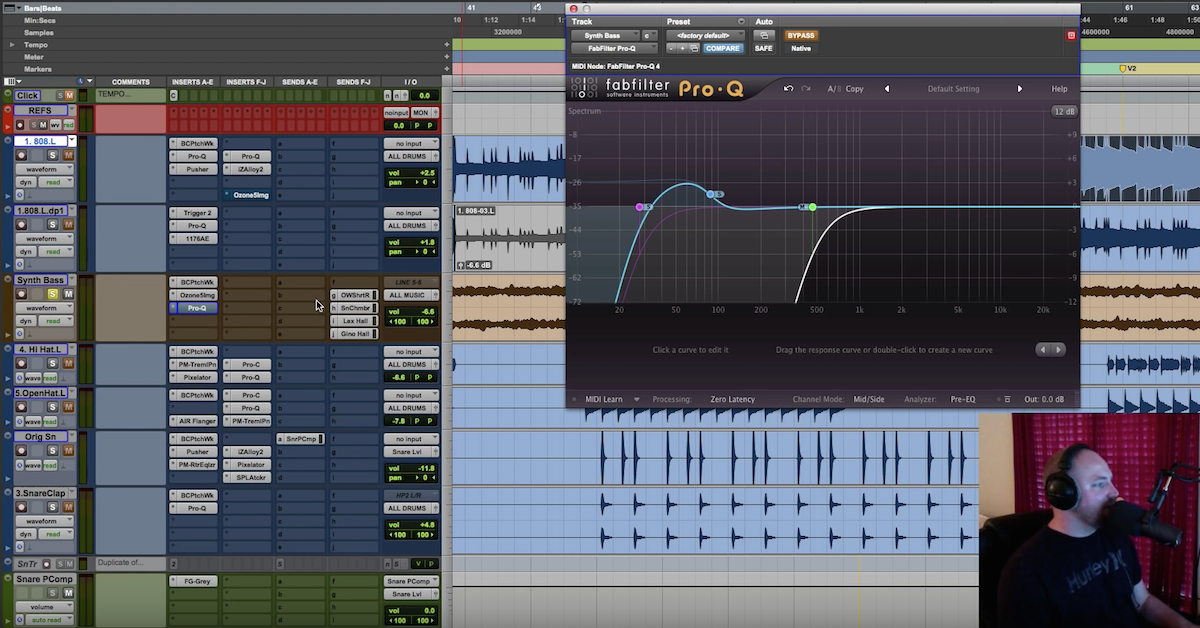
You tend to find a lot of boxiness generally between 300-500 Hz in the DI bass. It can be up a lot higher, but right here I’m finding it to be in that area there. And you can see that that does quite a bit for it too. I’m just pulling out that notch there.
[bass guitar + Waves GTR 3 amp simulator + overdrive pedal + equalization]
And that’s making it sound a lot more real and taking out kind of some of that nasty midrange that I didn’t need in there. So I think that’s fine for now. I’m not gonna really get into too much of the high end here because I think that’s gonna be taken care of later down the road with some other plugins I’m gonna show you.
So we can put on our first level of compression in the DAW here. And again, I’ll go ahead and wipe this clean and show you guys what I’ve been doing when I do the bass here. I will usually start with a low ratio and see if I can correct any problems with that. This bass isn’t super problematic since I’ve tracked it with some compression on it. I’m just gonna use this to catch any extra peaks. Which means I don’t need to level off anything too much, which means I’m gonna use a fast attack and fast release just to shave off any little peaks there. So let’s start with the threshold low and bring it up and just get a little gain reduction to remove a couple of those peaks that are coming through.
[bass + GTR 3 + overdrive + EQ + compression]
So you really don’t need much you know between 3 to 6 is already quite a bit. I don’t need much more than that. The 2 to 1, that’s really transparent so what I’m gonna do now is match up the output to kind of keep my signal at a good nominal level. So before. It looks like it’s just above -12 dB there, so let’s go ahead and match that with this engaged. Ok, we’re doing well so far. Let’s go ahead and check this in context with the mix. That’s the other thing I want to stress, you guys. When I mix these bass guitars, when I mix anything, I’m mixing in context with the mix, because you want to see how to changes you make affect the sound of the overall mix and help the instrument sit in the mix. It’s great if it sounds killer solo, but that doesn’t mean it’s gonna work well with your mix, so make sure you’re checking and you’re mixing in context. So let’s go ahead and check the bass with the guitars and drums again and see how it’s sounding. I have to monitor the volume here.
[bass in the mix]
So it isn’t really popping. It’s a little weak in the bottom end here. And I still think that there’s some things we can do to the midrange too. So I’ll go ahead and apply the next level of EQ. You’ll see I have my cutting EQ pre-compressor, I have compression, and here we’re going to apply out boosting EQ, ok? So wipe that clean. And now we’re gonna go ahead and bring back some of the bass there. And what I’m gonna do is go ahead and start at around 100 Hz.
[EQ’ing bass + mix]
Why not start lower? Well I don’t want to compete or mask the kick drum. The kick drum is sitting close to the 50-56 range, and I’m gonna let the kick drum kind of dominate that area of the frequency spectrum, and keep the bass guitar sitting above that, ok. So that 100 Hz is gonna be a great place, that sounds fine there to me. And I’m not really gonna worry about boosting anything else up here, there’s nothing up here I’m too concerned with right now. I take that back, let’s listen just to check.
[music]
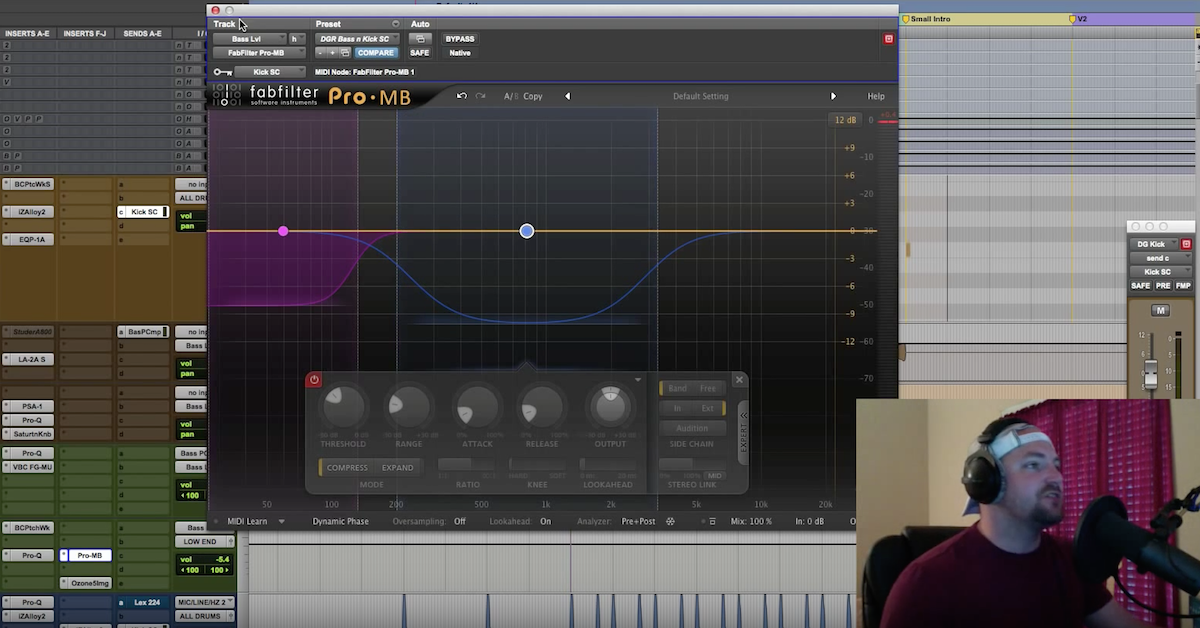
I’m gonna be satisfied with that for now, because what we’re gonna do next is add some harmonics, which I actually tend to use as an EQ itself. And this will add a little bit of grit to it, which can do a whole lot for how it sits in the mix and really can make things pop. So you can see I’ve kind of got the crossover frequency here on this particular plugin which is great, the Brainworx Saturator. But you can also use your stock plugin with your DAW. If you’re using Pro Tools, Avid has also got the Enhancer. That works just the same as this it’s gonna be fine. So I’ve got the crossover again around 190 — keep it actually around 180. And we’ll start with the bass frequencies here, we can solo them and see what you’re doing. So that’s the frequency riding harmonics too. And you can see what I add too much it just gets gross. So you want to be relatively sparing with it. A little goes a long way. You want to be conservative with it.
We can check out the highs here. You can get away with on undistorted bass adding a little bit more up here to give it more grind.
[bass playback + mixing harmonics]
You can see earlier when I was mixing this I had actually pulled out a little bit of the lower section here. So let’s see that again. Ok, so sounding pretty good. I’m gonna leave that actually where it is. Actually boosted the lower frequencies slightly, on the harmonic plugin there. And we’re actually gonna add one more level of harmonics and I could really do this with the other one, but not as well as I can with this plugin, and this plugin is phenomenal, it’s called MaxxBass. It’s another Waves plugin. It’s about 50 bucks, check it out. And what it does is adds some upper bass frequencies and some low mids to kind of expand, you know, the region where you’re still getting that punch and body. So I’ll show you what that does right here.
[bass guitar + Waves MaxxBass]
We can listen to what the MaxxBass is adding here. You can see it’s adding the upper bass frequencies and the low mids and the lower bass original bass right here is all that. And this is really great for getting your mix to translate more on some crappier speakers or some drivers that may not be full range, so this is a great plugin, I love it on kick drums, love it on bass. Anything where you really want to enhance it works great for. So, we’ve got that. This is actually an automated EQ that I have for a certain section of the song so we don’t need to worry bout that.
And then lastly I put on a limiter to really just tame any final peaks and to kind of maximize volume because for this genre you want that bass up front all the time and limiting does a great job at it.
[bass + limiter]
So it’s not doing too much. We got another 3-5 dB coming off there at maximum. Some of those peaks that are still coming through. And that’s gonna keep it nice and consistent, so. We can go ahead and listen back in context, I’ll even throw on some vocals there and we can see, so again, that’s just a quick run through and this isn’t the bass track I ended up using for the song. This is a quick demo one I put together to show you guys how it’s gonna kinda come together today. Let me go ahead and unmute the dirty vocals here and you guys can have a listen and hopefully it sounds as good to you guys as it does to me.
That’s what we’ve got. So that’s a good general approach and some fundamental techniques you can apply when you’re mixing bass guitar specifically for some heavier genres of music: metal, metal core, hardcore, jam – whatever you want to be mixing that’s heavy it’s a good approach. It’s not perfect, but those are just some of the techniques you know you guys should definitely try implementing and seeing what it does for your mixes. Thank you so much for watching, I hope to be back next week with another video. Please subscribe if you guys liked what you saw because I hope to have again a lot more content for you. Let me know what you want to see, and I’ll talk to you guys later. This is Derek Pearson checking out from Equinox Project Studio, have a great week.


