13 Tips to Improve Your Mixing
02/13/2011
Article Content
Before I get started I just want to reinforce something – sometimes a reduction in parameters actually generates more creativity. Being aware of a set of limitations, or guidelines, can actually allow you much more creative control over your final mix. This could mean limiting the amount of effects that you allow yourself to use, or a more obvious one is to only use a particular set of effects that suits the genre or style. If you have the permission to do it, perhaps editing tracks or even muting/removing “surplus” instrumentation or vocal is the first step.
Approach-wise, ideally you want all aspects of a song to reinforce together and create a stronger impact, and if you aren’t aware of what you’re doing, it’s very possible (in fact more common than you think) to get a generally nice balance of instruments that somehow doesn’t “gel”. You can hear everything, but it lacks the emotional impact.
So here’s some ideas to think about next time you’re mixing a song. There are certainly many more ideas and concepts to experiment with than just this list, but I stopped myself before the post became a novel.
1) Know What the Song’s About
Clues are in the lyrics. Knowing what it’s about gives you the opportunity to amplify the concept rather than inadvertently fighting it. That doesn’t mean you have to “follow” the lyrics with the mix in a literal sense – you might do nothing at all in that regard, but at least you won’t be fighting the meaning of the song without even realizing it, and when it comes to trying to think of creative mix directions, it’s yet another clue to help you.
2) Know the Context of the Music
What’s the genre or style of the artist? How does it relate to the artist’s identity? Being aware of this really makes it much more likely that you’ll promote that artist’s identity and overall concept, plus the artist will be more likely to appreciate what you do with the mix. For example does the artist exemplify “authenticity” where a raw, “character” sound with any intonation problems remaining unfixed is most desirable? Or is it about slick and smooth production?
3) Be Adventurous
A mix is not just a simple balance of the levels of the instruments in the mix, it’s about featuring various aspects that you think the listener would like to hear, or more accurately needs to hear at any given section of the song. Pretend it’s a movie – how do you present each section of the song? Don’t be scared to go “over the top” with effects, fader moves and featuring of mix aspects – you can always tone it back if need be. Don’t be scared to turn the vocal up – trying to hide weak vocals makes it even worse. Even ugly actors have to have close-ups in a movie to make it effective.
4) Think About Texture & Tone
It’s partly tone, partly level, partly how dominant something is in the mix. If you compress something – its texture changes. Listen out for it’s tonally as a sound, rather than just checking it’s variation in level. How pervasive is it compared to everything else, despite it’s volume in the mix. How does it link into the overall texture of the song? Textures are like a tonal colour palette – you probably don’t want to mix a neon green element in with some nice earth tones (remember there are no rules!), but then again you don’t want everything the same shade of beige.
5) It’s About Melody
Even in the most distortion-fest mixes, our human nature will use our built-in pattern-detecting algorithms to extract a melody out of it somewhere, whether it be in the movement of the harmonics in the wall of guitar noise or in the groovy bass line. Make sure there’s one dominant melody at any given instant, or if there’s more than one, that they aren’t fighting and clashing with each other.
6) The Pocket
It’s more than something to put your wallet in. It’s that magic interaction of instruments when it all suddenly locks into a groove. Spend some time adjusting relative timing of instruments to see if you can help the groove “gel”. You’ll know when it happens because it’s magic and you’ll start moving with the music whether you want to or not. Note that Beat Detective and other forms of quantization can fight this effect – it’s “felt” rather than being on an exact grid. With that being said, if the playing is too loose than a timing grid can be a step up. Compression, particularly rhythmic release times can help achieve some degree of further “groove gel.”
7) Keep it Simple Stupid
Less is more. These things are fundamental truths despite our over-familiarity with them, often leaving them as meaningless statements in our minds. Think about the mix as a photo – the more people you want to appear in the photo, the smaller they’ll have to be. Don’t be scared to bring the main things to the foreground, and push other things back to the point of blurriness or being hidden behind the main elements. A good mix is not about individual band members’ egos, it’s about the overall blend. When you think about it, the individual band members have the least idea about what the mix should sound like – they all hear completely different versions of a mix depending on where they stand/sit when they perform.
8) Three “Tracks”
Back in the olden days, after mono and stereo, there were three tracks. One was for “Rhythm” (and could include drums, bass, percussion and rhythm guitar for example), one for Vocals and one for “Sweetening” which might be things like brass, strings, lead instruments etc. This strategy is still a great one to keep in mind for mixing. It forces you to think about your rhythm section as one cohesive unit, and you need to make that gel together. Bass needs to lock in the pocket with the kick drum. Sweetening nowadays is whatever else you need outside rhythm and vocals. Think carefully about which mix elements fit into each of these three roles, and if all three are already populated – maybe it’s time to do some cutting/muting. Note that some instruments such as guitars might switch between modes depending on what they’re playing at the time – rhythm, fills or lead.

Ready to elevate your ears?
It doesn’t have to take years to train your ears.
Get started today — and you’ll be amazed at how quickly using Quiztones for just a few minutes a day will improve your mixes, recordings, and productions!
9) One Thing at a Time
Rather than thinking of one of the aforementioned three tracks as just “Vocals” perhaps it’s better to look on it as “Melody”. The melody line often chops and changes between vocal, instrumental fills and solos. If you think of these three elements as playing a similar role at different times in the song, it makes it easy when trying to decide on levels/sounds between the three. It also highlights that you shouldn’t have any of those melodies crossing over each other and fighting at any point – keep ’em separated with their own space!
10) Getting the Bass to Sit Right
This can be tricky – especially when it needs to work on both large and small speaker systems. Try mixing the bass while listening on the smallest speakers that you have, to get it sitting at the right level. Then adjust the tonal balance while listening on bigger speakers to reign any extreme frequencies back in.
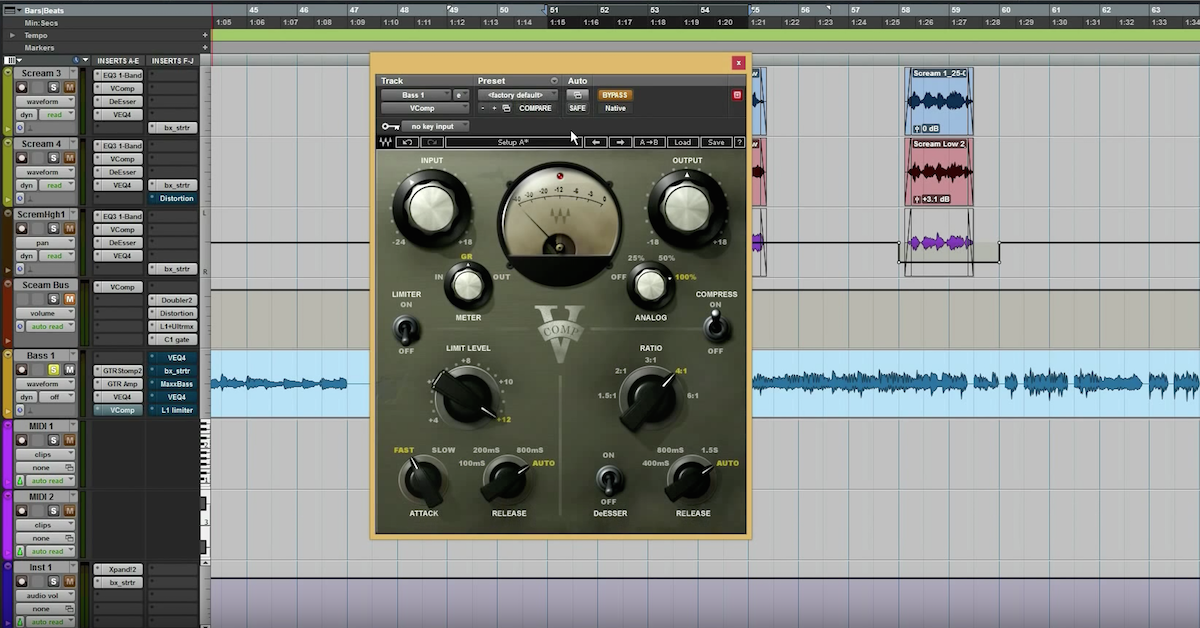
11) Don’t Over-Compress Everything
Listen to the TONE while compressing each instrument and keep it sounding natural if possible. Pay close attention to the start and end (attack and release) of the notes of each instrument you compress. Your final mix should be sitting at an average RMS level of about -12dBFS with peaks no higher than around-3dBFS. Leave the mastering engineer to do the final compression and limiting. Remember to leave dynamic range in the mix – contrast! Our ears need some sort of contrast to determine what’s loud and soft. If you hammer all the levels to the max you may as well just record the vacuum cleaner at close range and overdrive the mic/preamp. Hmmm… Might have to try that.
12) Easier than Automation
In these days of automation, it’s easy to spend inordinate amounts of time tweaking automation changes on instruments or vocals between different sections of a song (e.g. adding more reverb to the vocals in the chorus or adjusting rhythm guitar levels in the bridge). With today’s digital audio workstations, extra tracks are usually in ready supply, so rather than fluffing about with automation for a specific section of the song, why not just move that part over onto another duplicate track instead, then just make whatever changes you need to suit that section. Much quicker than continually mucking around with automation on the same track. By the way – make sure your mix is dynamic. A mix is a performance in itself, not a static set of levels. Dynamics are exciting and emotional!
13) Use Sub-Mix Busses for Elements of the mix.
Some common sub-groups to try are drum subgroups, guitar subgroups, vocal subgroups etc. Rather than send all your drums straight to the L/R or Stereo mix, first send them all to an Aux return channel instead. Then send that Aux to the LR/Stereo mix. (Tip: disable solo on the Auxes) This makes it simple to do overall tweaks to your mix even after you’ve automated levels on individual tracks. You need to be careful about aux effects returns and where they come back though, as their balance might change slightly if you adjust the instrument subgroups. And hey, what about creating just three subgroups – Rhythm, Melody, Sweetening? Let me know if it works ;o).
[This was a guest post by Zed Brookes. Check out his site @ http://dbzeebee.blogspot.com]
Eleveate Your Ears