5 Essential Timesaving Pro Tools Shortcuts
04/26/2016
Article Content
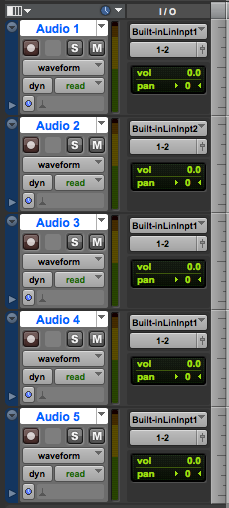
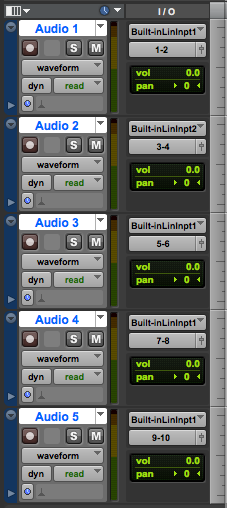
1. Cascading Inputs, Outputs and Busses
This is especially effective when recording a band.
Hold down shift+ option +command while changing the input, output or send and they will cascade.
Make sure to click on the track where you want the cascade to start.
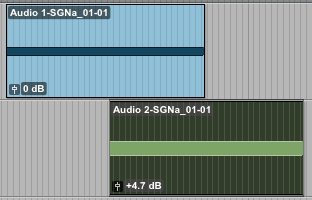
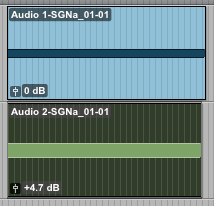
2. Aligning Clips Using Control Click
I use this a lot for time-aligning drum samples, but there are many instances in which I find this effective.
Click on either the timeline or highlight a particular audio clip, and then while holding down control, click on the second clip you want to be aligned with the playhead/first.
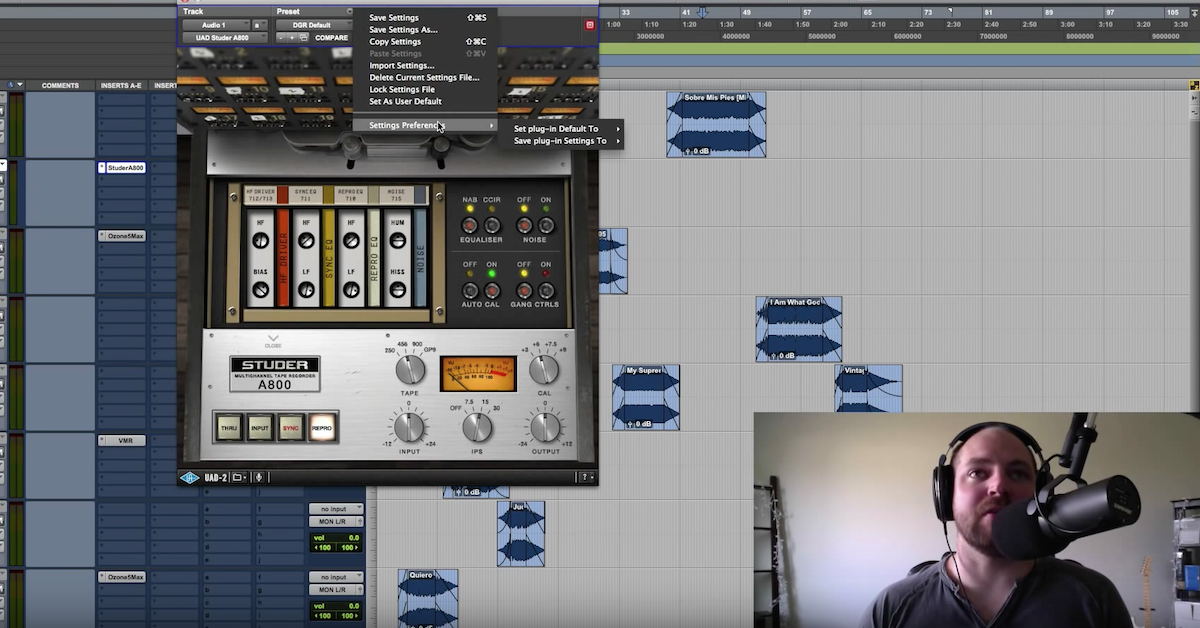
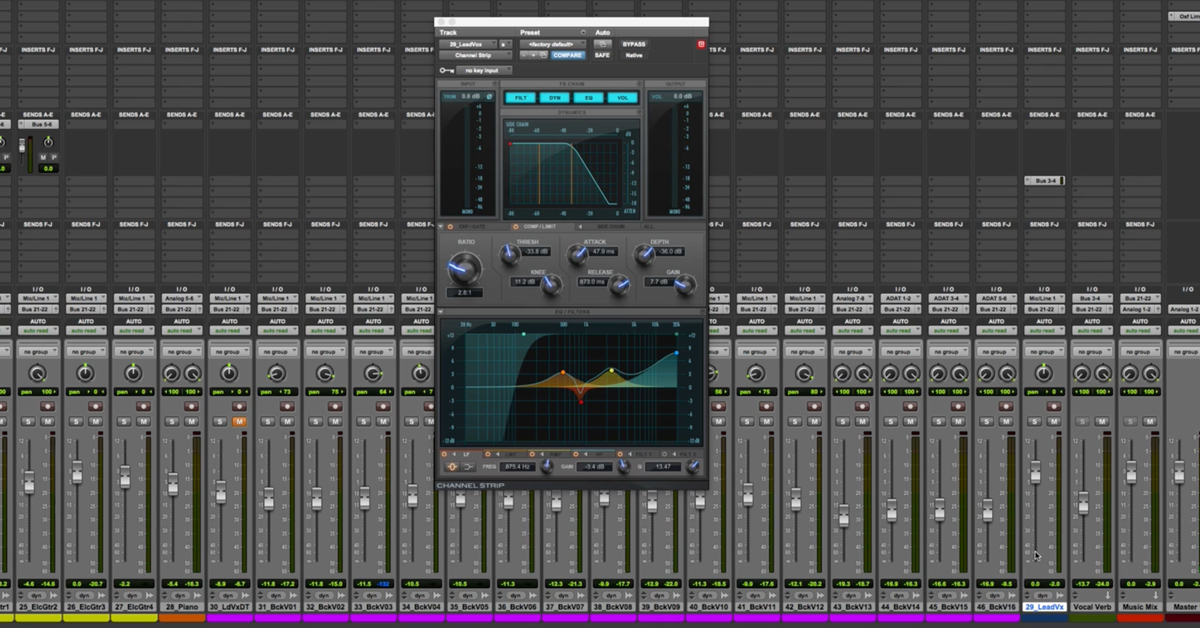
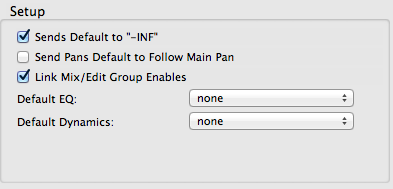
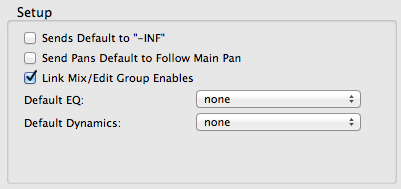
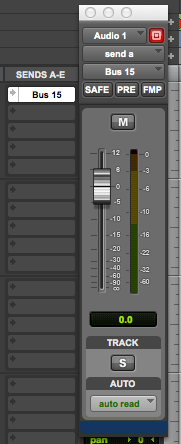
3. Changing Default Send Level
In some sessions I create roughly 30 sends (reverb, delay, side-chain) so it takes a lot of extra time to bring up the send level.
Go into the preferences and “uncheck sends default to –INF” and your send level will default to 0.
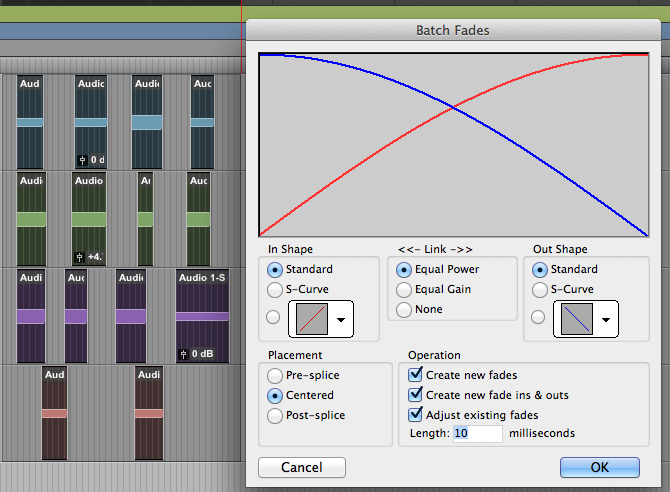
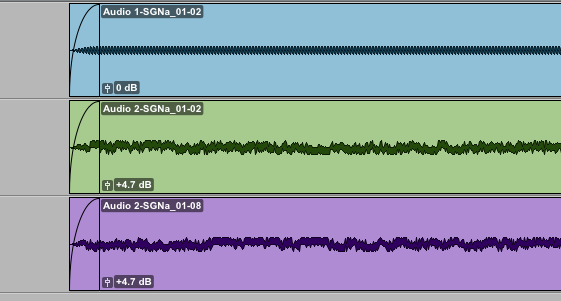
4. Batch Fades
It always surprises me the amount of young engineers that don’t know that batch fades are possible. Remove pops at the beginning and ends, and create smooth fades for multiple clips by selecting them and then hitting “F” or command + F if you want to edit the fade parameters.
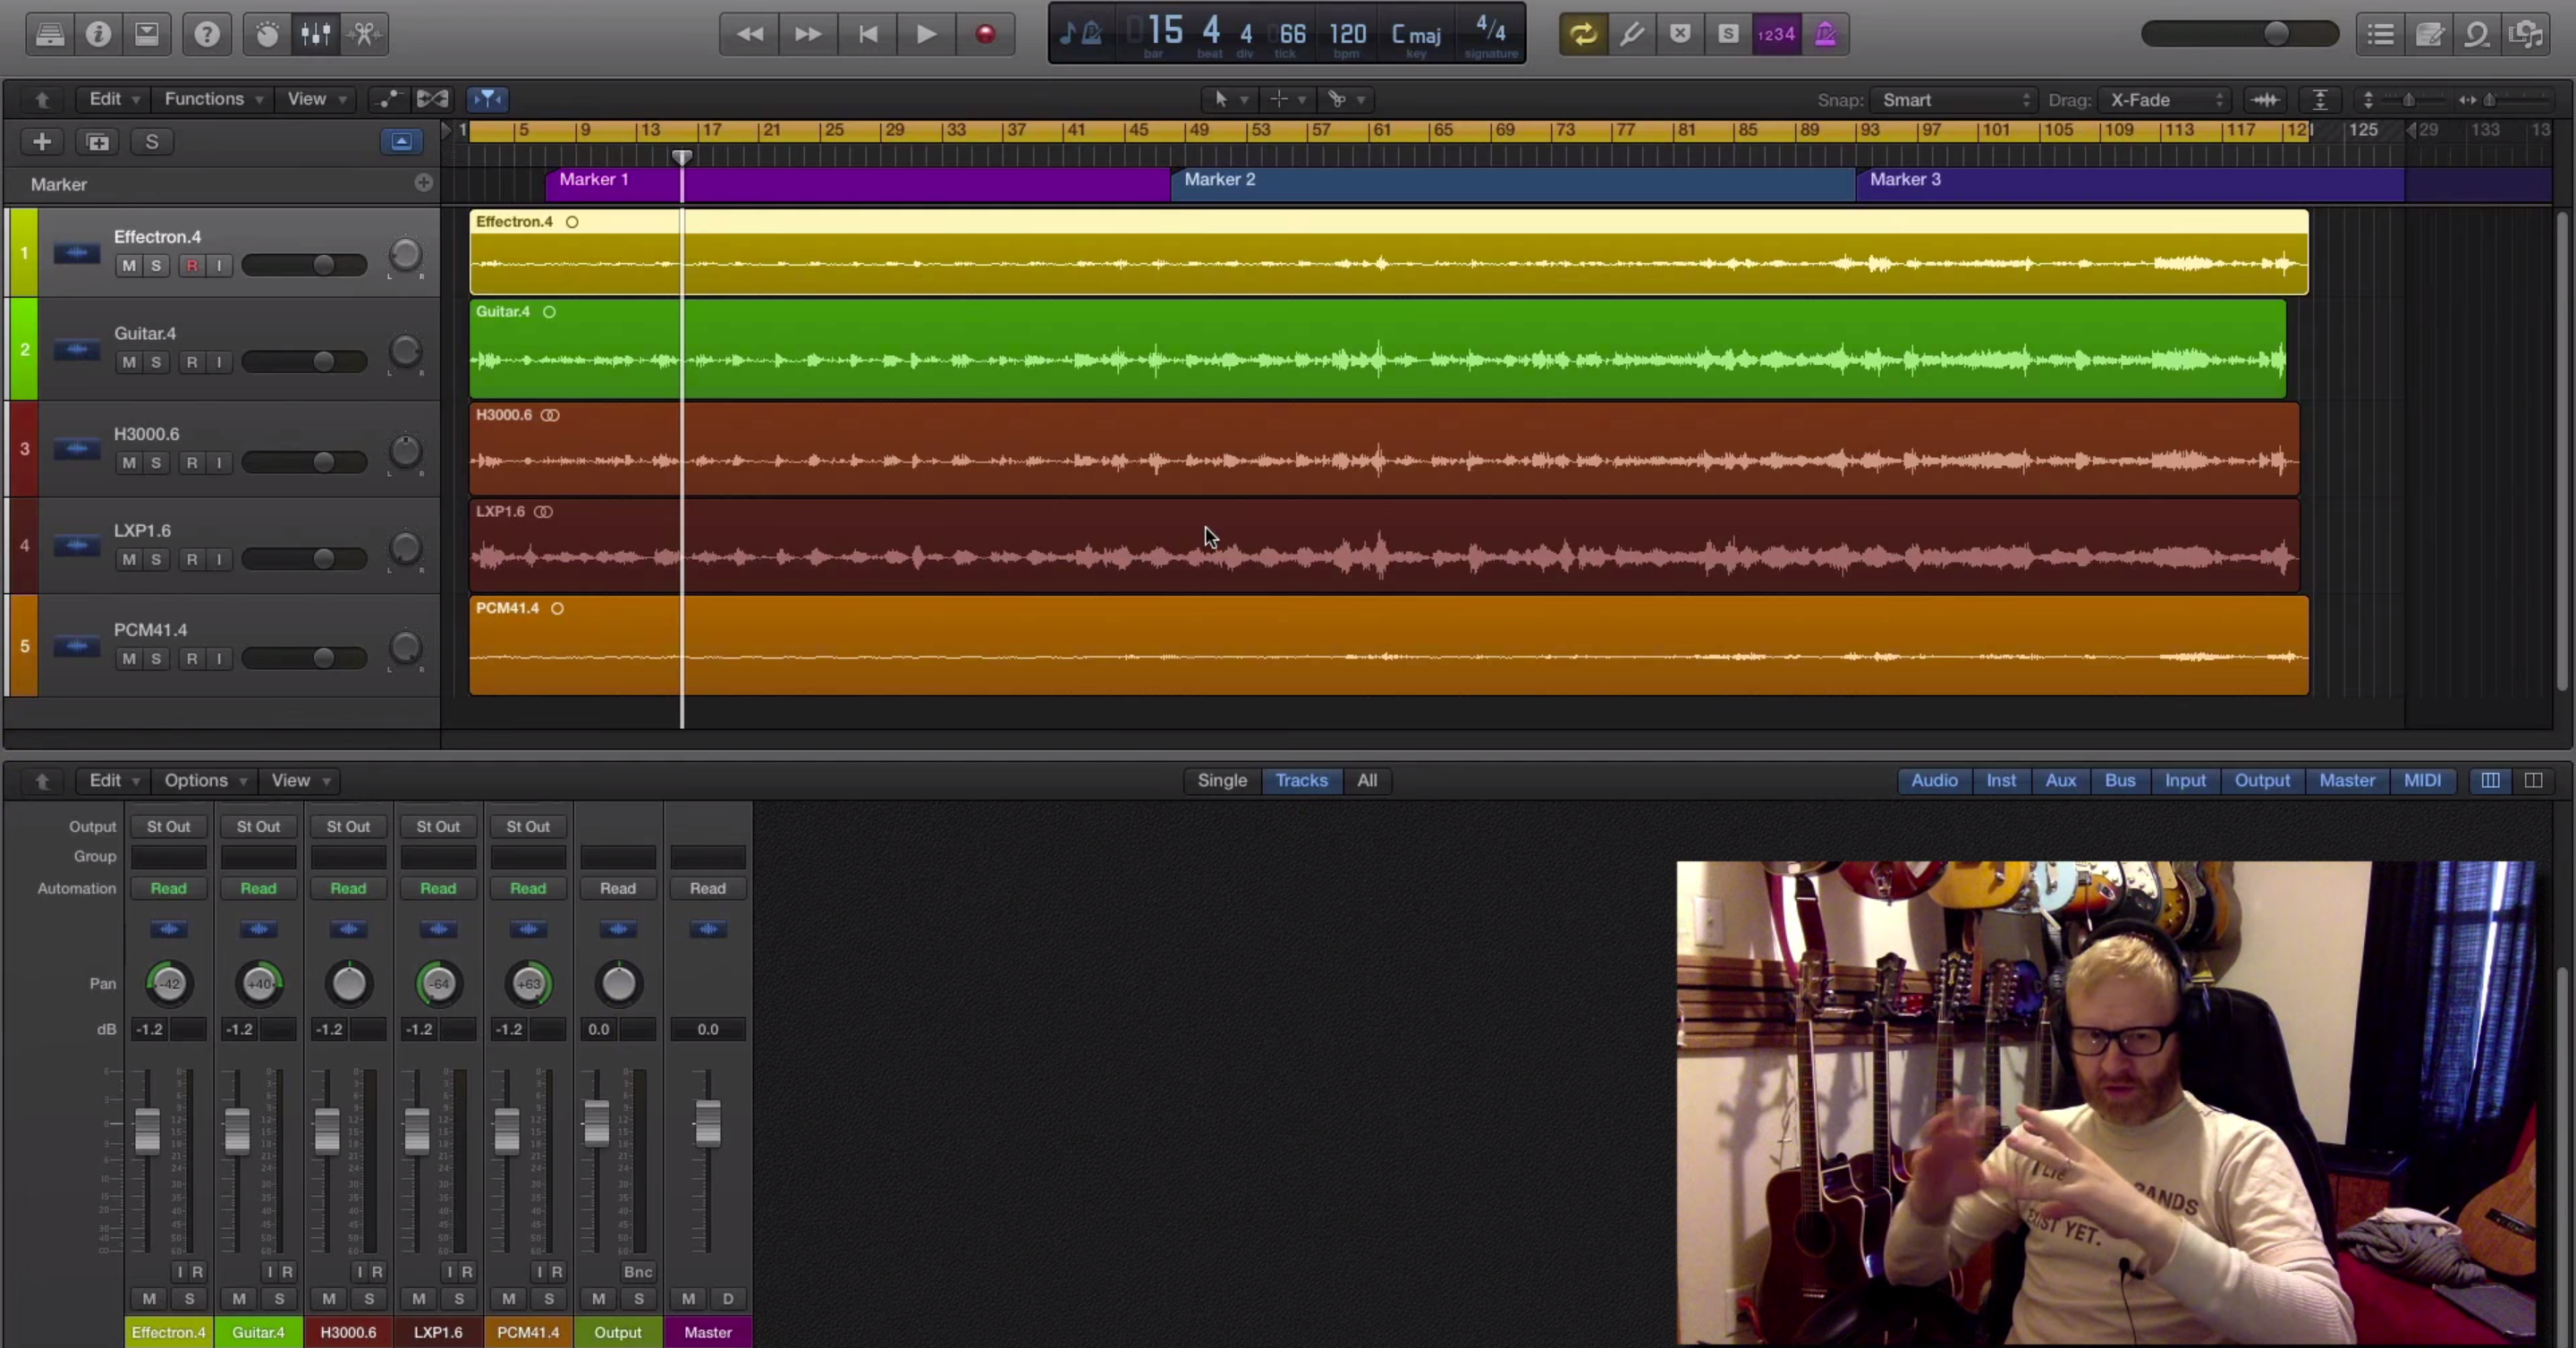
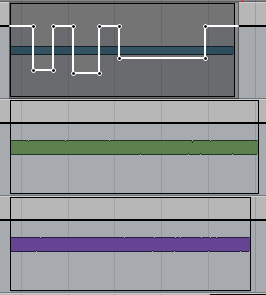
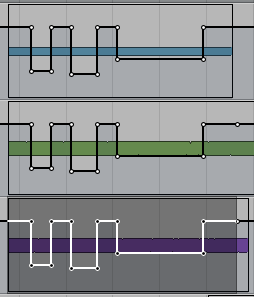
5. Copying Volume Automation
Sure, you can group tracks before creating automation, but in case you forget and want one track’s automation to be applied to another, simply copy with command + C and paste with command + V.

Ready to elevate your ears?
It doesn’t have to take years to train your ears.
Get started today — and you’ll be amazed at how quickly using Quiztones for just a few minutes a day will improve your mixes, recordings, and productions!
If you want to toggle up and down tracks in pro tools as to not lose your exact place on the timeline, use “P” to toggle up and “;” to toggle down.
You can also copy automation and place it on the same track further down the timeline (if you created automation on a guitar in one chorus and want to apply it to other choruses.)
Get comfortable using grid mode for the most effective results.
Eleveate Your Ears