Tips for Replacing Cymbals in a Mix
04/8/2015
It just seemed a little bit harsh and bright, and it’s partially my fault, because I also recorded it, and I think I mic’d it a little bit too closely, so I tried EQ-ing and compressing it, and the ultimate decision was just that I wanted to replace it. So I’m going to show you how I did that. So let’s take a listen to our original drum set. The instrumental.
[music]
Let’s solo the drum overheads.
[drum overheads]
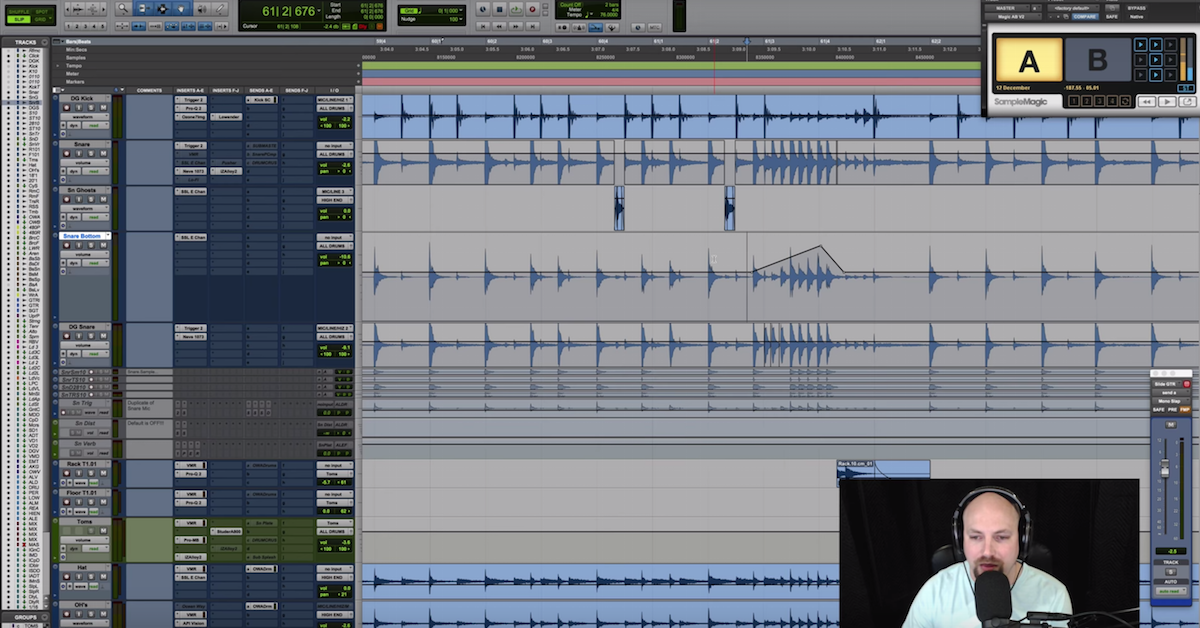
Hear how it’s just a little bit harsh and bright? What I wanted was something slower and warmer, so what I did is every time that there was a cymbal hit, I created an instrument track in Pro Tools right here. Using the pencil tool, I just drew in a cymbal hit, or at least a trigger that would ultimately trigger a cymbal hit.
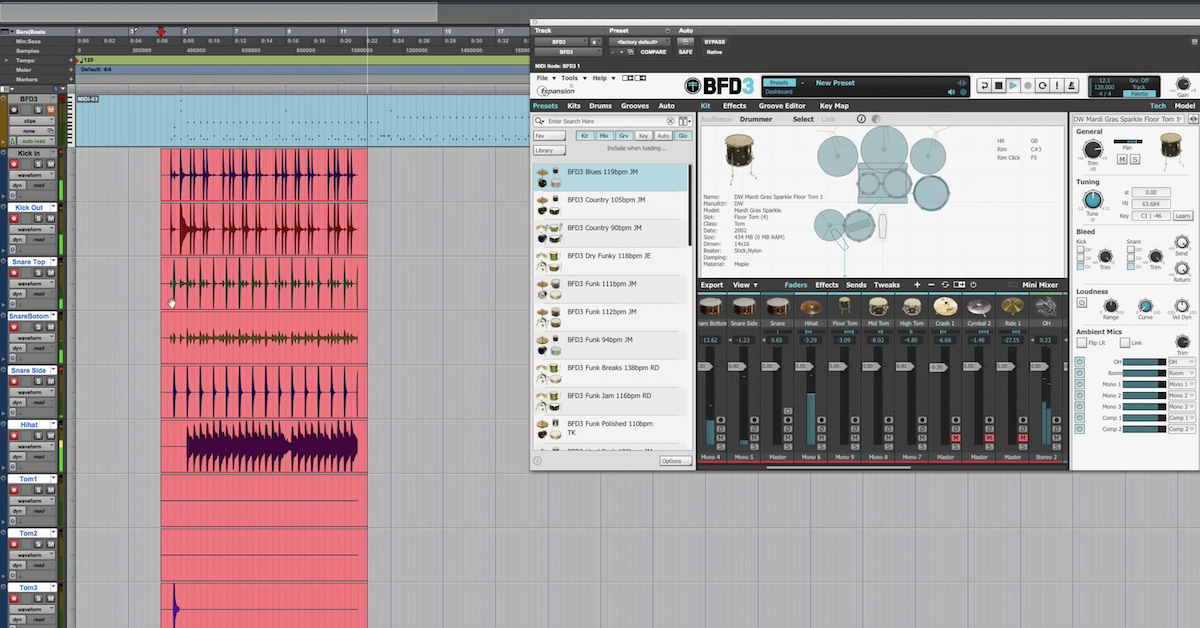
I made sure to get really almost sample accurate with these triggers, and then I loaded BFD2, which is a really great drum VST. It comes with a bunch of really great sounds and I ended up using this cymbal sound, right here.
So let’s take a listen to it. I’m going to solo it.
[crash cymbal]
It has a little bit better sustain, and it’s less harsh than the original.
[crash cymbal]
Okay. Let’s take a listen with everything else.
[song]
Unfortunately, you could still hear a little bit of the original cymbal in there, so what I ended up doing was printing this MIDI triggered track to audio. So now, I’ve got this cymbal track right here – we’ll take a listen to it.
[cymbal]
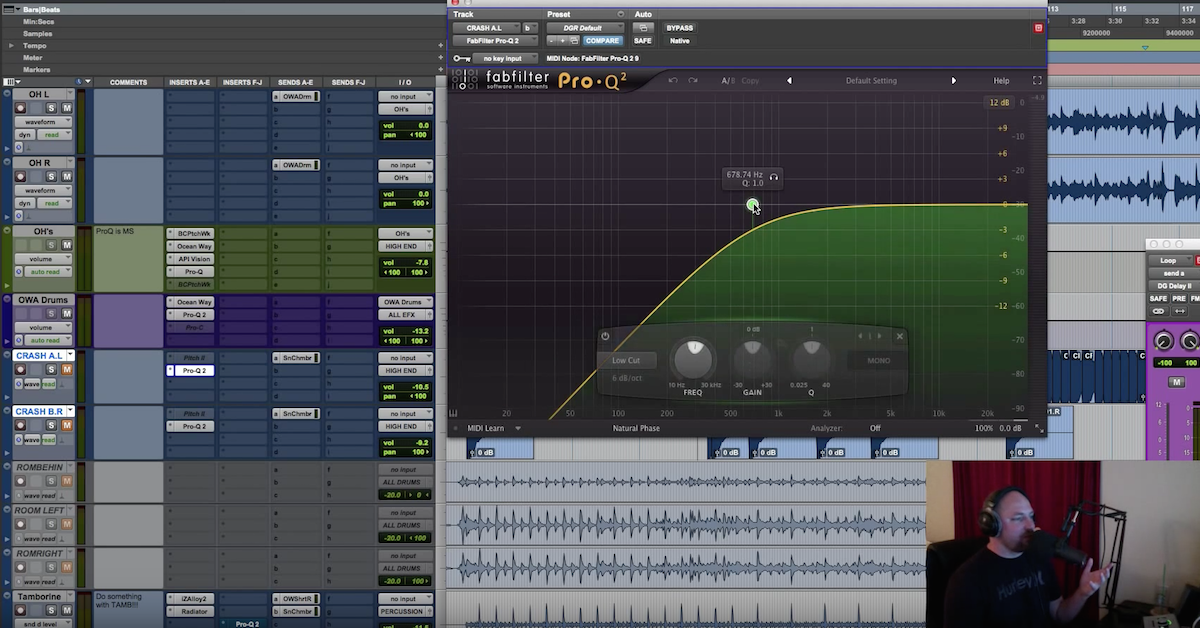
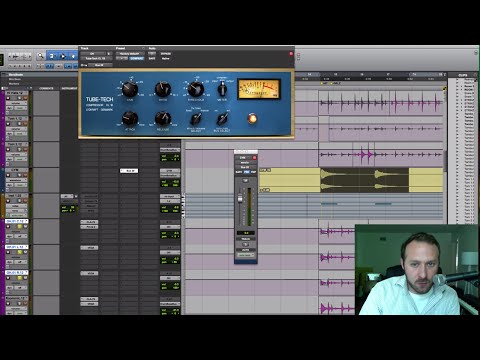
Printed directly from this BFD2 track. What I did was then sent this track via a send, buss 20 – let’s unmute it here – in pre-fader through buss 20, and then sent the overheads to this aux track right here. Sent to this aux track. On this aux track, I put a compressor. It’s important to choose a compressor that has a side-chain input.
As you can see, I have the side-chain input set to buss 20, which is receiving signal from my printed cymbal hit over here. Now, let’s take a listen to what happens every time that cymbal hits.
Let’s mute this.
[drums]
So, basically what’s happening is every time we have this cymbal hit, which is the cymbal that I like, these down here are compressed a pretty great deal. I’m using a fast attack and a relatively slow release, and it’s compressing about 10dB.
So, ultimately, let’s take a listen here… Everything all together.
[song]
Great! So, I’m pretty happy with the results, because it really gets rid of that fast, harsh cymbal sound, and the resulting sound is pretty natural. So, if you guys have any questions, make sure to get in touch with me. My name is Ian Vargo. I have a 40 page paper on the history of drum replacement and augmentation. If any of you guys are interested in reading it, let me know and I will make sure to send it to you.
This has been Ian Vargo with The Pro Audio Files. Thanks!
Elevate Your Ears