6 Favorite Ways to Use Parallel Compression in a Mix
04/29/2021
Article Content
Parallel compression has become an indispensable tool in the modern producer’s arsenal — from beefing up drums to sneakily adding silky presence to a vocal. Below are a list of some time-tested and personal favorite uses for this essential technique.
But before we dive into those, it’s probably worth asking:
What is Parallel Compression?
In general terms, parallel compression involves blending dry and compressed versions of the same source material.
The idea is simple: compression, especially heavy compression, can sound great even as it creates problems in a mix. Rather than accepting the compromise inherent in heavily compressing a track, you can split that signal down two paths — one remains dry, the other gets compressed. The dry track remains the foundation of the sound, while the compressed track is blended in to taste. When done right, it can be a true have-your-cake-and-eat-it-too studio technique.
Though I’m referring here to parallel compression as a singular concept, really there are a few common ways of achieving the same sort of end result:
Duplicate the Track
This option may be simplest if you’re using parallel compression on a single track (rather than a group). Duplicate the track in question and compress the duplicate to your heart’s content, then mix to taste.
Route Signal to an Aux
This option works similarly to the last, except that instead of duplicating an audio track, you create an aux and then route the dry signal there as a send. This means that the parallel track will also be getting whatever processing you’re doing to the dry source track(s). That isn’t inherently a good or bad thing, but it means that this approach may suit some purposes better than others. I tend to use aux tracks for parallel compression only when I want to combine a few tracks there (like close mics in a drum kit, for instance), though there’s no real reason you couldn’t use this approach when compressing a single track in parallel.
Use the Compressor’s Mix Knob
Though the feature is missing on most vintage hardware compressors, both plugin and outboard compressors often come with the option to blend wet and dry signal. What that means in practical terms is that you can effectively have parallel compression without going through the steps of duplicating the source track. The vast majority of my parallel compression use comes via turning down the mix knob on compressors used as inserts.
Other Considerations
The conventional wisdom around parallel compression is that you can get away with way more gain reduction than you would if you were compressing not in parallel. And overall, that assumption is true more often than not.
That said, it’s still possible to overdo it with parallel compression — especially if attack and release times aren’t set properly, or the compressor in question is just not a good choice for the given application. As always, the solution is to have a clear vision of why you’re using parallel compression, and to believe your ears when they tell you if it’s working or not.
Ok, with that out of the way, let’s get compressing!
1. Drum Splat
One of my absolute favorite uses for parallel compression is on a “drum splat” buss. For the uninitiated, “splat” is a highly technical term that refers to a particular application of compression in the context of mixing drums. Just kidding — you’re not going to find “splat” in any music dictionaries just yet. But the effect is real!
I also happen to think the term is very descriptive: imagine you’ve got a handful of goop, and you throw it at a window. What happens? There’s an initial, short impact, followed by the goop spreading itself across the window.
In the context of drum compression, “splat” refers to fast, aggressive compression that clamps down hard after the initial attack, causing the rest of the drum hit to sustain evenly, like that goop pressed against the glass. Splat!
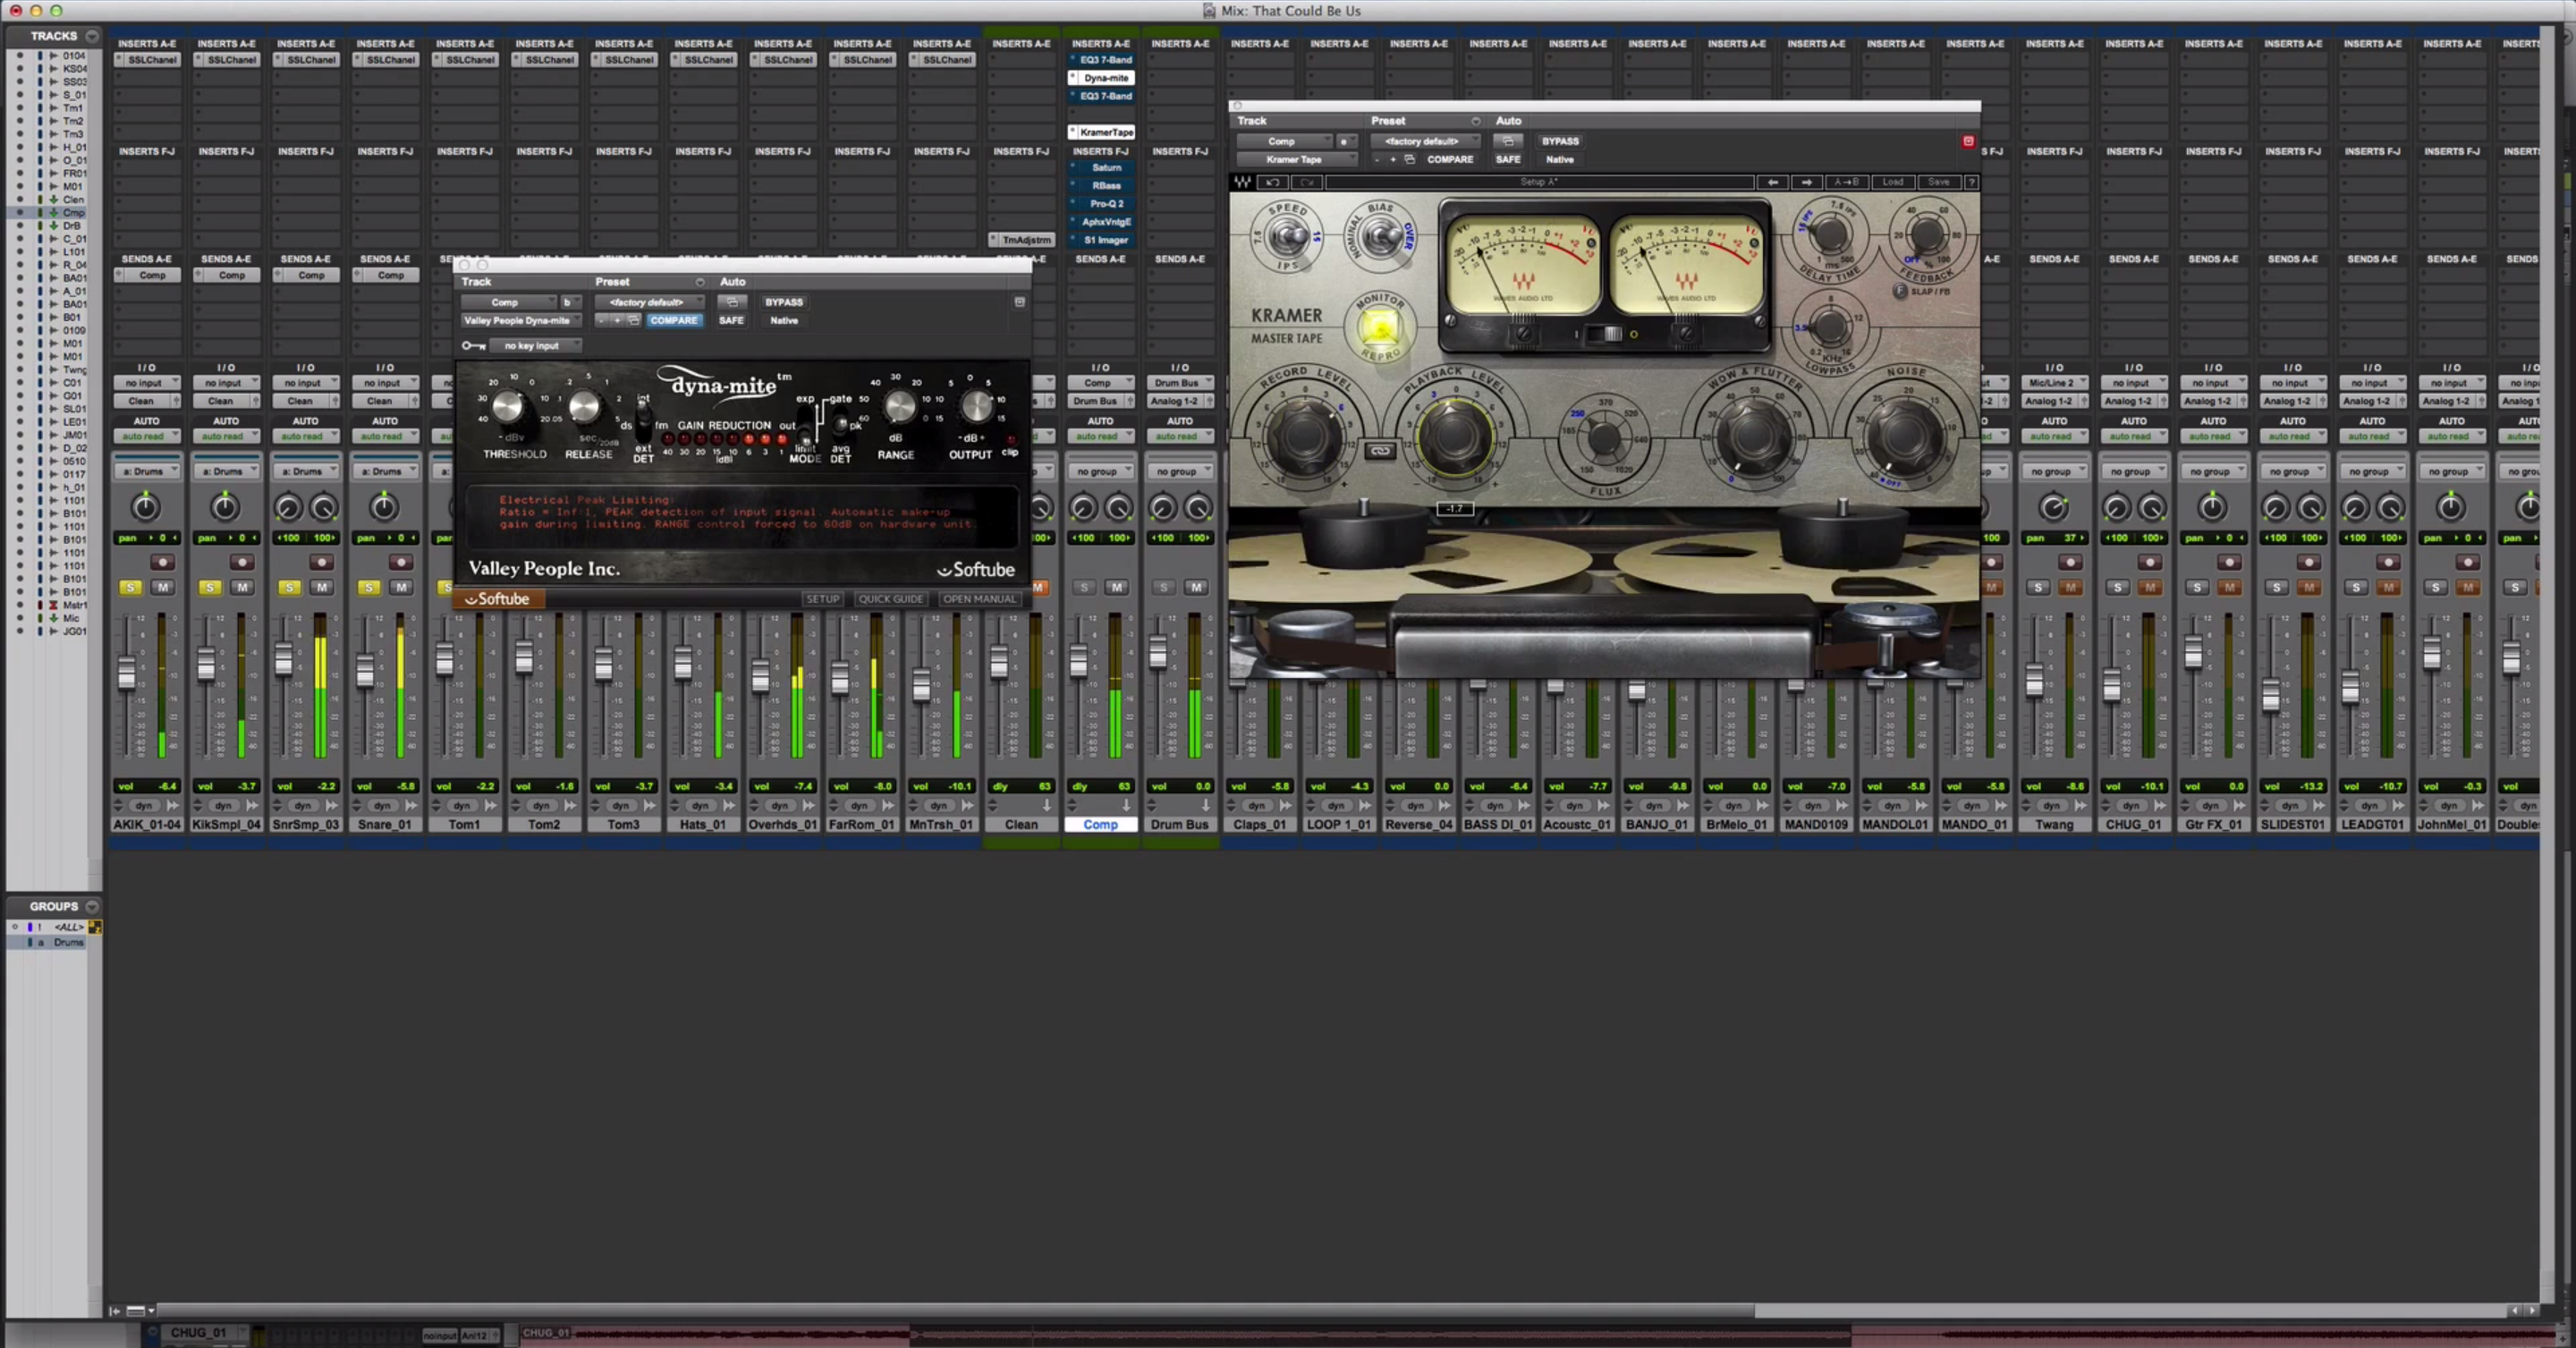
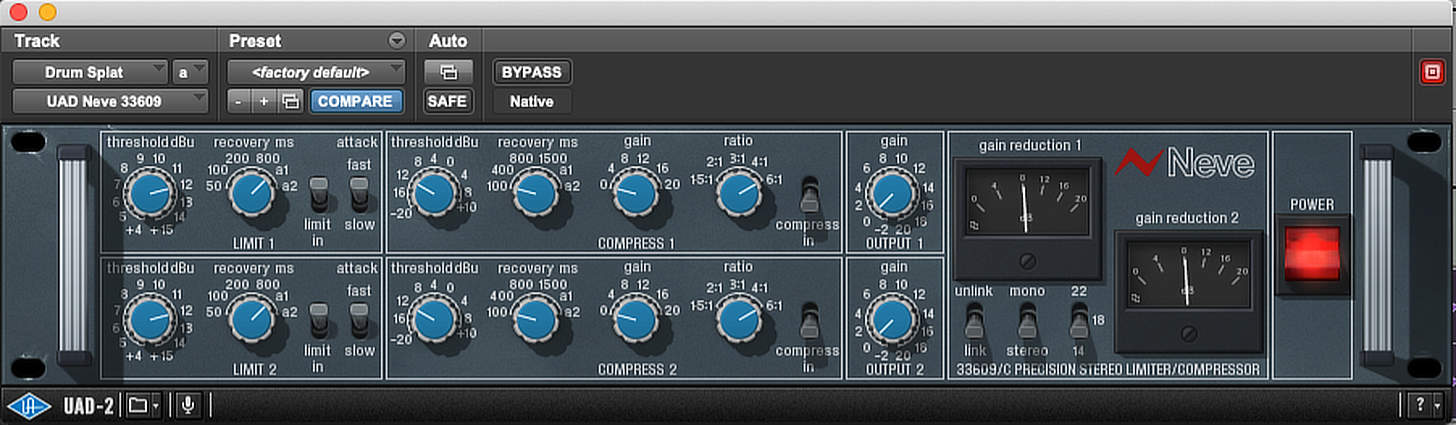
I like UAD’s Neve 33609 for this type of compression. I’ll create an aux and then route kick, snare and tom close mics to it (along with knee/wurst/crush mics and occasionally overheads). I’ll dial in the compressor pretty aggressively, with a 100ms release time (relatively fast), expecting to get as much as 10 or 12 dB of gain reduction. The end result is that the shells will have added weight and presence (you know, splat) without causing the cymbals to get pumpy. Soloed, the buss will sound kind of awful. But blended tastefully, it can give drums an awesome energy lift. Check out the drums in the example below without added splat:
I dialed in the 33609 for 10-ish dB of reduction:
Then I mixed it in 6 dB under the dry drums:
This technique can be applied using compressors with other qualities, too. I often also use parallel busses for drum “smash” (1176 with all buttons in — try sending the room mics too) or drum “snap” (the Empirical Labs Distressor with a slower attack time is a good choice, but only send the close mics).
2. Punching Up the Shells
The advantage of the approach listed above is that it’s a simple path to very musical compression. The kick, snare and toms rarely play at the same time, and it’s possible to dial compressors so they react to each hit and return to 0 dB of reduction before the next one.
Sometimes, however, individual drums require a more individual approach. Say, for instance, the kick needs more weight and sustain, but the snare needs a more pronounced attack. One compressor on a buss is most likely not going to be able to do both at once. In these cases, I like to duplicate whatever tracks are in need of some parallel compression love in order to give each a specifically tailored treatment.
For increased weight and sustain, try a fast attack with a release timed to the rhythm of the part. I used this technique as part of a signal chain centered around soft clipping in this video:

For a snappier attack, use a slower attack time. This trick works especially well with a gate in front of the compressor to help isolate the transient (similar to the video above). In any scenario with this type of parallel compression, keep in mind that a little goes a long way. Be prepared to adjust the level of the dry track, too, as this technique can leave you with a lot more kick/snare/etc. than you started with.
3. Vocal Presence & Dynamic Control
The human voice is an incredibly dynamic instrument. And while a recording of a super-dynamic vocal performance can be a source of headaches for engineers (especially if the singer’s mic technique is lacking), simply flattening the dynamics out of the part is likely to make it less interesting and less natural. On top of that, the vocal might even have a hard time staying in front of the instrumental.
Rather than doing heavy reduction right on the primary vocal track, try some aggressive parallel compression instead. You can duplicate the lead vocal track and use it there, or create an aux buss and send the lead there along with any backup vocals you want to include.
A standard-issue vocal compressor like an LA-2A will work nicely, or you can use your favorite buss compressor for a larger group of vocals. Dial in more compression than you typically would for a vocal (upwards of 5 dB) and blend the track in subtly. The result will be transparent dynamics control — the quieter moments will be pushed forward without also causing the louder moments to get out of hand.
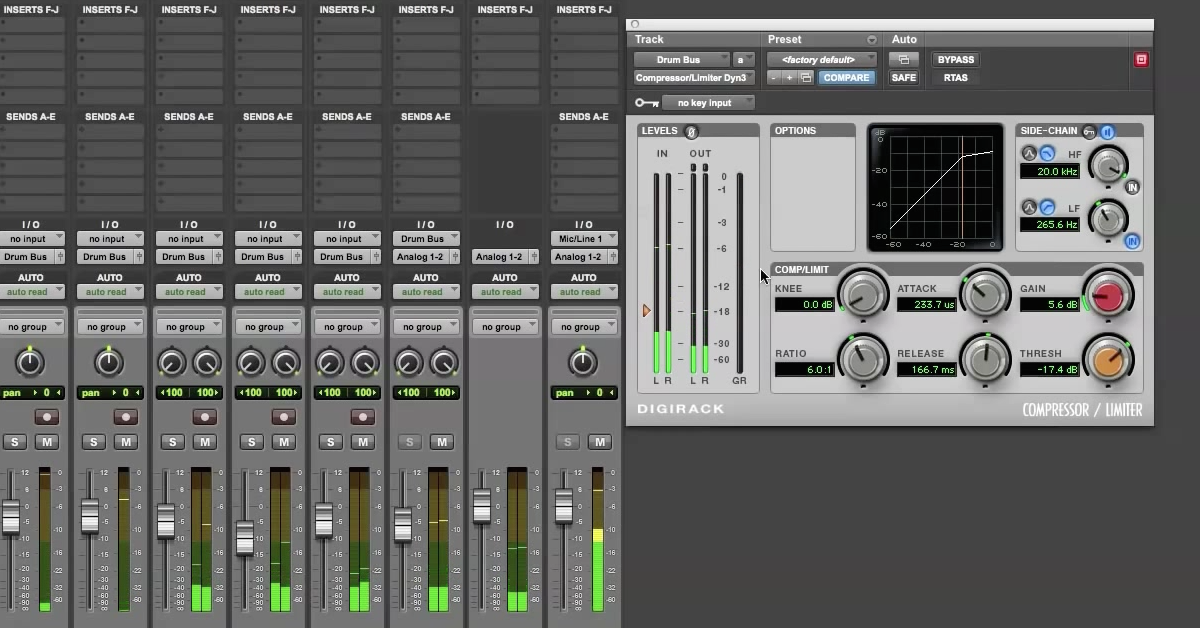
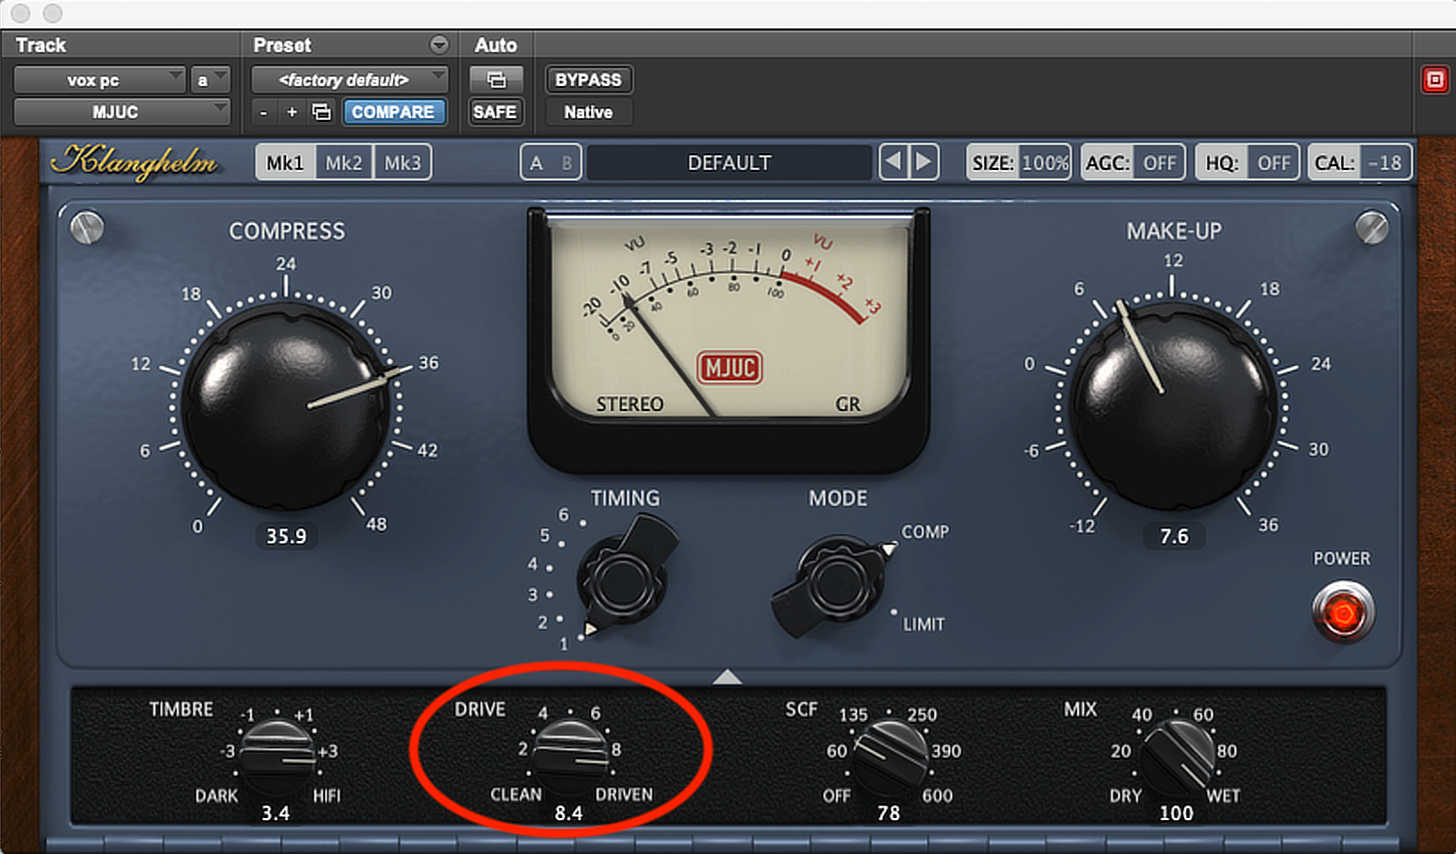
Many engineers like a compressor that aggressively adds color in this application, and it’s also common to see this approach paired with some saturation and high shelving EQ for added sparkle. I did all three in the example below, dialing in 10 dB of reduction on Klanghelm’s MJUC (a bargain bin sleeper — get on it!) while pushing the saturation control at the bottom:
Then I added some high shelving EQ with my favorite secret weapon for sparkle, the Kush Clariphonic:
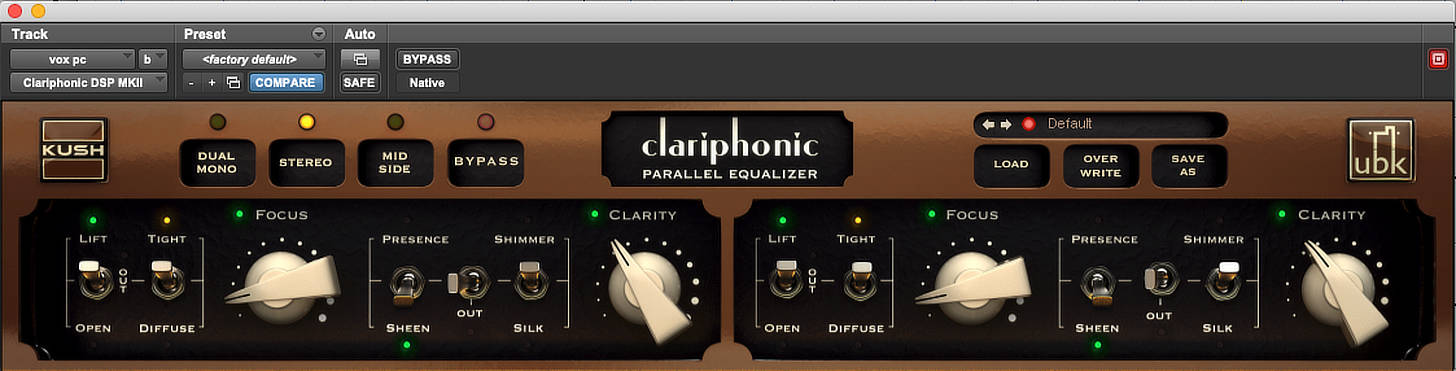
This processing was done on a parallel buss that I sent all the vocals to. Here’s the before:
…and after:
Mixed in loud, that parallel compression buss might make things sound unnatural, but tucked in gently (I had the fader down at -12) it gives a smooth, subtle lift to the vocals.
4. Retro Piano Crush
I love the sound of an aggressively compressed piano. It’s a technique heard frequently in vintage recordings that still pops up in modern productions that aim for some retro vibe.
While the piano can be a very dynamic instrument (it’s in the name — pianoforte, meaning “soft-loud”), the reason I love the sound of a heavily compressed piano has less to do with dynamic control or transient shaping and more to do with the way coloring compressors add richness to the already dense harmonics of the instrument. Here’s a prime example:

Unfortunately, that sort of saturated tone can come at a cost. Aggressively compressed piano works great if it’s meant to sit in the front of a mix, but it can get lost in a denser arrangement. This sort of scenario is the perfect time to use parallel compression, maintaining the natural dynamics and transient characteristics of an untreated piano while adding dynamic control and beautifully coloring harmonics with some unsubtle compression.

Ready to elevate your ears?
It doesn’t have to take years to train your ears.
Get started today — and you’ll be amazed at how quickly using Quiztones for just a few minutes a day will improve your mixes, recordings, and productions!
Your favorite Fairchild emulation is a solid pick for this type of parallel compression, though the vibey-as-you-want-it Distressor is also a great choice. I use plugin versions of both, and use the mix knob for a quick and dirty path to no-compromise vintage grit.
5. Ultra-Natural Bass
Unless you’re working in an especially quiet or delicate genre (folk, jazz, classical, etc.), bass compression is a pretty non-negotiable element of modern mixes.
Many producers and engineers favor heavy compression for bass, and it’s not too hard to understand why: inconsistent low end in a track can really kill its energy and momentum. The fastest path to consistent, strong bass is usually a heavy dose of compression. As a bonus, the saturation imparted by many compressors helps bass to cut on speakers that struggle to reproduce low end.
Too heavy a dose of compression, though, is a great way to end up with squashed, lifeless bass. Maybe you’ve been there before: it gets lost in the mix, and then when you turn it up, it’s almost impossible to find a sweet spot where it doesn’t feel too loud.
I’m sure you can see where I’m going with this. A great way to get the consistency of heavily compressed bass without all the issues that come along with aggressive compression is to dial that compression in parallel.
I will typically use two compressors on a bass track: one for a couple dB at most of straight gain reduction (usually an LA-2A), and another reducing more heavily (5 dB or so) dialed back to about 50%.
The first, fully wet compressor should be fairly reserved. It should make the bass sound slightly fuller, more consistent, and just better overall. The second compressor can be dialed pretty tastelessly — really steamroll that bass and get the compressor to sound distorted, then dial it back to “subtle lift” territory.
In the example below, I used Kush’s UBK (a Fatso emulation) for about 5 dB of compression, dialed back to about 40% wet:
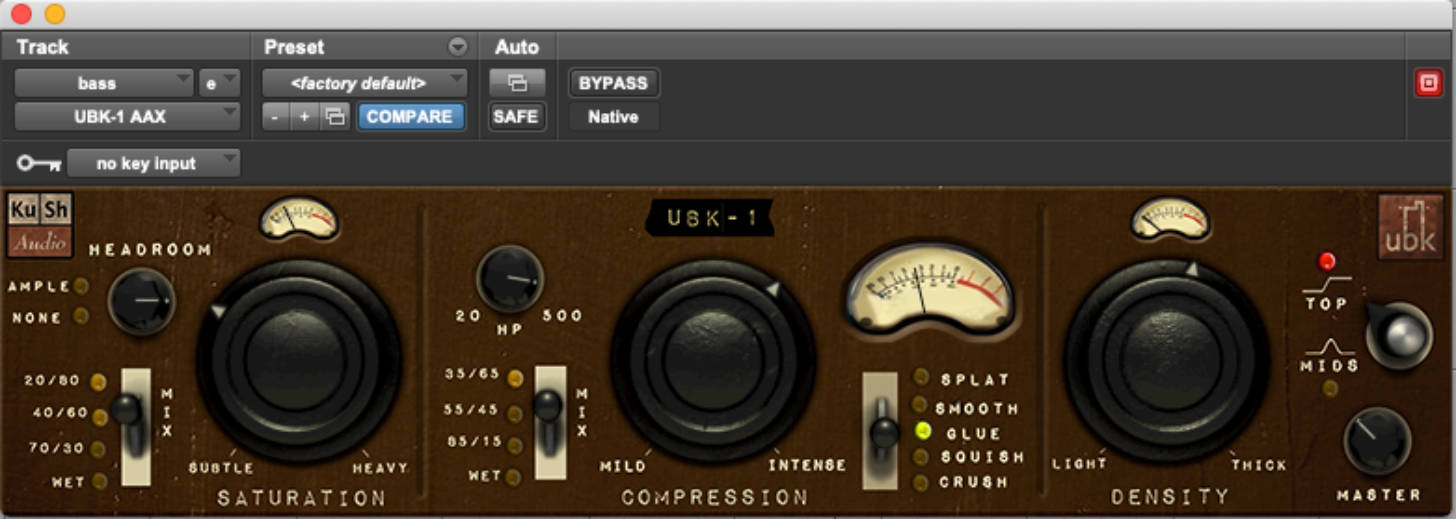
Here’s the before:
…and after:
6. “Rear Buss” Compression
This last use for parallel compression originated as a hack for mixing consoles that were originally meant for quadraphonic recordings.
Quick history lesson: if you’ve never heard of quadraphonic recordings, you’re probably not alone. Quadraphonic was basically a short-lived conceptual precursor to 5.1 surround sound, but with four speakers instead of six. Records were released in quadraphonic for a few years in the mid 1970s, but the format never really caught on, maybe for obvious reasons.
As a result of this failed technology, studios that fancied themselves ahead of the curve ended up with mixing consoles that came with an extra “rear buss” made for those back two speakers. Engineers started using that extra buss (which was not getting used for its intended purpose) for a cool parallel compression trick.
The standard rear buss compression move goes something like this: send everything in your mix except the drums to a stereo aux buss. Be sure to include any and all effects tracks too, as long as they don’t have drums routed to them. Compress that buss heavily with a fast compressor like an 1176. For this trick, you can do some heavy reduction — 10 dB or so. Bring the squashed rear buss in until it gives the the desired amount of lift.
The concept here is that drums are usually louder than nearly everything in a mix, and sending them to a compression buss used like this would cause everything else to pump. Leaving them out means that the rest of the tracks will likely pump and breathe around the lead vocal, meaning you’ve got some vocal-forward glue you can mix in to taste to give your mix a natural-sounding energy boost.
Side note: I have a quadraphonic copy of Blue Oyster Cult’s “Tyranny and Mutation” that I’ve never heard in its full quad glory. If for some reason you have a quadraphonic sound system at home and want to kick it, hit me up. Bonus points if you’ve got lasers and a fog machine.

Conclusion
In case you couldn’t tell by the end of this article, I’m a huge fan of parallel compression. A big part of the reason for that is that I’m also a huge fan of dynamics, and I generally aim for a natural sounding, unhyped mix. The fact that so many great plugins (not just compressors!) offer mix controls only makes me more inclined to try out processing less than 100% wet as often as I can. Though there are some specific parallel compression favorites listed in this article, I’d encourage you to try it out whenever a plugin gives you the option — you might find that it turns tough calls about what “too much” compression means into total no-brainers.