How to Use a Basic EQ to Create Complex Spectral Curves
01/9/2015
In this video, I’ll show you how to use the basic types of equalizers to create some complex spectral curves. The foundational concept behind this is to understand the different EQ bands can interact with each other in cool ways.
In other words, you shouldn’t think that each band in an equalizer has to be independent. In fact, you can get very creative if you start to combine them together. Here are some ideas I came up with, but there are certainly plenty of other techniques too. I’d love to see you guys post some of your own ideas below in the comments after checking out the video.
Let’s get to my session. Here, I’m going to be working with a country track. In fact, you guys can find these audio files online and download them yourself. They come from a website called, “mixnotes.com.” It’s put out by a good friend of mine, Jonathon Roy***. He’s got this song, as well as plenty of other songs in different genres that are up there that you guys can go and find, and download and practice some of your mixing and practice some of these techniques yourself.
So, let me play it back and give you an idea about what I’m going to be working with.
[song]
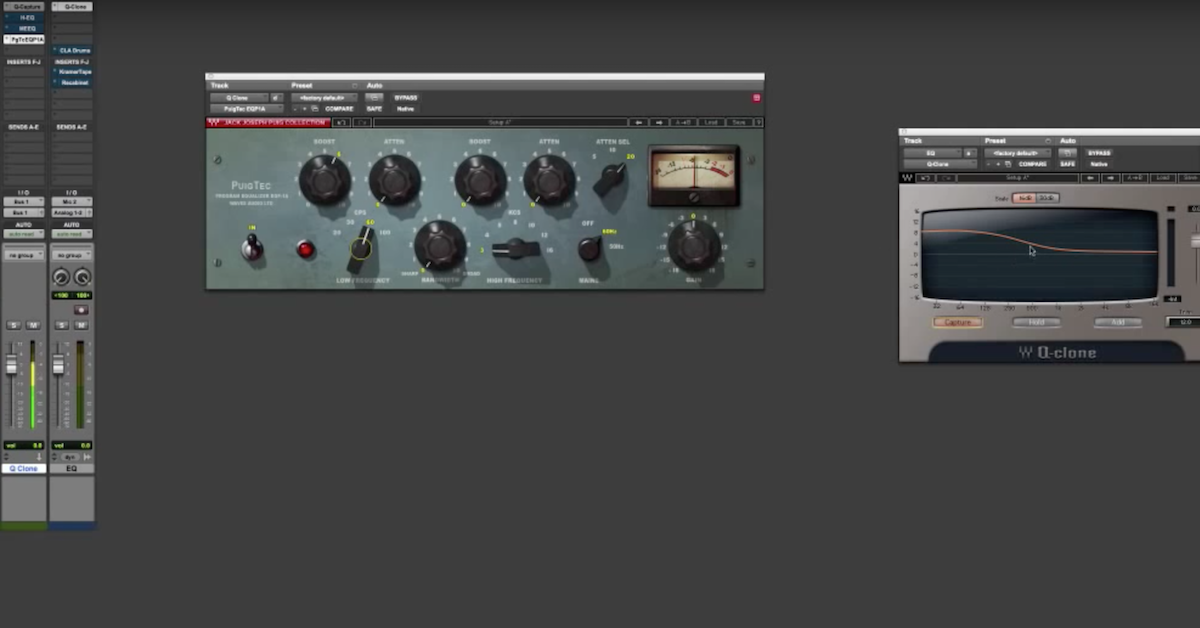
Alright, I’ll start out with something pretty straightforward. There are some famous equalizers that are known for having some unique spectral curves, precisely because they have interacting bands. One example of this is the Pultec style equalizer. There’s a famous trick with the low frequencies where you can boost and cut at the same time around the same frequency.
In reality, this trick involves nothing more than the interaction of two low-shelves. So, here’s how you can accomplish the Pultec trick without a Pultec equalizer. I’m going to show you this here with my kick drum. I’ll go ahead and solo it and let you hear what my kick drum sounds like.
[kick plays]
Now, this trick is good for the kick drum, and it’s also good for other bass instruments like your electric bass guitar. It sometimes even works well across a full mix.
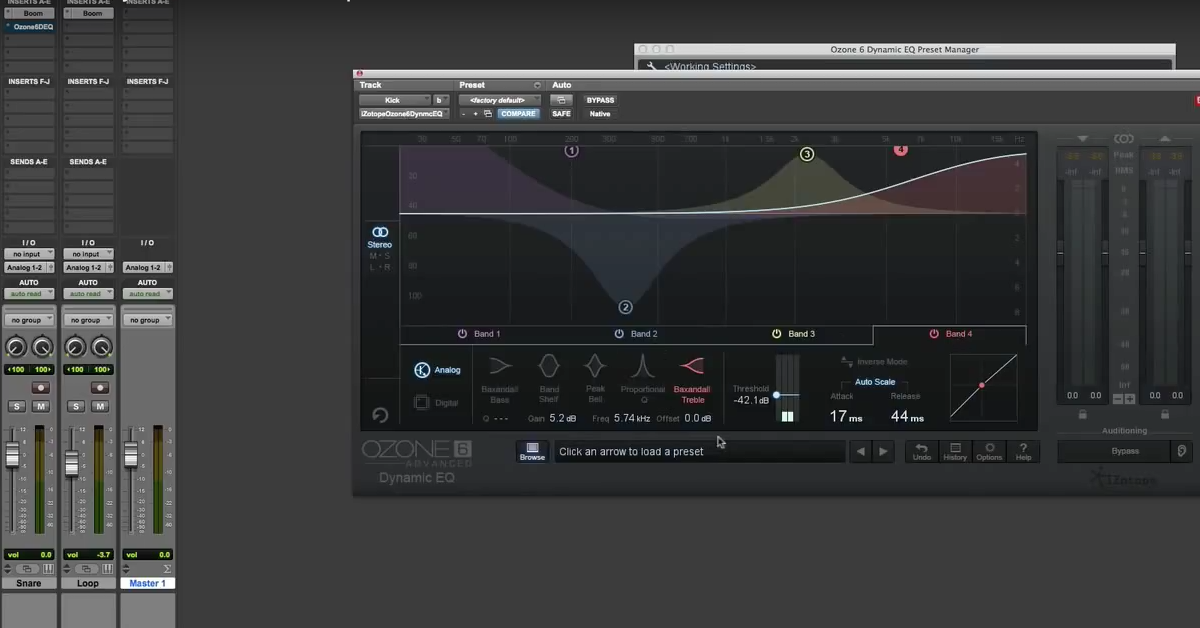
I’m going to go ahead and bring up an equalizer here. This one is the iZotope Ozone equalizer that comes as a part of Ozone 6. You don’t necessarily have to use this equalizer, and in fact, the thing that I want you to know is that you can use almost any equalizer that has the basic curves of an equalizer. A low-shelf, a bell, a high-shelf, and I’m just going to be working and combining those things together, so you don’t have to use Ozone. You can use your stock EQ plug-in in Pro Tools, or in Logic, or maybe another one. As long as it’s got those basic shapes, you don’t have to have a special one like a Pultec equalizer or some of the other ones I’m going to talk about later on, too.
So, the way that the Pultec equalizer trick works is that you’re going to be boosting with a low-shelf, and cutting with a low-shelf. It just so happens that the low-shelf that you’re going to be cutting with actually starts at a little bit higher frequency – or has a more gradual curve that’s sloping down.
So, I’ve got this already setup ahead of time for being one here. I’m going to be using this one as my boost. So I’ve just got my basic low-shelf right here. The thing about the Pultec curve, is that it allows you with attenuation and boost to actually carve out a little bit of the low-mids, and that’s why it sounds good with your kick drum. So, what I can do here is pull this one down that I’ve got setup at 200hz. You can see that I’m starting to decrease here around my low-mids, but I’m still boosting up those low-mids down around 100Hz or below where the fundamental frequency of the kick drum is.
Now, I have a lot of control here, because I have the gain of my second one – if I turn this one off, you’ll see that it’s just a regular low-shelf. These are starting to interact with each other to add this cool shape. Now, I have the nice degree of freedom here with gain, where I can maybe cut this one more, and I can go back to band one, boost it just like you would if you like that control as you would with a Pultec equalizer, you have the same kind of control if you setup the low-shelves yourself.
The added advantage over the Pultec equalizer is you have independent control frequencies for these low-shelves. So, I could sweep this one lower here if I wanted, and then boost it up more. I can make it go higher, and so on. Variable control now over the same style of curves.
Same thing here, I can sweep this up even higher, maybe attenuate it more lower – or less, and so on. So, this is one way with your equalizers, just basic low-shelves, that you can create this kind of interaction that you would normally only find on a Pultec equalizer.
Let me play you back my kick drum and play around with it a little bit, so that I can show you what it can sound like.
[kick drum, adjusting EQ]
Scoop out some of the low-mids with one low shelf, but then beef up my low-end with the other one. I want to scoop this over a little bit more, pull out more of the low-mids.
Alright, so that’s pretty straight-forward technique. Let me move onto something that is a little bit more complex, I guess, than that.
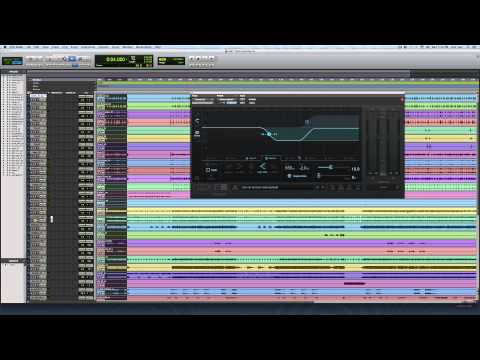
I’ll go ahead and make this one inactive. I’m going to focus on my acoustic guitar now. Alright, now what I’m going to demonstrate is how you can make a bell shaped curve with a flat top. Go ahead and bring up Ozone for this…
And this is a shape that is found on a special kind of equalizer. It’s pretty new, it’s called the Eiosis Air EQ. This EQ is fairly new, so if you haven’t seen it before, I highly recommend you go and check it out. The basic idea is to have a bell curve that doesn’t have a resonant peak top. It’s almost like having a mid-shelf instead of just having a high-shelf or a low-shelf.
So, let me show you how you can create this a couple different ways just by using basic EQ curves, rather than having something special or fancy. So, here I’m going to start out. First time, I’ll show you it – here, let me switch over to surgical mode here – with high shelf, that I’m going to be doing, and I’m just going to setup so it kind of has a plateau shape rather than having a bell curve in the mid-frequencies, I can setup something that has a flat top.
So, what I’ll do here with band 3 is boost by 2 dB, band 4 I’m going to cut by 2dB. So what I need to do is raise this one up. You can see that the interacting bands start to have a bell curve here as I continue to increase the frequency, you’ll see that I have now a flat top. Right? So, I can make this as wide or narrow as I want. Flat top – what this is going to do is kind of flatten off that resonant peak that sometimes comes up and makes your curve sound too sharp. Maybe you want it to boost for my acoustic guitar here without sounding too harsh. So let me play it back, and maybe do a little bit of that.
[acoustic guitar]
Bring up my upper-mids. I can do it and even make the gain higher. Maybe I raise this one up to three, and lower this one.
I can also do the opposite. Let me go back to two here.
You can also do the same thing where you’re cutting with a flat bottom of your bell, like this. Now I can sweep this one over, and make this one go over here as well. I can hollow out the center of my spectrum if I wanted to. It’s really up to you to be creative as you start to see how these things can interact.
Now, this is with a high-shelf. Another way you can accomplish a similar kind of thing – let’s do this with bells. So I’ve got a bell here, let me boost it up like this and widen out the Q a little bit. Let’s add another bell in here. Let me see what this one is… 2.8. I’m going to make this one 2.8 as well like this.
Now, what’s my Q. 2.3 Okay, let me do that so that it’s symmetrical. Now, I’ll just move the frequency like this. You can see now what’s happening is that I have a flat top, and if I start to work these two together here, I can sweep these around and so on. If I move this one too, like this, you can see that now what I’ve accomplished is I have this flat top, and so on.
These things are interacting with each other. I could broaden out the Q, and make this wider, or so on. I could even do things like raise the gain on these things. Right? It’s a different way of going about having a flat top, rather than a single bell curve, I can put two of them together, or two high shelves or low shelves, and accomplish a similar kind of thing.
Alright, last technique that I’ll show you. I’m going to demonstrate on my vocals. So let me go over here to my lead vocals, and find a part where the person is singing right here.
Alright. So, last thing I’ll demonstrate is how to make a bell shaped curve with an asymmetrical shape. So rather than having a flat top, this is going to be asymmetrical. There are several EQs that have this kind of option. One idea that comes to my mind is the Waves Hybrid EQ. If you’re not familiar with it, you should definitely check it out.
The idea is to have a bell curve where one side is steeper, or sharper, than the other side. Here’s how you can create a similar curve with just basic EQ shapes, rather than having to get the Waves EQ or anything like that. So, I’ll go ahead and bring up my vocals and talk about why you may want to do something like this.
Here are my lead vocals. You’re going to see on here the spectrum when the guy starts singing.
[song plays]
So you can see a lot of the voice portions of his singing have harmonics that are in the low-mids and so on, but what you want to avoid is the upper-mids in the high frequencies where the sibilant sounds are, like the esses and the “esh” sounds, the “ssss” kinds of sounds that you a lot of times end up using a special processor just for those things. The high frequency sounds that can sound harsh, but I want to boost with a pretty wide Q around the 1,000-2,000 and 3,000, but then I want to have a sharp drop off that happens around 3,000 so I’m not boosting those high frequencies.
So, I’ll go ahead here and turn these off, and go over to band 5 and 6 that I’ve already got setup together here. This one’s boosting at 2dB, and then I’ve got 6 over here that I’ve got -2, so right now it’s a flat curve because these are interacting with each other.
So, what I can do here is move this one to the right, you’ll see just as before, that the curves are interacting with each other. I can stretch this out and have a flat top, but what we’re going to do is have a bell curve like this, but then make this one more sharp, so I’m cutting out the high frequencies, but can boost more across the ones here.
So if I go over to band 6, what I’m going to do is sharpen that Q. It all of a sudden becomes asymmetrical. I’m boosting more of the low frequencies as part of the bell curve, but then the highs, I’m cutting them off. These are the harsh sounds that I’m going to try to avoid boosting.
So now I’m accomplishing an asymmetrical shape. I can do the same thing and flip it to the other side if that’s what my application called for.
So, let me play back my vocals and let you hear this.
[vocals, adjusting EQ]
So, hopefully you can see what I was demonstrating there is by just using these basic building blocks, these shapes like a high-shelf, you can do the same thing here with bells as you would with high-shelves too, just like I did on a previous example, where you have control over it with the Q, the frequency, and gain. You have these degrees of freedom where you can change the shape. I can make this one flatter on one side, or I can sharpen it like this. I can go over to band 6 now, I can decide how flat or sharp I want to make this one, and they’re interacting together in this nice way instead of just using one particular equalizer that has a special curve for it. By building it out of two separate equalizer shapes, you have a lot more control.
So, there you go guys. I hope you learned some new tricks. Maybe I even saved you a couple bucks by showing you how you can use a simple EQ plug-in that you already have, rather than having to go out and buy another one.
Let me know what you think, and take care guys. We’ll catch you next time.
Elevate Your Ears