Analyzing Effects: Saturation
This is my second video in a set that I’m doing to demonstrate some techniques that you can use to analyze your effects plug-ins if you want to get a little bit better understanding of the signal processing that’s going on behind the scenes. My first video, I demonstrated how you could use a signal generator plug-in to create a frequency sweep that you send through your plug-in, and then look at how the amplitude changes across the full spectrum.
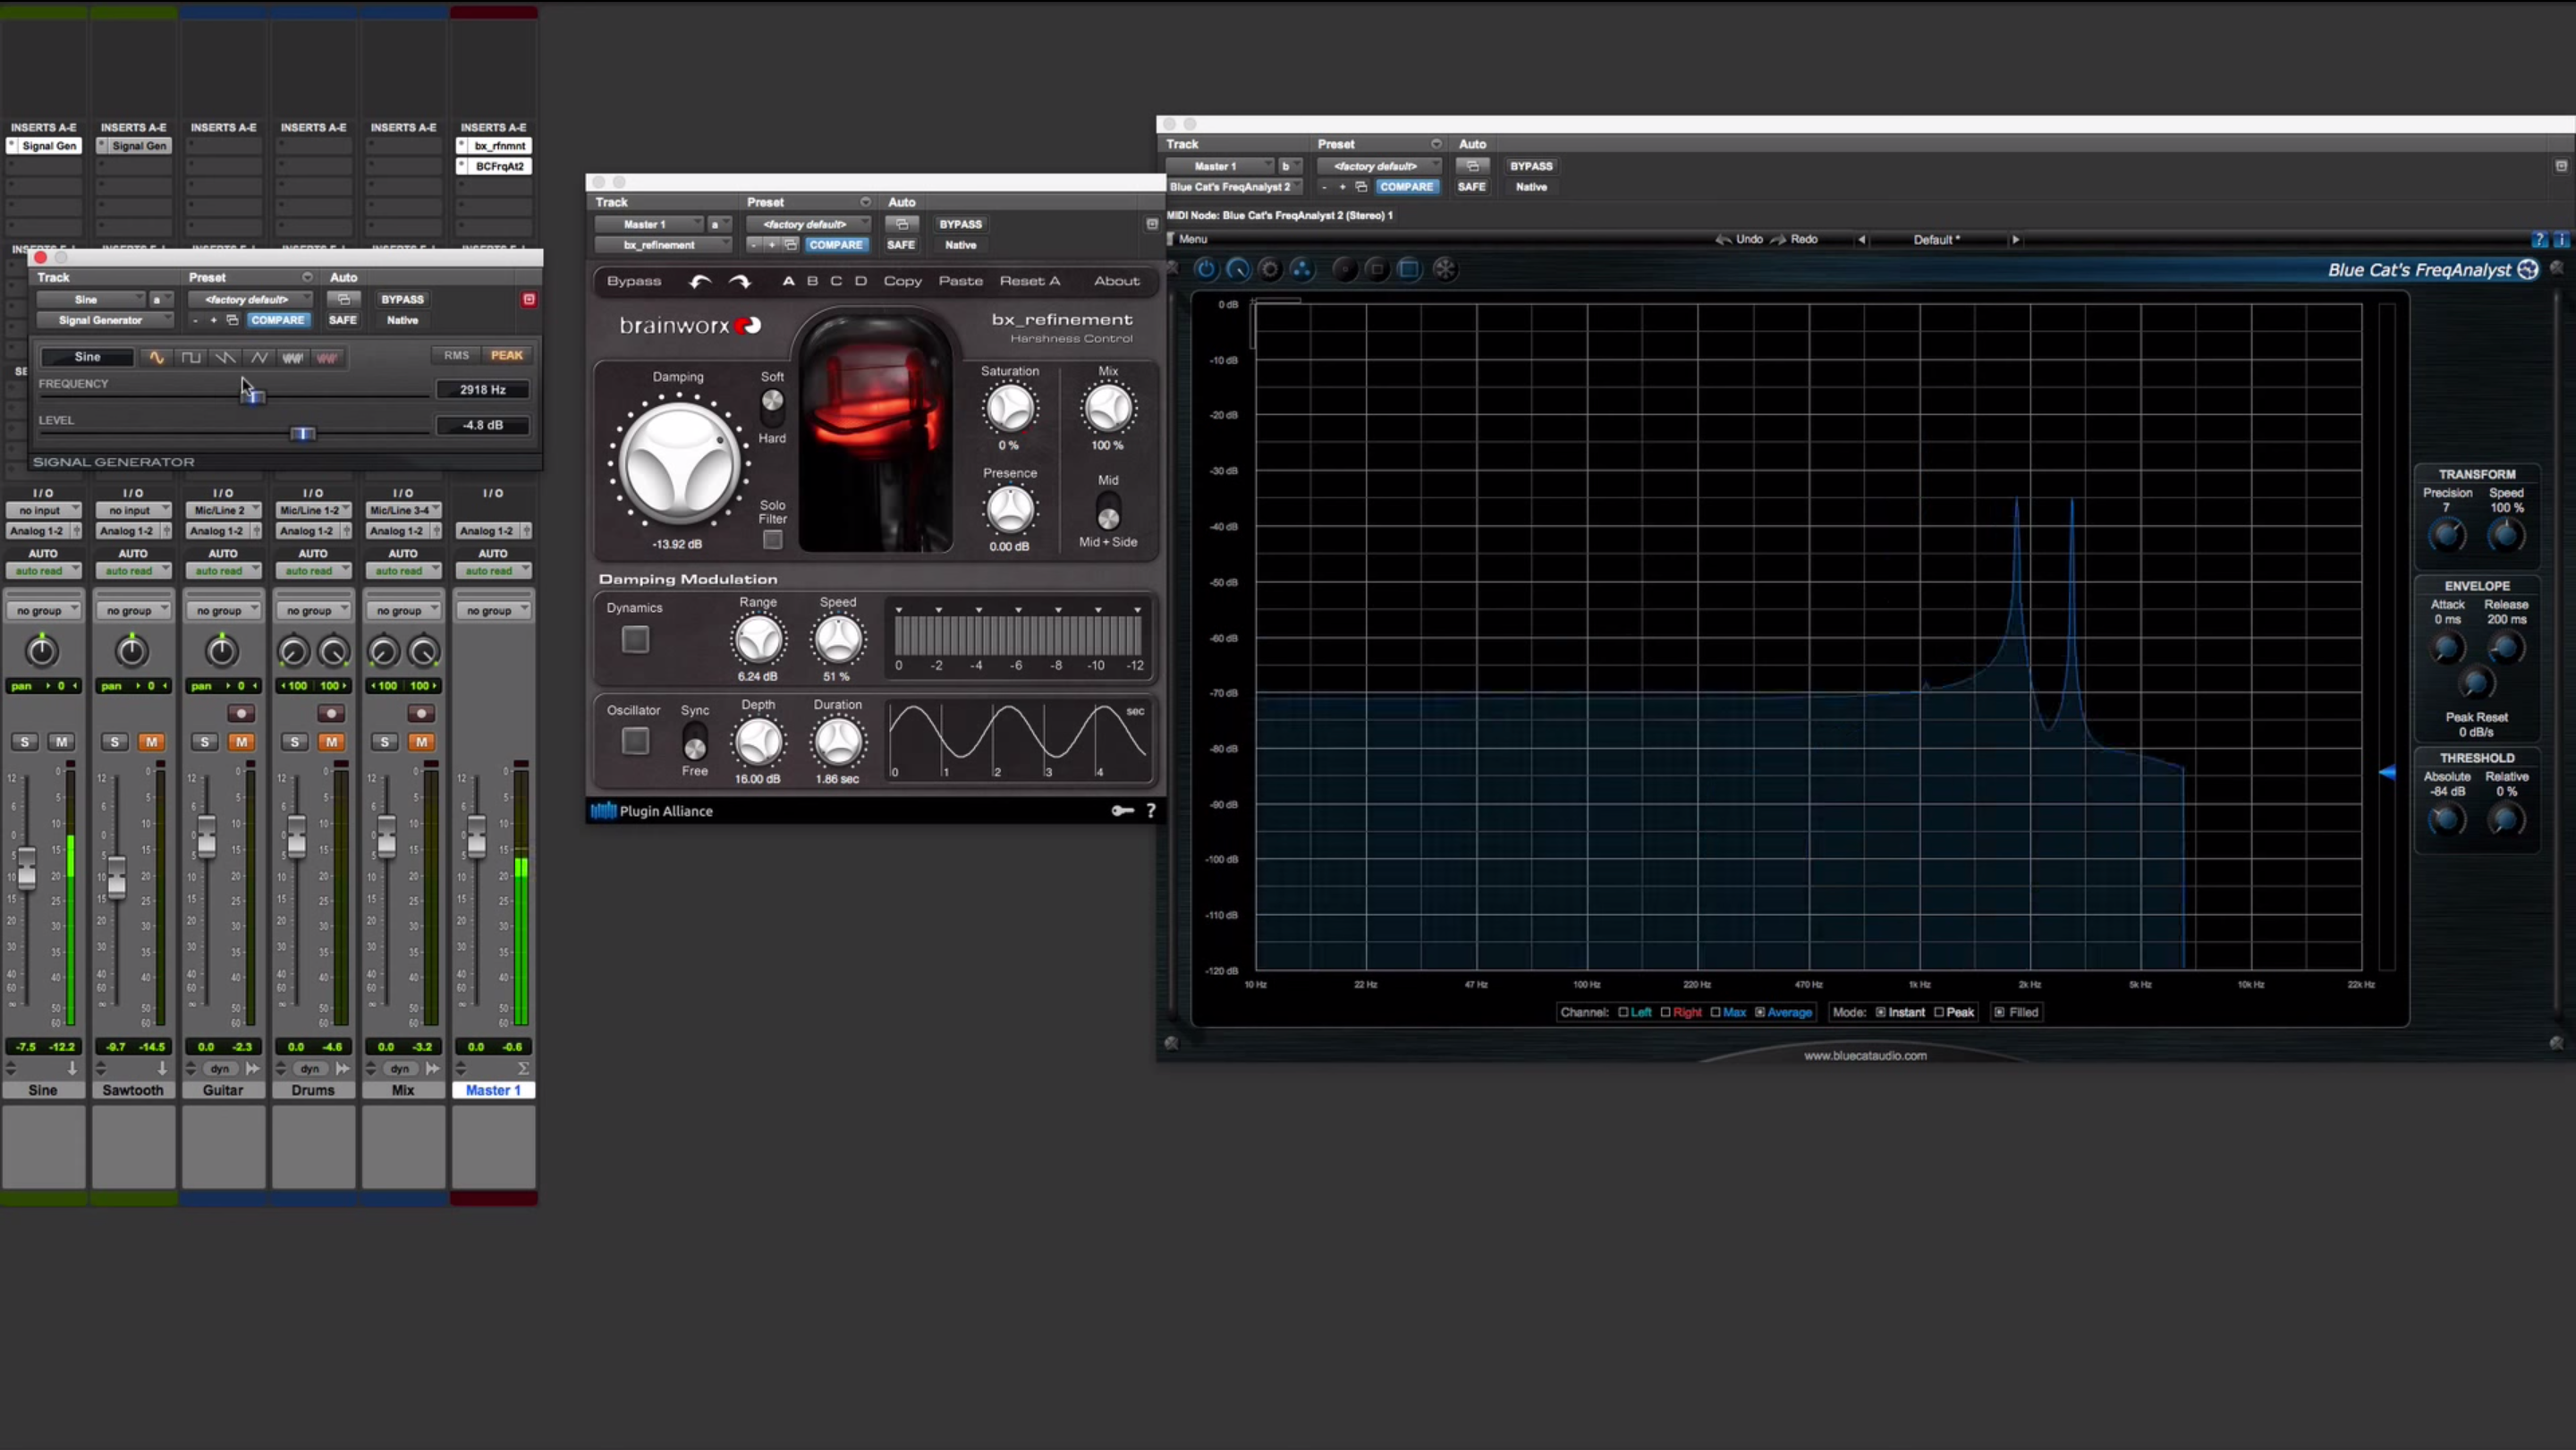
This kind of technique is great for certain types of plug-ins that fall under a category that might be described as spectral processors. These are equalizers, and I also demonstrated with the Brainworx refinement plug-in that’s going to be used to remove harsh information from the signal.
Well, what does that harsh information really mean? If you’re wondering, go check out that video after this one.
So in this video, what I’m going to do is show you a different way of analyzing effects that will fall under a category. Maybe your DAW groups them together as harmonic plug-ins. These are your distortions, these are your saturations, these are your harmonic exciters… Those types of things.
So I’ll show you two plug-ins and compare them side by side. First up is the Softube Saturation Knob. This is a free plug-in that you can get. It’s compatible with almost any DAW across many different plug-in formats.
The next one I’ll show you is one by Sonnox called the Oxford Inflator. It’s been around for awhile, it’s very popular, it’s great for mixing, it’s great for mastering.
They each do similar things, but in some ways, they’re also different. So hopefully I’ll be able to show you those things side by side. Now I’ve seen some videos by Sonnox that they claim that this is some kind of magic plug-in, and it makes everything sound better.
Well, hopefully I’ll be able to demonstrate what exactly that means. What it’s doing to a signal to make it sound it better or perform that magic.
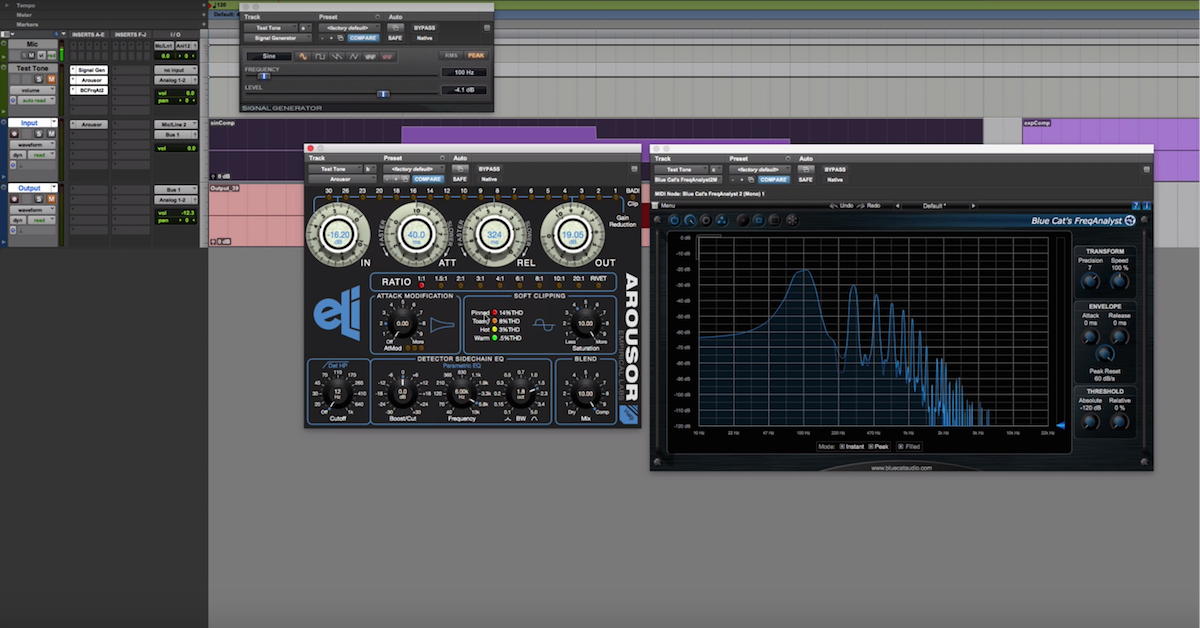
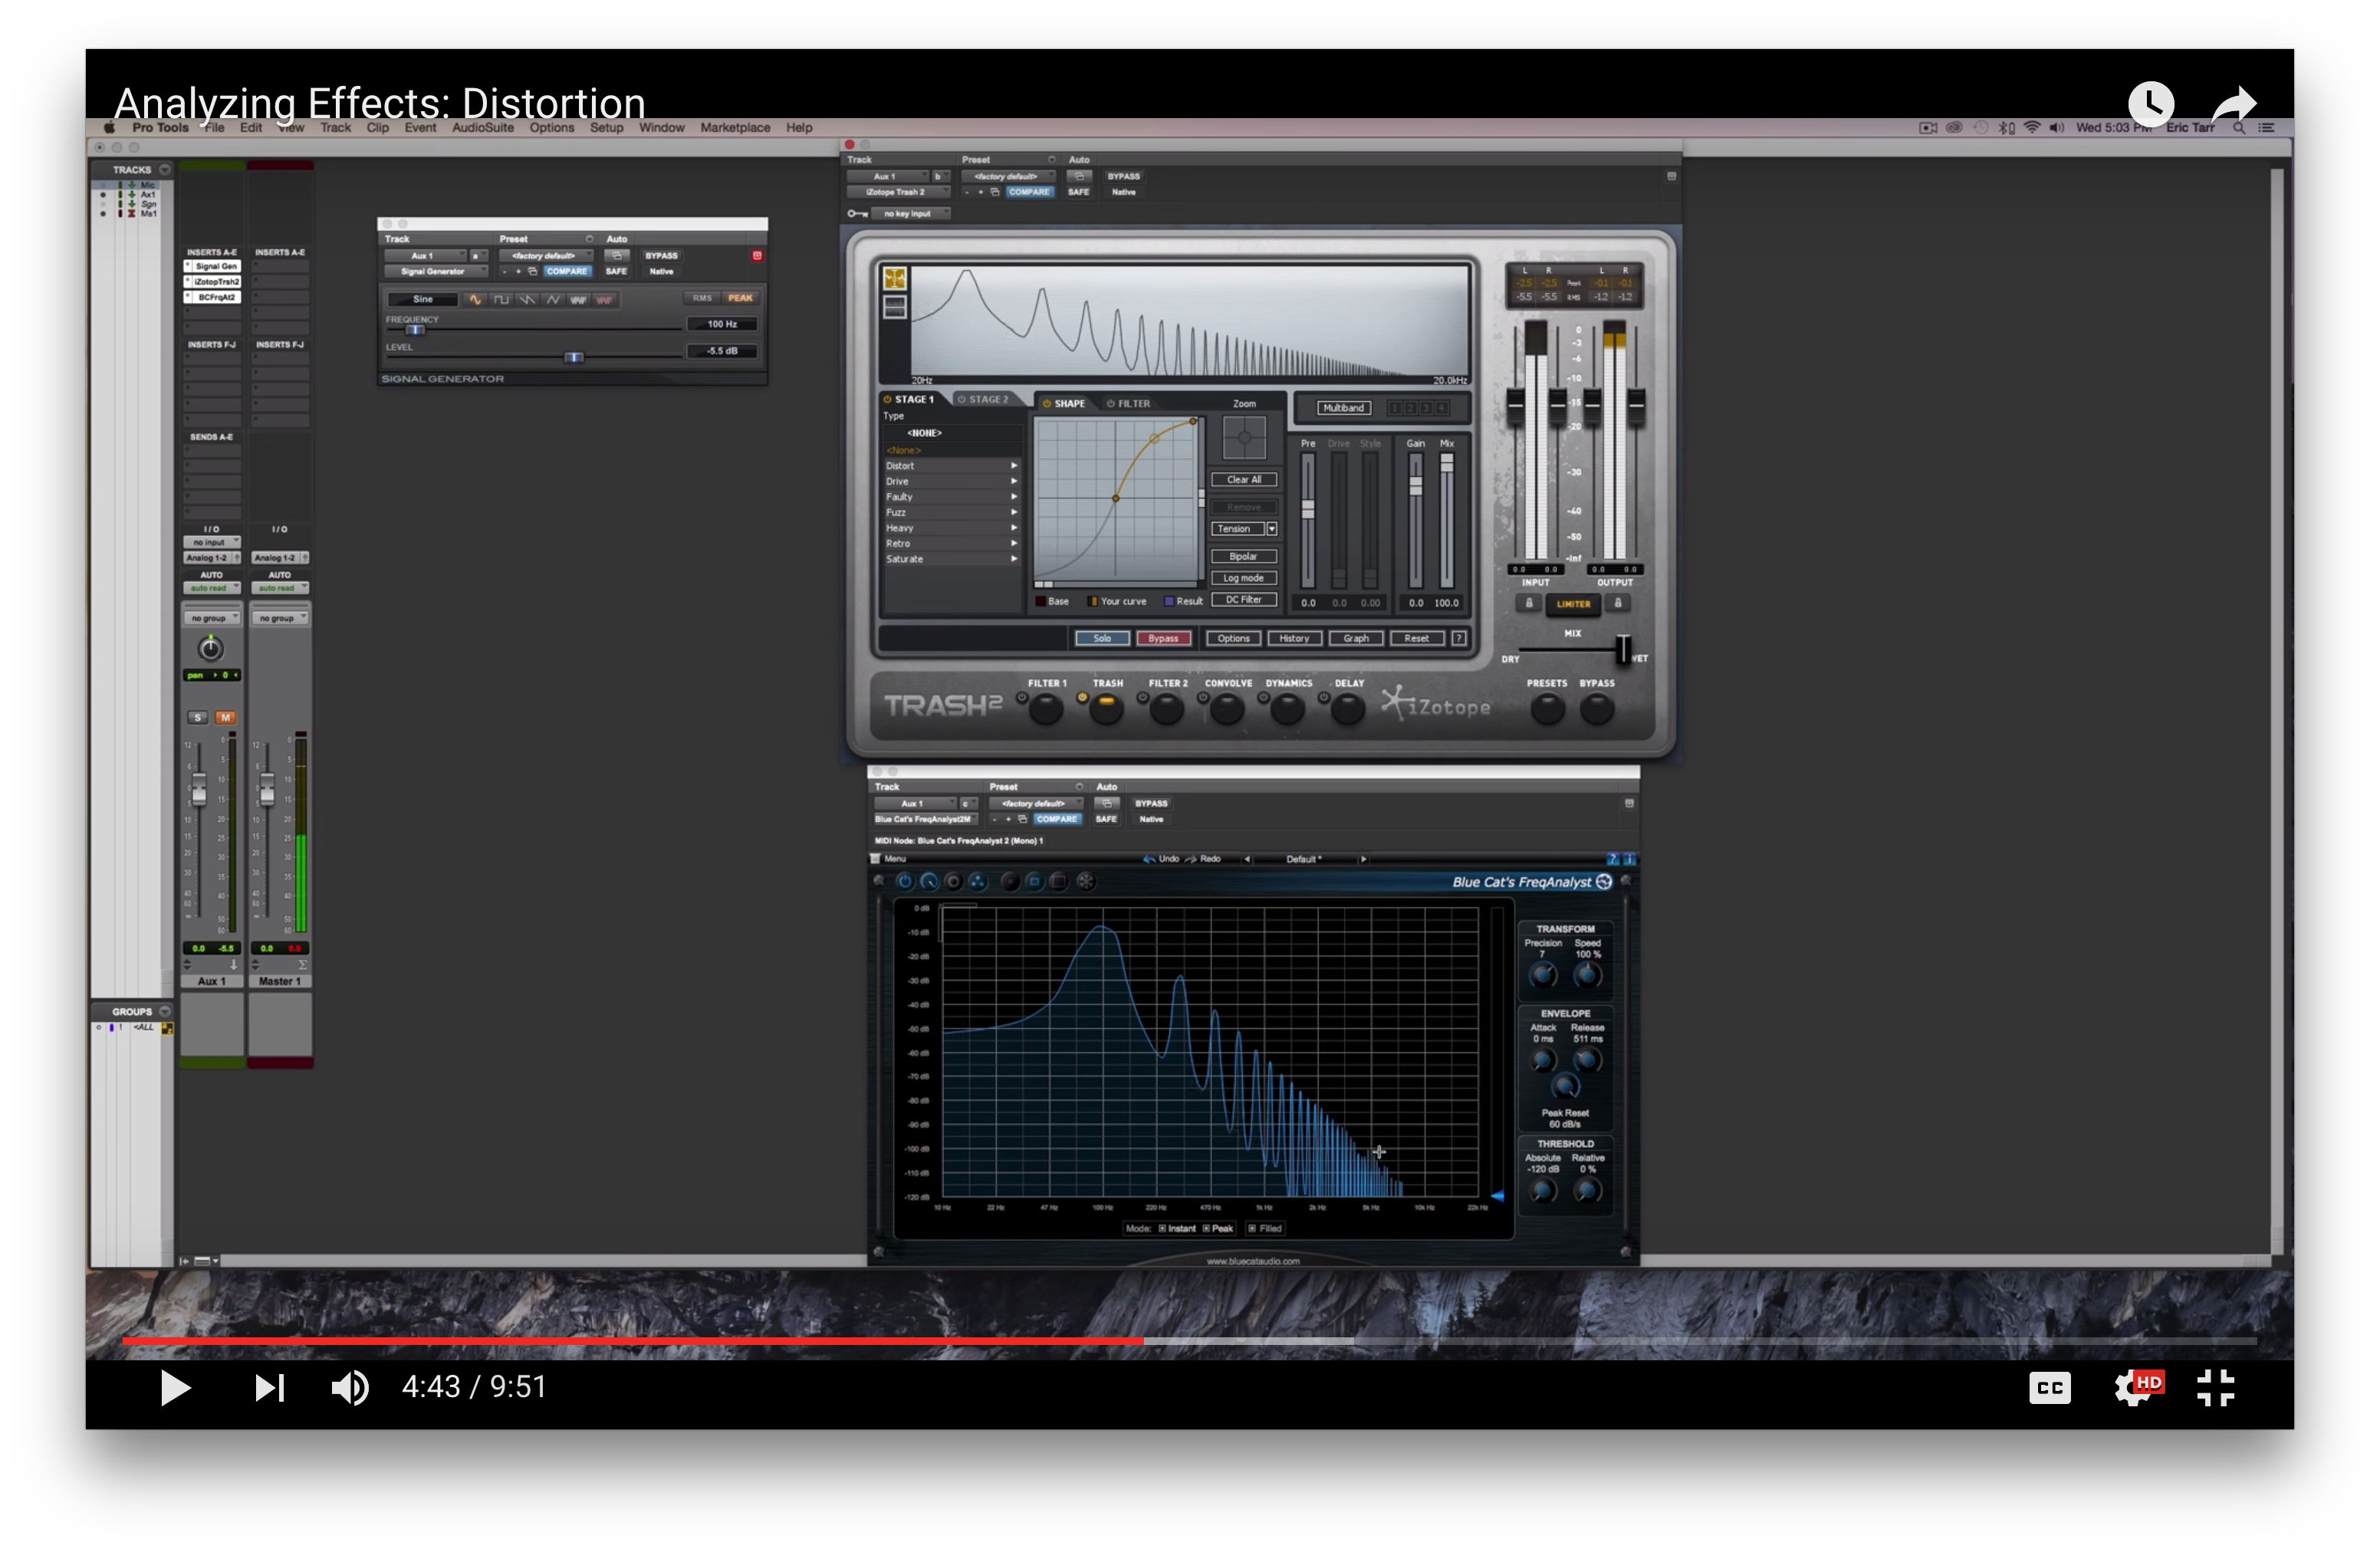
So, I’m going to show you first the Saturation Knob from Softube. I’ll take you through my basic setup. I’ll start out with a sine wave signal that I’m generating over here. It has a fundamental frequency of 100Hz. We’ll keep that constant in this case.
We’ll send that signal over here through my auxiliary track. I’ve bussed it over here to one called “process,” and I’ve got the Saturation Knob on here. Then I’m going to take this signal over here to my mix buss, where I’ve got the frequency analyzer going.
So I’ll start out just generating my signal, send it through here, turn up saturation, see what happens over here in the spectrum.
[sine plays]
So there’s my 100Hz.
[sine plays; getting saturated]
So, with these distortion, or saturation, or harmonic exciter style plug-ins, these are going to take a single frequency signal, and then distort them, or saturate them in a way that generates more harmonics.
Now, if we look a little bit closer at what the Saturation Knob is doing, as I increase the drive on the knob here, what that’s going to do is bring in harmonics. These are going to be at both even and odd multiples of the fundamental, so if this is 100Hz, you’ll see harmonics that show up at 200, 300, 400, 500… Most of the way up the spectrum here.
So I’ll show this one again.
[sine wave signal; getting more saturated]
Another thing that you can do to get a better understanding about what a plug-in is doing, especially these saturation kind of things, is to look at the signal – what specifically this plug-in is adding in. So, the way you can do this is you can setup parallel processing chains that are going to be summed together. This is my processing one, and this is my inverse.
So, what I’ve got up here, if I bring in these one-band EQs, is I’m going to be just using the polarity inversion button right here. So I’m going to have the same thing on both tracks. The only difference is, this one over here is getting inverted. So, I can bring in this plug-in, but I’m not going to be adding any saturation. So right now, these two things should cancel each other out when I run them together.
So let me mute this one. Watch what happens when I bring it in. It perfectly cancels out this other one right here.
[sine wave, flipping phase to cancel out]
So you can see, two signals coming together, but when they’re added, they cancel out. Now let’s look at when I bring up the saturation on this side of the parallel processing, what is added in. This is the thing that’s new or different compared to the signal over here.
[sine wave; getting more saturated]
Alright, so there you’re seeing your even and odd harmonics show up again.
Next, let me move on and demonstrate the Oxford Inflator. I can do a similar kind of thing here. I’ve got both of these. I’ll bring them both in, and I’ll start out by muting this one here. We’ll look at on the Oxford Inflator, it’s this effect slider that’s essentially the same kind of thing as my knob in the other one. This is basically how you turn the effect up and down.
So let’s look at this now. Sine wave.
[sine wave signal]
And bring in the effect
[sine wave saturating]
So here, it’s not as obvious as it was before. You’re primarily just seeing a single harmonic that comes in very subtly, and on closer inspection, this harmonic is going to be the first odd harmonic. So if my lowest frequency is 100Hz, the next harmonic that comes in is an odd multiple. It’s at 300Hz. There’s not a harmonic at 200 or 400 right now, or any of the other frequencies.
So, I can bring this down. It’s a little bit easier to see when I bring in the inverse of the signal, where I’m not adding anything in. So these signals cancel each other out, but as soon as I bring in the effect on one of them, you’ll see what’s being parallel – the kind of excited signal that’s being blended in.
So, this kind of Oxford Inflator or harmonic exciter is basically distortion in parallel, where you add in some kind of saturated signal. So let me go ahead and do this here with the sine wave. The signals are canceling each other out, so now when I bring in the effect, you’re only seeing what’s happening in parallel – the distortion that’s happening in parallel.
So I’ve got my fundamental, and I’ve got my harmonic up here at 300Hz. One unique thing about the Oxford Inflator is you have this curve knob, which is described as a way to make things a little bit brighter or darker, but if I show you what happens with the single frequency, you have a better understanding about what the curve knob actually does.
It’s going to add some other odd harmonics further on up the spectrum, and then by changing it’s position, it’s going to change the relative amplitude of those harmonics to the fundamental.
So let’s add it in here.
[sine wave]
There we go. Bring it all the way up so we get the curve.
So these are our odd harmonics. 300, 500, 700. I’m not seeing even ones. Going the other direction…
The difference is now, the fundamental is at a lower amplitude when I bring the curve down, versus when I bring it up.
You can notice a similar kind of thing here when I send a different type of signal through the Oxford Inflator. Let’s go ahead and look at a sawtooth signal very quickly.
I’ll bring this one in and show you what happens when I also use the Oxford Inflator here. When I bring in the effect, you’ll notice how it’s going to change the relative level of the harmonics. When I bring the curve up, all the harmonics get increased. When I bring the curve down, it’s a way of the higher harmonics rolling off.
[sawtooth wave]
So, it can be a little bit difficult to see what these plug-ins are doing if you send a complex signal through them. That’s why for this category of harmonic plug-ins, I suggest starting out with using a very simple signal like a sine wave. It just has a single frequency. Then, you can look at the harmonic content that’s being added in by the plug-in.
Hopefully you were able to see that not all saturation plug-ins are created equally. In the case of the Softube Saturation knob, it’s going to create both even and odd harmonics, whereas the case of the Oxford Inflator, the even harmonics are not created, so they’re going to give you slightly different sounds, and you can use them for different types of effects.
Hopefully this gives you a better understanding of other ways that you can analyze your plug-ins in general, depending on what type of category it is.


![Saturation Plugins [Analyzing Mixing Effects]](https://i.ytimg.com/vi/OP6wuFxJEkA/hqdefault.jpg)


