5 Tips for Getting Better Mix Balances
Today, we’re going to talk about one of the foundations of mixing. Setting Balances.
Setting balances should be easy, right? I mean, this is basically the most fundamental task in mixing. You are adjusting levels, making sure nothing is too quiet, nothing is too loud, that all the pieces fit together nicely.
Unfortunately, setting balances can sometimes make people want to pull their hair out. It’s easy to lose perspective, and I want to talk to you about a few way you can keep perspective, and make sure that you’re going to be real effective in setting balances throughout your mix session.
Alright, so item number one — prepare first, then mix. This is huge. Not enough people do it. You don’t want to be comping vocals, doing edits, while you’re mixing.
Generally, you’re going to get the most mileage if you are able to fully engage with one task, and right now, the task is mixing. It’s not comping vocals, it’s not editing, it’s not ideally making too many arrangement decisions at this point, it really is supposed to be just focusing on balances and then the effects and window dressing.
So make sure you’re prepared first. Make sure your edits are done before you’re getting your mind into mix mode. This also includes things like setting up your effects sends and returns, it might be helpful for you to make your own effects template where you’re sending out anywhere between one to three reverbs, one to three delays, maybe you have some busses setup for a specific instrument group that might have compressors or EQs on them, but the idea is if you can do a lot of this routing and advance as well, you’ll be able to just focus on the creative aesthetic and technical aspect of mixing and getting all of that out of the way.
So that’s not too tricky. If you can force yourself to do that first, you’re going to be in a much better position. Then there’s question number two, where do I start?
There’s a couple of different ways to approach where you should start in setting balances. There are two main schools of thought here: One is throw up all of the faders and just start working, and there are some mix engineers who do very well with this technique. This works better if you’re on an analog mixing board than if you’re in the computer, I think, but a lot of other mixing engineers take a different strategy, and this is a strategy I’d strongly recommend, especially when you’re in the first decade or so of your mixing career, and that is to start with your most important elements.
Now often enough, people just go into drums, or just go into the kick drum, but the question should be, is that your most important element? And on some mixes, the answer is going to be yes, the drums are such a central element along with the vocals, you want to establish a big, honking drum tone first, and then you’re putting other things around that big, primary piece of the puzzle with the kick and the snare sounding really nice, and then fitting other things around them and making sure nothing is detracting from the beat.
But that’s not the case with all mixes, and I know some engineers who have great success also starting with the lead vocal, and some engineers will switch back and forth between these two methods.
I mean, if the most important elements in your mix are the lead vocal and the gorgeous acoustic guitar sound, those are the sounds to establish first, and then fit in everything around those sounds.
So I hope that makes sense. Start with your most important element. Don’t just think automatically that’s the drums, it may be, but it could also be the vocal, acoustic guitar, a bass, really anything.
That said, most commonly for most engineers it’s going to be drums, it’s going to be vocals. See how far you can get adding one element after another, not using EQ adjustments, not using panning adjustments, and just trying to set levels.
That really forces you to prioritize. You should be getting yourself, hopefully, 75, 80, 85 percent of the way there just at this stage. That’s your foundation, and anything else is window dressing, and stage lighting and all of that is really important as well for a nicely polished finished aesthetic work.
But don’t get ahead of yourself. Focus on your balances first before you start breaking out all of these other tools from the toolbox.
Quick tip number three. Setting balances is really about honing in on the right level. Chances are you’re not going to get there the first time. So whenever you’re in doubt about the level for a particular fader or particular element, try this.
Bring your fader up until that sound is too loud. You’re going to know when it’s too loud. Your instincts will tell you. Then tuck it back from there to just where you’ve crossed that threshold where you feel like, “Okay, now it’s reasonable.”
Good. From there, pull down your fader until you’re at a place where it’s clearly too quiet. Alright? It’s just not working right, it’s just too low. Alright? Now scoot it back up until you’ve just gotten it to a place where it sounds pretty much reasonable.
Alright, so now that you have a quiet level and a hot level established that are kind of reasonable and work, you know that where you want to be is somewhere between those two.
If it’s a very narrow gap, good, you’re probably in a place where you don’t need to do too much additional processing on that element. If you’ve got a really big gap between what sounds too quiet and what sounds too loud, maybe there’s too much dynamics in that element, and maybe you want to dig in on some individual track compression, or think about your buss compressor settings and seeing if they’re at an appropriate place.
Quick tip number four. This one bears repeating. If you’re going to mix through a buss compressor, put it on early, and mix into that buss compressor. It can be really fun to mix into a buss compressor, not just because compressors can sound pretty cool on the buss, and they can, but also because instead of feeling like you have to turn everything down, you kind of get to push things up a little bit more, and you can be a little bit more loose and instinctual with some of your fader settings, and you can do kind of more exaggerated fader rides with your buss compressor kind of reeling you in a little bit at the end.
Alright, and the last quick tip for today, give yourself headroom in the mix. If you find yourself in a position where you’ve put in your most important elements, and now you’re putting in other sounds louder than them, and now you’re trying to make your most important element louder again, and now you’re trying to make everything louder and louder, and now you’re clipping the master fader, and everything is a mess and you can’t get anything loud enough and you can’t hear anything…
Well if you’re doing that, then you probably didn’t listen to the first few tips and didn’t abide by them, but if you find yourself in that position, just turn everything down and bring the element that you want louder up, and now you’re back in a place where you have headroom again.
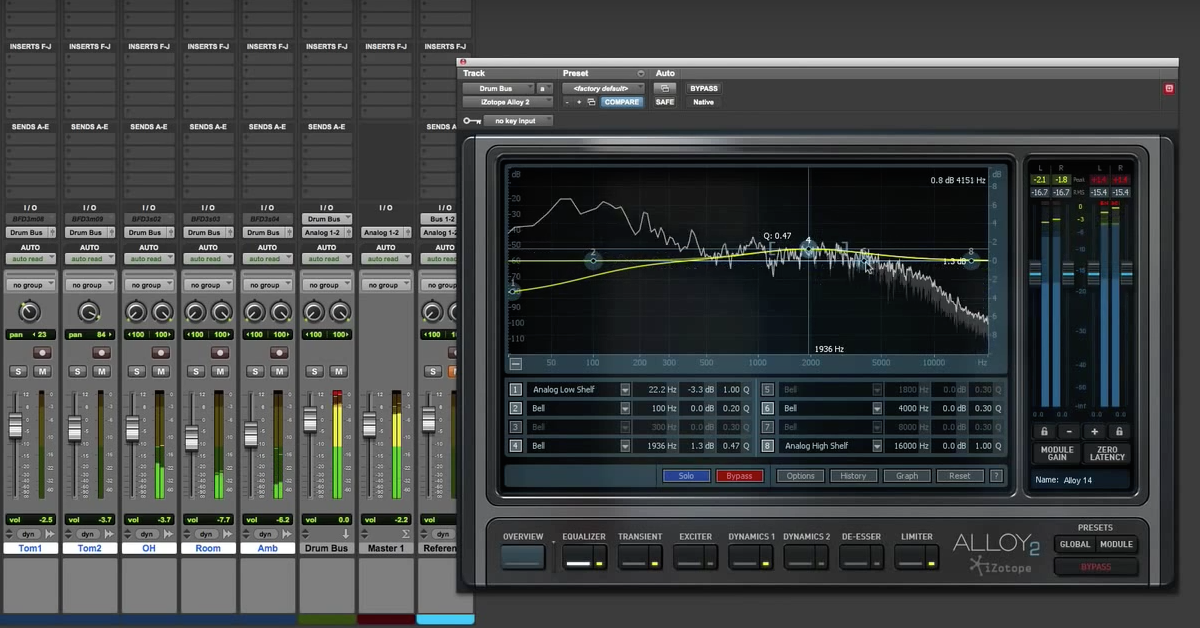
You can do this in Pro Tools by turning on your all group, using your trim tool, and turning down everything at once, and then take that element that you can’t get loud enough and just bring that one element up.
Another great step that can work is to listen to the mix when you’re not at the controls. We do some of our best mixing when we’re not mixing. So force yourself to lie down on the couch in the back of the room or put your current working mix on your phone and put some earphones on and listen to it and take a walk around the block.
You will immediately hear obvious things, obvious choices you should make, obvious balance decisions when you’re really listening for once and not just fiddling.
Ideally, you can bring that kind of perspective into your practice so that you can get into that mode at the console or at the mouse, whatever you happen to be using.
But even if you’re able to do that quite well, it can really help to get away from the mix, stop fiddling knobs, sit on the couch, walk around, all of a sudden, you find yourself listen in a new way and a new perspective, and you’ll know immediately what you should do. I guarantee it.
Alright, if you enjoyed these quick tips for today, make sure that you subscribe right here on YouTube. Also, go to SonicScoop.com, subscribe there. If you thought just a few minutes of mix tips were useful, you should check out some of the longer form content we’re working on.
We’ve got mixing courses in the works right now that’ll help you take your skills from where you are now to where you really want to be.
So subscribe to SonicScoop.com, you’ll also get the newsletter there where you’ll get free tips, tutorials, gear reviews, behind the scenes producer/engineer interviews, studio tours, sweet deals on gear, free stuff, all sorts of cool things.
This has been Justin Colletti for Sonic Scoop at Joe Lambert Mastering, thanks for hanging out with me. I’ll see you next time.


