6 Things You Shouldn’t Be Afraid to Do in a Mix
03/4/2018
Article Content
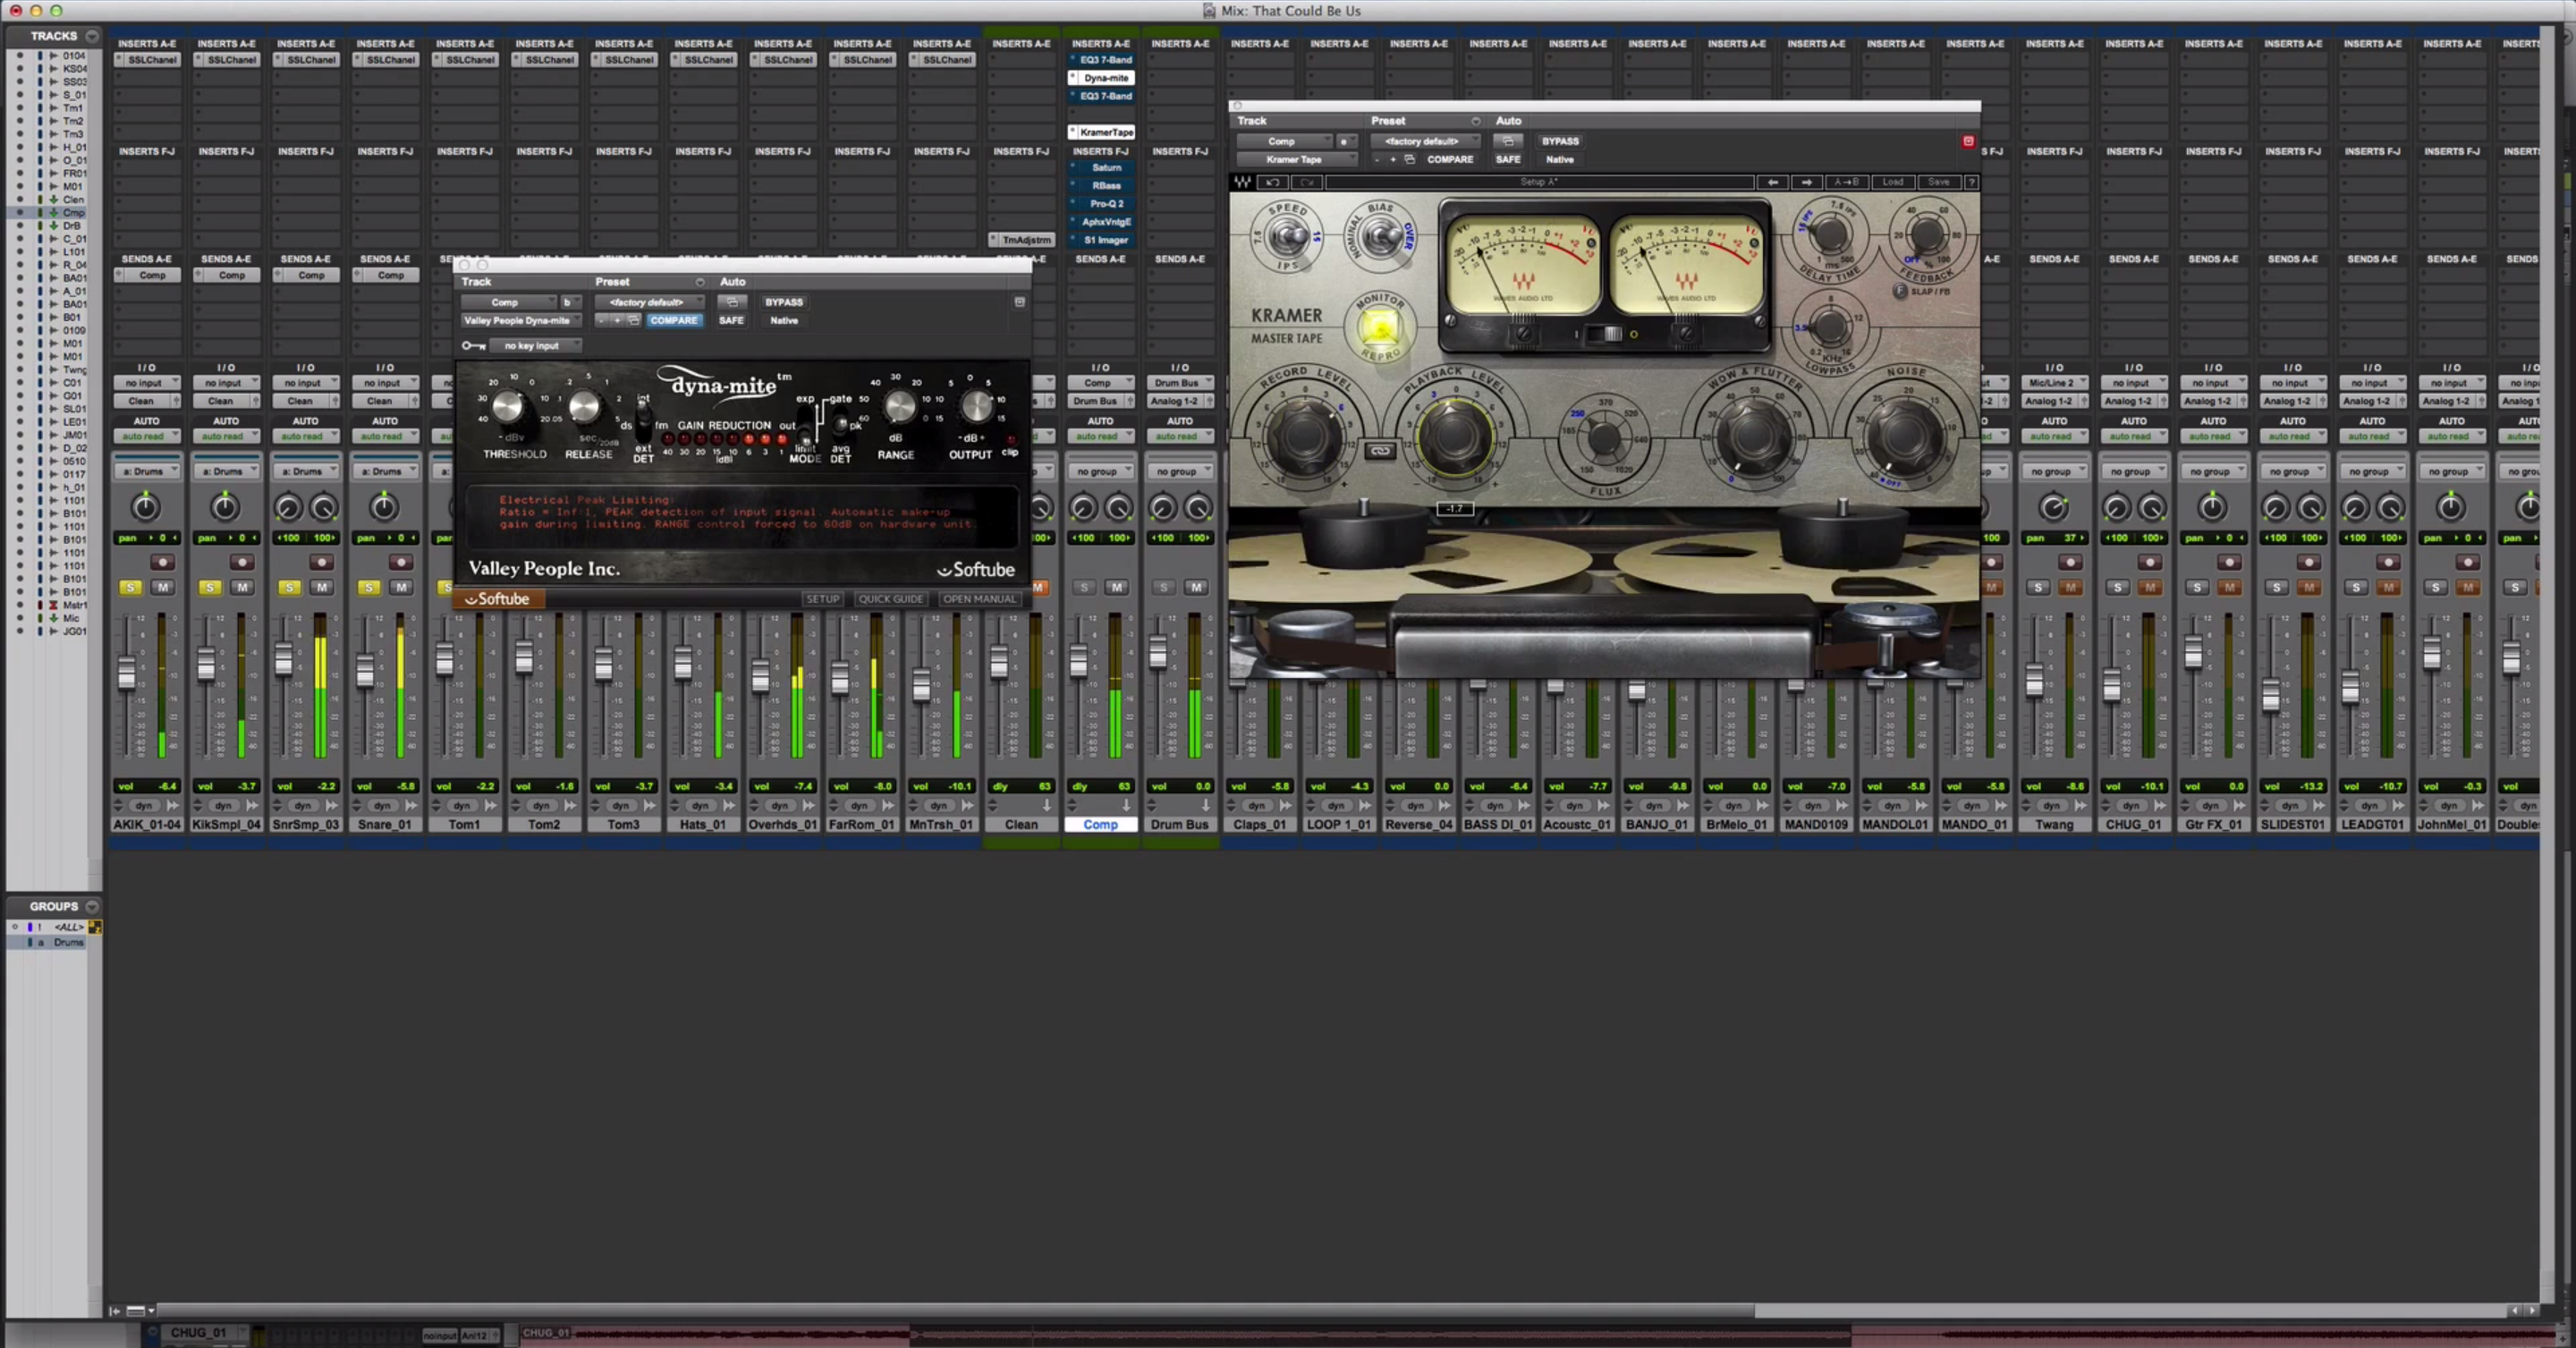
1. Use Extreme Amounts of Compression
Some engineers swear by keeping performances sounding natural. Using lots of compression can certainly leave you with an unnatural sounding result — but don’t let this deter you from doing so. Tastefully done and within the correct context, squashed sounds can be fun and full of character.
Compressors like the Distressor lend themselves to being abused this way. Another technique to consider trying is mixing in parallel — or using a blend of the wet/dry signal, and fortunately, many newer plugins offer a control that allows you to do so.
By combining the hyper-compressed signal — and I’m talking well over 10 dB of gain reduction — with the original signal, the resulting sound will retain the natural musical nuances of the original while benefiting from the boost in perceived loudness, transient shaping, and harmonics generated by the compression.
Drums, Bass, even Lead Vocals — don’t be afraid to at least try squashing your material.
2. Use No Compression at All
Conversely, I believe we tend to over-rely on compression in modern productions. To the extent that I don’t believe that I can recall the last time I mixed a vocal, lead or backup, without some amount of compression.
A great performer captured well should leave you with a solid recording. Try challenging yourself by preserving the purity of that recording by restraining yourself from compressing at all, and rely on volume automation to get it to sit in the mix.
Synth, keyboard and electric guitar sounds are already non-dynamic by nature, so you might actually be doing yourself a favor by laying off the compression. If this doesn’t work, refer back to the first tip in this article.
3. Saturate, Distort and Mangle
There are so many tasty toys out there that can absolutely obliterate your signal. A few of my favorites include Soundtoys Decapitator, FabFilter Saturn, UAD Thermionic Culture Vulture, Waves Abbey Road Vinyl, iZotope Trash, and one of the latest and greatest: Goliath from Tone Empire.
These can be used to subtly add bite, warmth or take the edge off, but I never hesitate to push these tools to their extreme. Some of the sounds found on my favorite records from the 1960s are absolutely battered with preamp or tape saturation. I find pure, untouched digital recordings to be rather sterile and boring, so a little (or a lot) of added harmonic content can help fix that.
Sometimes we want to create sonic experiences that sound familiar and safe, but sometimes we want to create something new and exciting. When I’m going for the latter, I make sure to show very little restraint when distorting or saturating my tracks.
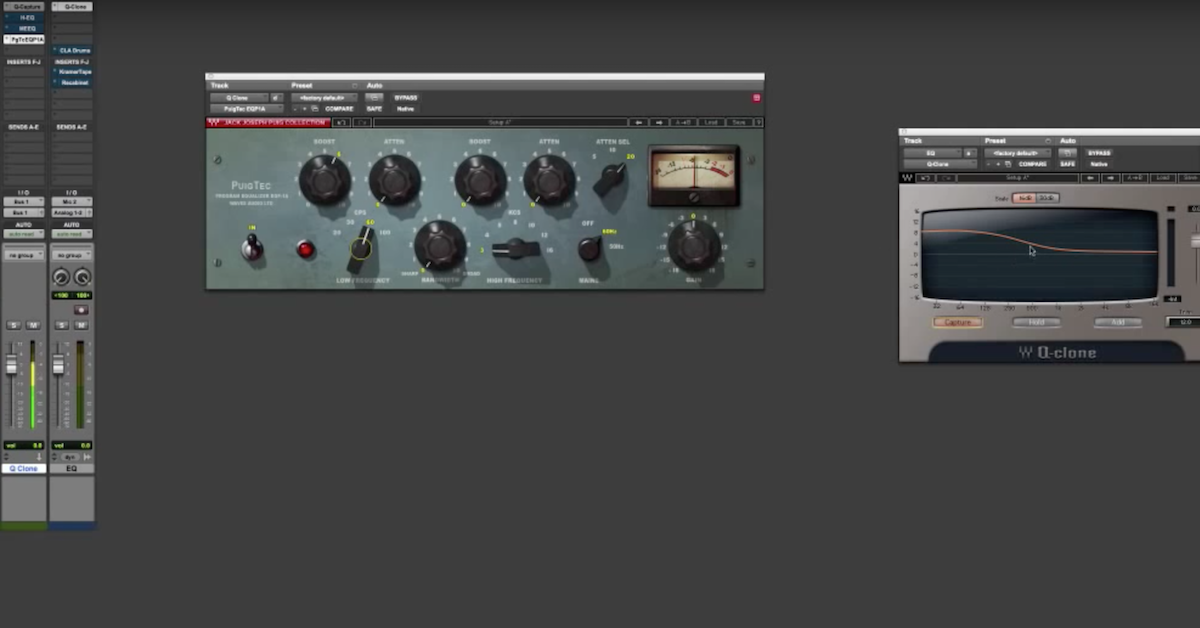
4. Employ Large Amounts of Equalization
Early on in my audio journey, certain teachers would tell me, “you should only have to add a couple dB here or there when equalizing a signal.” This was assuming the tracks were recorded correctly in the first place.
When there’s something lacking, whether it be the quality of the player, the instrument, the recording environment, or the signal chain — don’t be afraid to use a heavy hand when equalizing. Especially when using analog or analog-emulation EQs. These units allow you to boost or attenuate in large amounts for a reason, and I never back down from pushing the boundaries of something like the UAD Neve 1073.
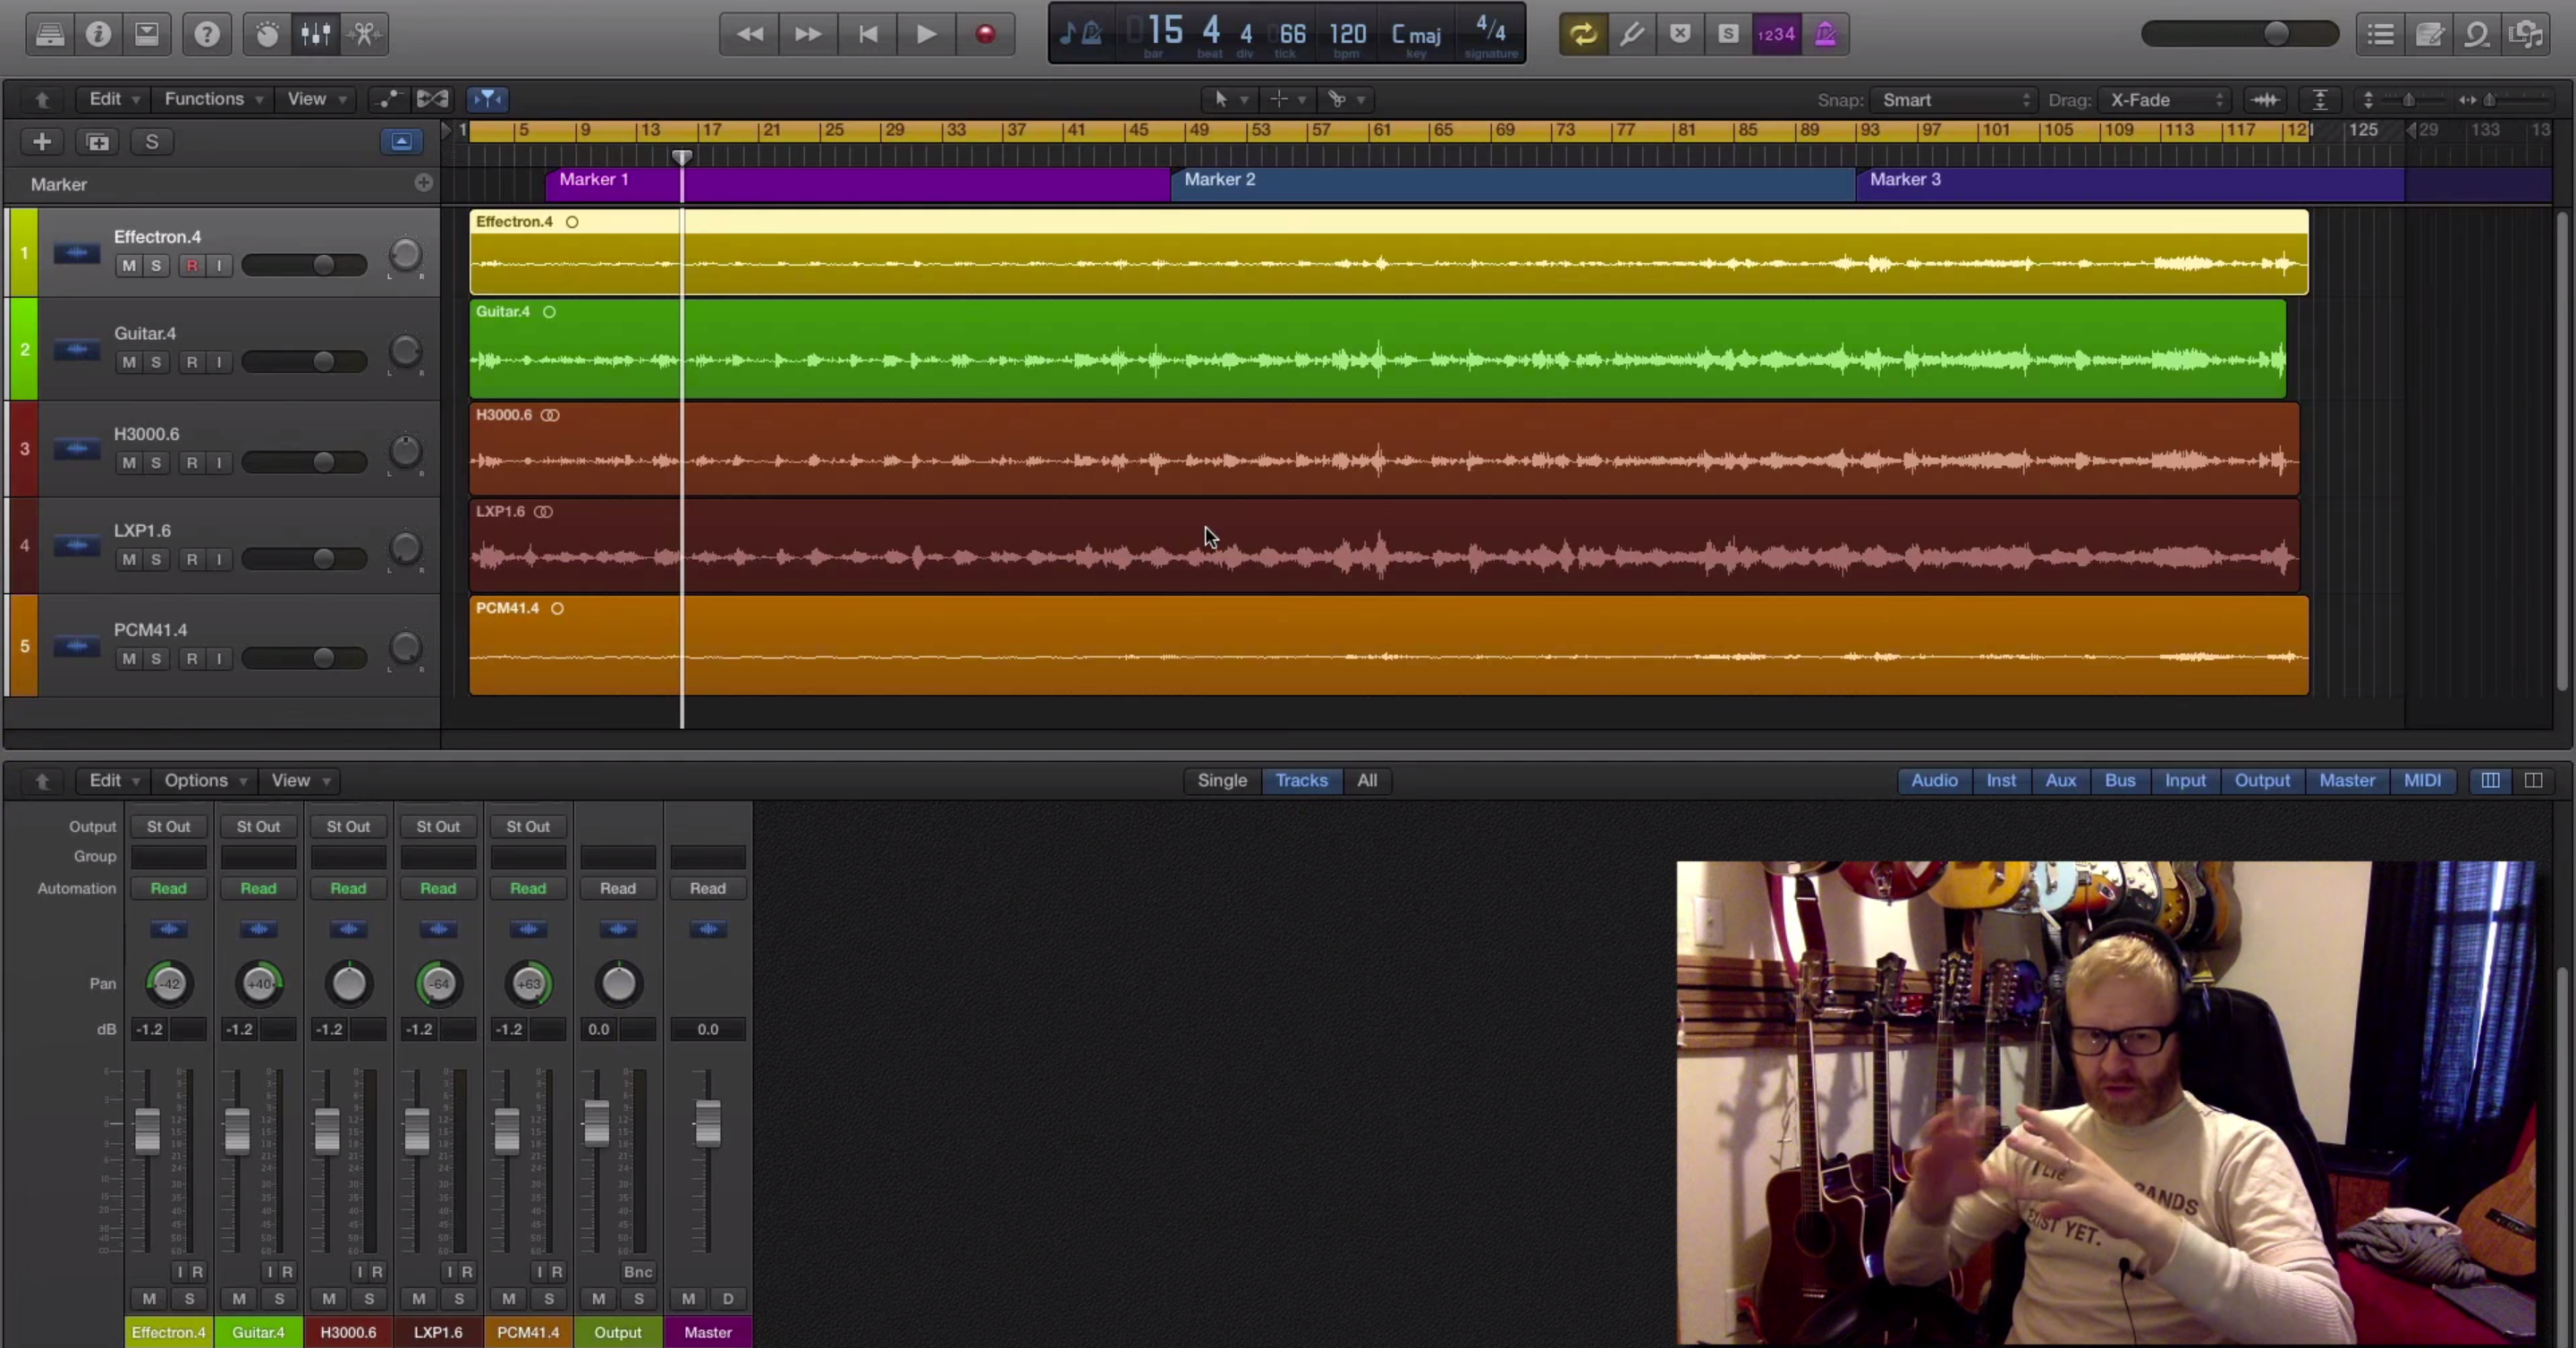
5. Use Different Reverb Types in the Same Mix
Also earlier in life, I recall several engineers and teachers telling me this was a no-no. The different elements of the arrangement are meant to sit within the same space, therefore, you should choose and stick with one type of reverb.

Ready to elevate your ears?
It doesn’t have to take years to train your ears.
Get started today — and you’ll be amazed at how quickly using Quiztones for just a few minutes a day will improve your mixes, recordings, and productions!
For purists, I suppose this is good advice, but for those producing the collage-like pop music that entices listeners these days, I say cast it aside. It’s not uncommon for me to use all of the reverb types in a single mix. A gated sound on the drums, a chamber on the vocals, a lush spring on the guitars, and so on.
In fact, combining these different reverbs on a single source is fun too. On a recent production, I needed to feature the toms, so I ran them through non-linear (gated), room and chamber reverbs. The commit/freeze feature in Pro Tools 12 and above allows you to quickly render processing like reverbs and cut down on DSP usage — so don’t be afraid to use it.
6. Mute or Move Stuff
On a recent mix, the vocal from the first pre-chorus was poorly performed and improperly tuned. So I just copy/pasted the performance from the second pre-chorus (which was the same part, essentially) and replaced the one that was severely bumming me out.
There was also an 808 layer in the choruses that was absolutely adding nothing of value. It was simply low-end mud that was eating up headroom and making life miserable for the rest of the arrangement. I muted the 808.
I sent off my first mix and the artist didn’t even bring these changes up. I find myself doing stuff like this all the time. Just make it so every time you hit play, there’s absolutely nothing that makes you feel negatively about the performance, sound or song. This can include moving parts around or muting them entirely.
Be careful and read your client, as some tend to be precious with every single detail of their arrangements, but a great mix will prevent a client from even perceiving that something is missing.
Eleveate Your Ears