Audio Editing 101: The Unsung Hero
Article Content
My last article was on arrangement. This one is about editing. These two articles really both need to be read and absorbed to illustrate a greater point.
My primary gig is mixing – so I’m down stream of most of the production and pre-production. I spent a long time facing issues that I just couldn’t seem to solve: It doesn’t feel right, my mid-range is weak, I can’t get a sense of dimension, the kick and bass are clashing. No matter how much I EQ’d, compressed, worked out the reverb, it just wouldn’t quite seem to gel. Eventually I came to realize that the issues I faced had very little to do with mixing, and actually resided in the arrangement or editing. These are two subjects that are often ignored, but have a huge influence on the song and the mix. This article will provide a little insight into the importance of editing, and some basic ideas about editing you can use.
Editing is really not so different from mixing. It’s the manipulation of the recorded sound to create a desired outcome. Except the processes are different.
Some basic editing processes are: Pitch Correction, Time Alignment, Clean Up and Compositing.
Pitch Correction
No matter how much EQ, compression, flanging, whatever, you use – if something is out of tune with something else they will forever interfere with each other. Sometimes reverb or slap delay can hide some pitchy sounds, but now a days we have pitch correctors. Unless working on a project that specifically demands an organic feel or off pitch sound is a cultural aesthetic – pitch correction is going to immediately gel your sounds together. This includes the whole range of instruments.
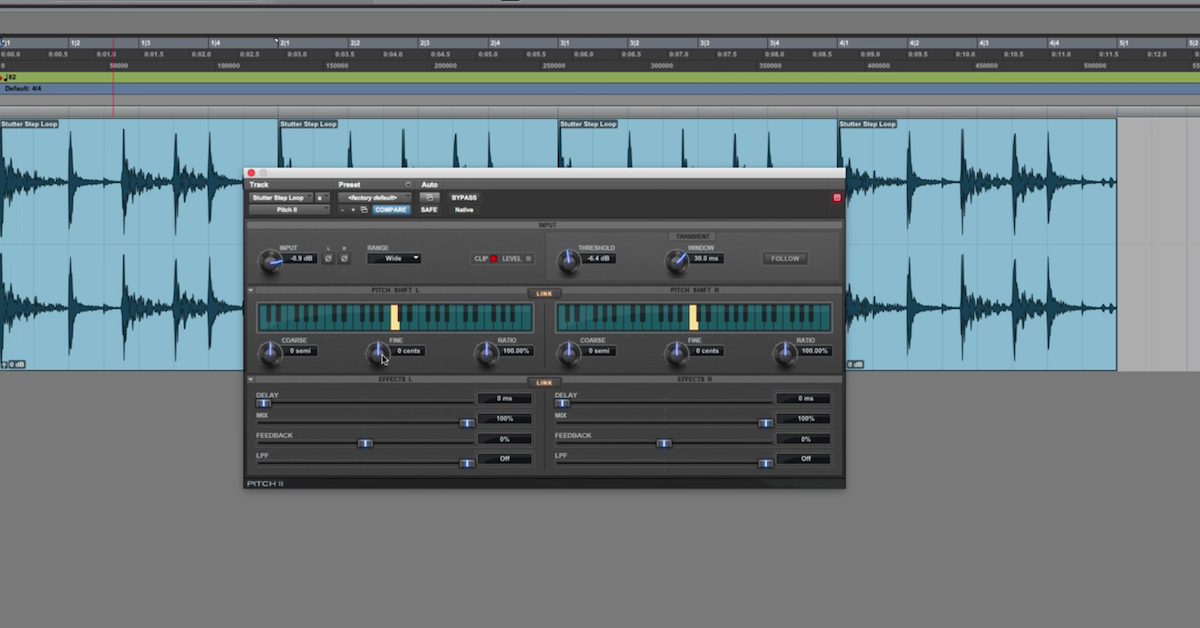
Sometimes you’ll get something like an 808 kick drum that just doesn’t seem to sit well with the bass – it’s either blurry and lacking impact, or you have to turn it up to the point where it masks the rest of the track. The 808 might be out of tune. Pitch Shifting would be your solution here – while most people would reach for an EQ.
Potential Pitfall – Pitch Correction can be like a drug. You use it and all of the sudden everything just fits magically. This leads to the temptation of overusing it. Pitch Correction is great for smoothing out a couple of bad notes, or tightening up a wide vibrato, but too much can easily stagnate a natural performance, and can also degrade the tone.
Time Alignment (to Grid or not to Grid?)
Getting things to feel good has a lot to do with timing. Understanding groove and timing is really what separates a serious editor from a cut and paste artist.
Time is very subjective (ask a drummer) – and how the sense of timing is manipulated is difference between a rhythm and a groove. On top of that, there’s the decision as to how tightly things should lock together. One might assume you want your drums hitting evenly on the quarter notes, and your bass perfectly in sync with the drums – but this is not necessarily true. Sometimes you want the bass coming in a little earlier or a little later than the drums. This is called “pocket” and creates a different feel depending on how it’s played.
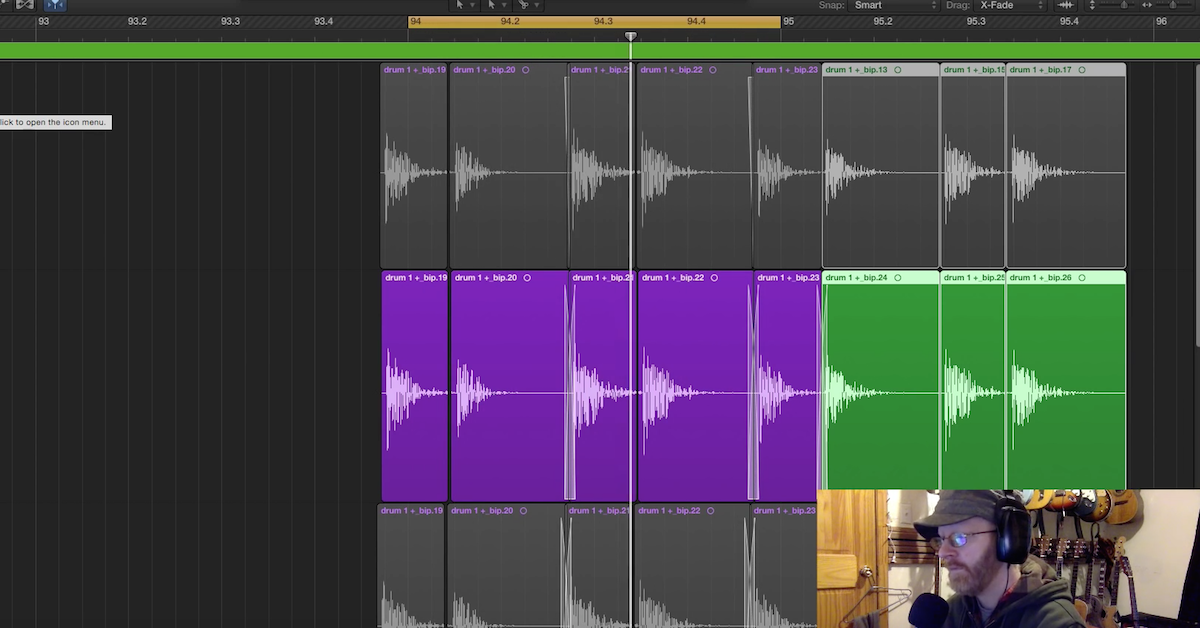
The Tight Pocket: Maximum punch and rhythmic articulation. Here, the playing clearly outlines the groove, and the sound hits. The players are literally playing right on top of each other. If this is the intent, align notes that fall too far from the accent points – visual aid can be helpful in this process (zoom in on the waveforms).
The Medium Pocket: Phatness. Often times (in funk music in particular) the bass will play a little a head of the drummer. This creates an excited feel, and makes the sound “fatter”, and allows for a little bit of wiggle room for the voiced lines (keys, vocals, solo violin, etc) to play with their own sense of groove. A very common P-Funk move is to have the bass anticipating the beat a hair, while the vocalist is singing behind the beat. Here, you have to be careful as to how you edit, but if something that normally hangs back is suddenly forward, or vice versa, you may want to do a little cut and nudge.
The Wide Pocket: This kind of feel really bends the idea of rhythm and groove. It makes the pulse a bit unclear, but also allows for a lot variation in the rhythmic structure. This is most common in jazz. In this case, generally, I would be very discerning as to how much editing is done – because “off” the beat becomes very musically subjective.
The Grid: In Pop, Rock, Hip Hop, and Electronica, I would say this – the kick is going to define your downbeat. Not to say that the kick will necessarily hit on the downbeat, but our ear will natural prescribe where the kick hits as the downbeat – unless it’s so far away that it just simply can’t be the downbeat. For this reason I like to move every audio stem simultaneously so that the first kick that occurs on a downbeat is perfectly lined up with the grid. This gives me a visual sense as to how everything that comes after relates to it. This assumes that the first kick is on beat of course – if every subsequent kick on every subsequent downbeat is late – maybe that first kick was just off. But assuming it wasn’t, you now have a map for where everything else is landing.
Don’t think of the grid as a blueprint – you could literally have nothing hitting square on the tempo grid and still have a perfectly timed piece. Think of the grid as a reference point. If things are changing radically from where they normally land relative to the grid, you probably have an off-moment. It should also sound or feel off-beat. If it doesn’t, then ignore the grid. If it does – use the grid as an idea as to where the hits should be landing.
Doubled Parts – I find doubled parts, particularly vocal adlibs, to be most effective when they are as tight to the lead track as possible. But again, no rules.
Clean Up
Hum, Hiss, Breathes, Farts – these are things that while they can have their place, generally are best left out of the record. With hums and hiss, noise reduction software is generally most effective. Most of this software comes with a price – so think of it as noise reduction, rather than noise removal. Too much usually compromises the audio.
With breathes, there’s some negotiation. Logically one would think if the music is sparse than you should probably get rid of the breaths as they will be more audible, and if the music is busy it really doesn’t matter if you leave them in. Well – I find that not to be the case. In sparse music, I find it strange if I don’t hear the vocalist breathe to some degree. I also don’t want to hear an asthma attack in the record – so the best bet is to volume ride the breathes down about 10 dB.
In busy music, the vocals are probably getting a lot more compression, and this is going to pull the breaths up in the mix and cloud up whatever else is going on. Here I would most likely completely remove the breathes.
Compositing
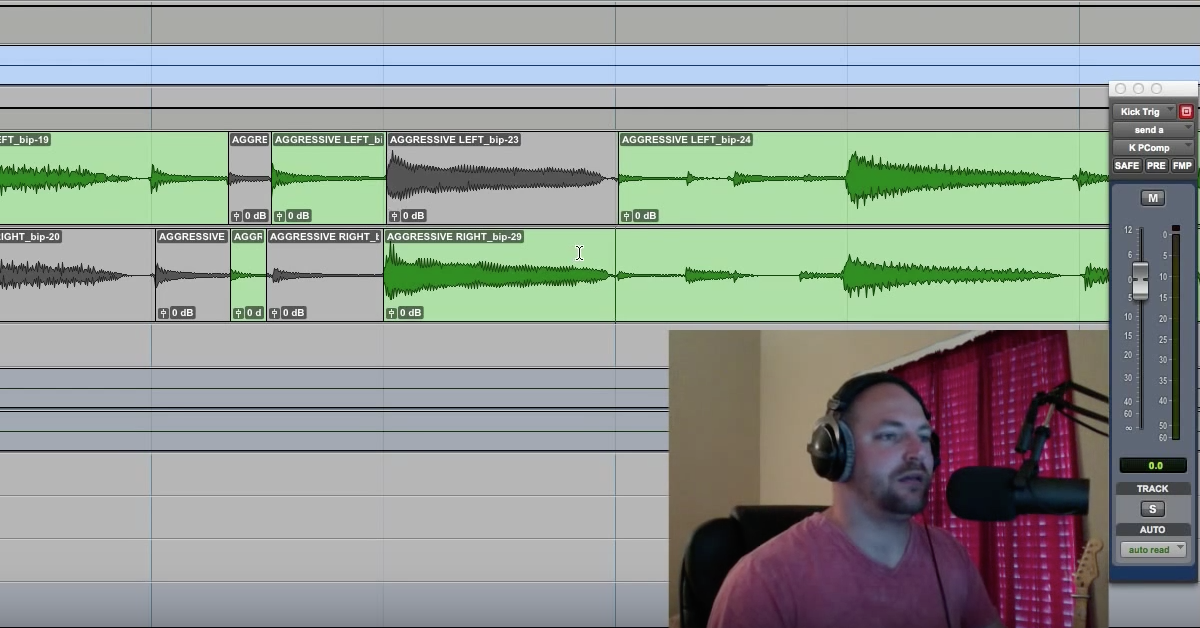
Compositing is taking the best moments from the best takes and creating one super awesome performance. No EQ, Reverb, Delay, Phasing, Flanging, Twizzle-Flanging, or Compression will ever improve a performance. Therefore, choosing the best of the best will give you something right off the bat that is incredible – and when it comes time to mix, you just make it more incredible.
The secret to a good mix besides a solid performance, is good editing and arrangement. Don’t try to fix timing issues with compression, or tuning issues with EQ.


