How to Use Waves Vocal Rider as Auto Makeup Gain for Processing
11/30/2014
I came up with a trick that I want to show you that addresses an issue that shows up all the time when you’re working on a mix.
First, I’ll talk about the problem, then I’ll get to the solution.
So, when you’re working on a mix, a lot of times you’ll focus on individual instruments and tracks, try and process them in a way that improves the sound of the original recording. So what you might do is add in a plug-in, dial in some settings, and see if the plug-in has improved the sound. Am I adding something in that I like? Or, you have to check and make sure that it’s not doing something that you don’t like and making it sound worse.
An example, let me send a kick drum through the Waves NLS channel.
I’ll turn up the input drive to add in some harmonics, and I’ll see if I like what this is doing.
[kick drum plays, bypassing and enabling NLS channel]
Alright, so I think I like what tonal shaping the plug-in is doing. Adding in those harmonics.
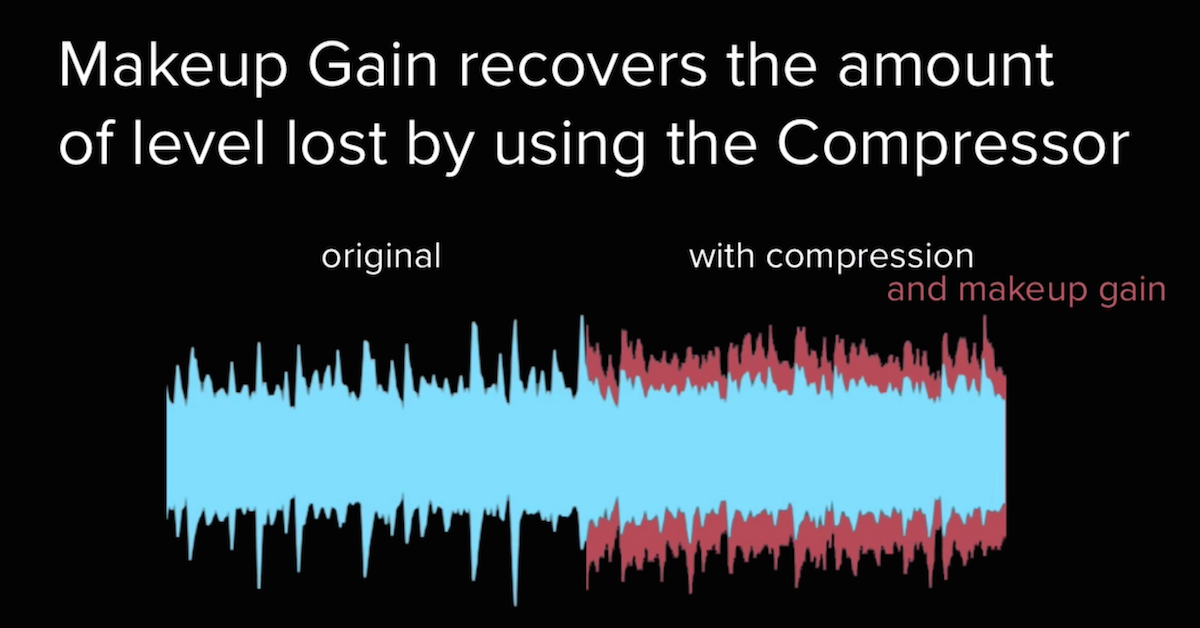
However, another thing that the plug-in is doing is it’s increasing the overall level of my input signal, so when I A/B back and forth, it’s difficult to tell if it’s the tonal shaping that I like, or just the overall level that I like. We need to be careful as mixing engineers not to be duped into thinking something sounds better just because it sounds louder, or it sounds worse just because it sounds quieter.
Good thing is, a lot of plug-ins will have an output volume fader here that I can do level matching between the input and the output.
So, let me show you the whole process now that you have to go through to do the level matching between the input and the output.
So now, let me turn my attention and focus on just the level.
[kick drum plays, adjusting output level]
Alright. So there I’ve got the level set the way it should be.
The problem with this though, is it’s now interrupted my whole workflow. Instead of focusing on the tonal shaping of the plug-in, now I’m focusing on the level, and until I get the level set, only then can I turn my attention to the actual harmonic shaping of this particular plug-in.
Let’s say, for instance, I’ve got the level set now, but I think the harmonics are a little bit overkill, and I need to back these off.
[kick drum plays, adjusting input drive]
Well, now my output level is too quiet. I need to do level matching again.
[kick drum continues playing, adjusting output]
So, hopefully you can see that this is a problem. This can certainly be a distraction away from your general workflow, and turn your attention away from what’s most important when you’re working on a mix. It’s not just the input drive knob that does this, though.
In all kinds of other plug-ins, like an equalizer, almost every parameter is actually going to shape the level of the output.
[kick plays]
Right here, I’ve pulled in a Pultec style equalizer. My output level is too loud, I need to back it off.
[kick continues playing]
Let’s say I want to attenuate now. Now the signal’s too quiet. I need to adjust the output level for every single parameter essentially that I adjust.
And yeah, something like a compressor, where the whole purpose is to actually do attenuation of the signal level. So you have to adjust things like the input level and the output level like this.
[kick drum]
The issue that comes up is almost every adjustment you make to the input level, you have to also make to the output level. If I want to drive it less at the input, I have to turn the output level up.
So, this can be very tedious when you’re getting through a mix, right? Now, some plug-ins will have a feature on it that’s very useful. This is the “link input and output level” control.
So, on the Kramer Master Tape, the record level stands for the input, and playback level stands for the output. These are linked together so that as I turn up the input level, the output gets turned down. It’s doing that automatically for me.
[kick drum]
Now, instead of just worrying about the level of the plug-in, I can focus on how hard I want to drive the input, without worrying about the output level getting screwed up too.
Now, this is a very useful control. The problem is, very few plug-ins have this. What I want to show you then, is the technique that I came up with, that can do automatic level adjustment for you, no matter what plug-in you’re using for processing.
Not only does it just link input and output level, but it is actually an automatic gain control for your unprocessed and your processed version together.
So, the plug-in that I’m going to be using is from Waves. It’s called the Waves Vocal Rider. Now conventionally, this plug-in is used to turn up the volume of a vocal track, or turn down the volume of a vocal track, and it’s done relative to the mix of your music. So all the background music is sent in through the key input of the plug-in, and then the plug-in listens to that music, and adjusts the level so that as the music gets louder, then the vocal gets louder. If the music gets quieter, then the vocal gets quieter.
Instead of using it for that purpose though, what I’m going to do is use it as an output volume control for any processor that I insert over here on my track.
So, I’m going to send in instead of music, I’m actually going to send in the unprocessed version of my kick drum, and then it will be processing turning up the level of the processed version of my kick drum. Whatever effects I add in, it’s going to turn this up or down relative to the unprocessed, so I can do the level matching automatically.
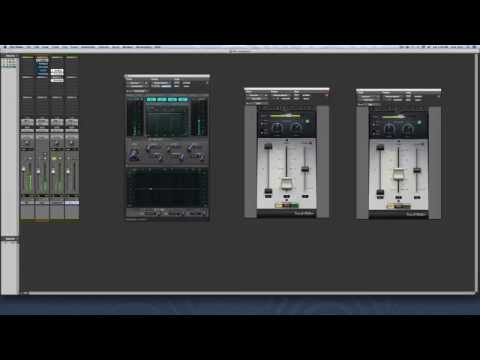
As an example, let me pull up my channel strip over here. I’m going to be using this processor for all kinds of different things, from changing the input volume control, to doing compression, to doing equalization. I want to show you that the Vocal Rider will automatically adjust and match the output level relative to the input level.
I’ve come up with an entire workflow for this. You don’t necessarily have to follow it, but something that I think is useful, where I set up two auxiliary tracks.
One, I’ve called “auto-level,” and this is where I’m going to be inserting my plug-ins that are doing the processing. Just a channel strip, or I can drag over any of these other kinds of processors. NLS Channel, compressor, and so on.
Then, I set up another auxiliary track called the “original monitor.” Here, I’m going to buss over my kick drum from this instrument track. I’m going to buss it over and feed it into both of these auxiliary tracks. This one I leave unprocessed, so I can solo it and A/B back and forth between the unprocessed version and the processed version.So, this is where the A/Bing is happening right here.
Then, what I’m going to do, is insert the Vocal Rider after my plug-in effect, and it’s just going to automatically adjust the level.
Now, what I found is I actually decided to use two vocal riders back to back. This is because you’ll see, there’s a limit to the maximum you can turn the signal up, and turn it down. Each plug-in can turn up by 12 dB or down by 12 dB. Sometimes though, if you do dramatic changes to the signal in your processor, you might need as much as 24 dB to go up and down, and by doing two of these back to back, you can actually go all the way up to +24 or -24 dB, and still match the level of your processed to the unprocessed.
Let me demonstrate this and you’ll see it in action. So, I’ve bussed the original signal in here so the plug-in is listening to the unprocessed version.
[kick plays]
I can level match. This is automatically going to adjust for me. I’ve got my unprocessed in the signal after it goes through this plug-in.
As a basic example, let me turn up the output level here to the point where it should be starting to clip, right? I’ve gone up by 12 dB, but the vocal rider is automatically adjusting to turn the signal down so that it still level matches.
I can also do the opposite. Let’s say I pull this signal way back. Turning it down by like, 20 dB here. You’ll see that it will take a little bit of time, but Vocal Rider, because of the settings that I’ve got on it, it will increase the level automatically. I’m not touching anything. I haven’t automated anything. Vocal Rider will do the level matching, and look at this. Now my processed version, where I’ve turned it down by 20 dB is the same level as the unprocessed.
So, let me go back to 0 dB. You’ll hear that it takes a second, but it’s adjusting things. Now, let me do something like turn up a compressor.
Look at how it automatically adjusts so that the processed version matches. I didn’t have to do any level adjustment, it automatically takes care of the output level of my compressor.
Similarly, if I turn this back down, let’s move over to the equalizer.
We can do a huge boost to my sub frequencies. As much as 20 dB, and it’s automatically adjusting to make sure that this is the relative level. I can cut, and you’ll see that these will automatically adjust and turn the signal back up so that it matches.
Boost some high frequencies…
Do these things together…
So, the huge advantage of this is my attention is just focused on the tonal shaping of the plug-in. How it’s doing compression, how it’s doing equalization and so on. I’m not worried about the output gain level.
Now, certainly, after the fact, when I come up with the end result of the processing chain that I want to use, it’s a good idea to make the last one control the output level to make sure it doesn’t clip, but while you’re just A/Bing things back and forth, this can be a very useful way of doing it.
Then, after I get the settings that I like, it’s just a matter of copying and pasting from the auto-level track over here to my kick drum.
Then, if I’ve got another instrument, I can do a similar kind of thing. Let’s say I’ve got a snare drum. I can send that snare drum into my auto-level and original monitor using the same buss, and go through the whole process again, and A/B some track back and forth, figure out whatever processing I want without even having to worry about adjusting this output level of each of the plug-ins.
So, hopefully you guys were able to take something away from that and understand exactly how the routing is working. If you have any questions, post them below, and I’ll be happy to answer them.
This is a technique that I came up with that will hopefully speed up your workflow and allow you to work much more efficiently and faster, and make sure your attention is always focused on what’s most important in your mix.
Until next time, take care, guys.
Elevate Your Ears