5 Tips for Better High End in a Mix
Article Content
Smooth, clear high frequency content is an important element of modern music mixing.
Here are 5 tips to get better high end in your mixes.
1. Control Sibilance
Using a simple de-esser often may not be enough to achieve a desirable vocal sound. Try the following:
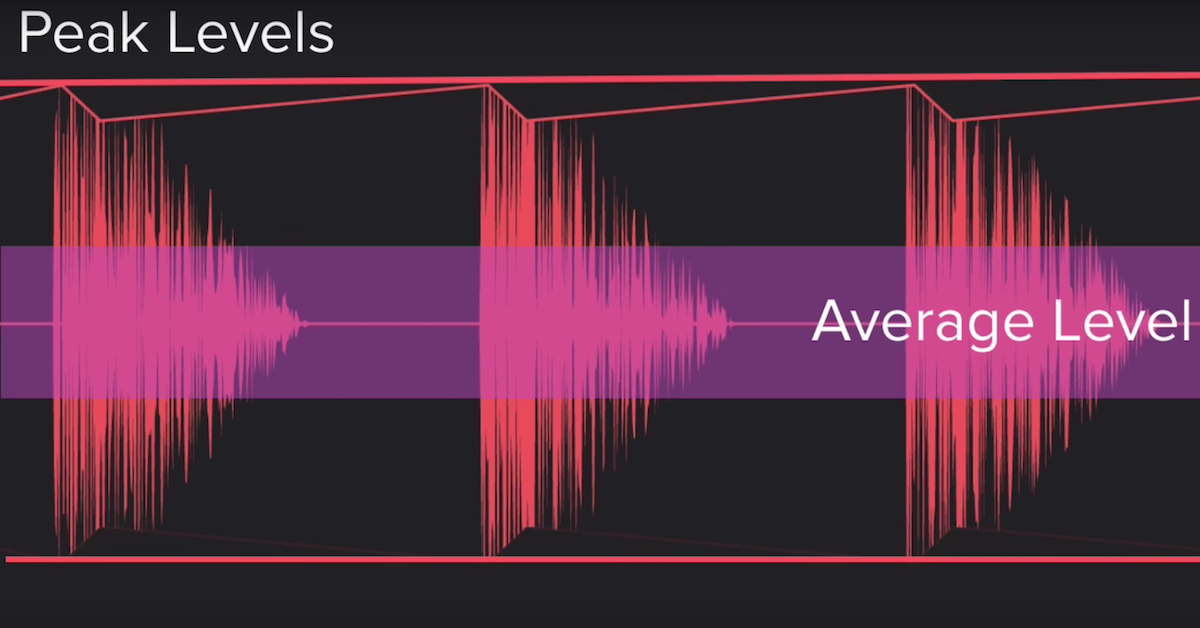
- Use volume automation or clip gain to reduce instances of sibilance. Sometimes these sounds will trigger compressors, so clip gain does a great job of bringing down the level before it hits any processing. (fig. 1)
- Use multiple de-essers (perhaps at the beginning and end of the plugin chain: fig. 2)
- Try a multiband compressor (FabFilter Pro-MB, Waves L3-LL Multiband) and compress the sibilant range of the vocal (usually around 4-10k). Multiband compressors function very similarly to de-essers, but sometimes the added control can help make a vocal sit correctly.
- This is usually only when something drastic needs to be done, but try copying and pasting sibilant sounds onto their own tracks so they aren’t affected by the large amounts of additive equalization, compression, and saturation that you may be applying to achieve your vocal sound. I recommend still treating these somewhat so they don’t sound entirely different from the rest of the performance, but this certainly can help.
2. Darker Reverbs
Too much high frequency in reverbs can lead to mixes sounding dated and overly digital.
Many popular reverb processors and plugins will offer control over the effect’s overall frequency spectrum, so use this to your advantage. I’m a huge fan of Altiverb, the UAD EMT140, and the Valhalla Room plugins, as they allow a great amount of control in shaping the sound, and each has many presets that can serve as great starting points.
Don’t be afraid to get creative and try other processing after the reverb in your chain. Try using EQ, compression, saturation, or even delay on your reverb aux track.
Often times this type of creativity results in really unique, funky custom sounds. (In fig. 3, you can see the various reverbs I used on a vocal ensemble, which include a Valhalla room with the “high cut” on the reverb pulled down to 4980 Hz, and an instance of Spring Reverb by Softube, which then has compression and equalization inserted after to reduce harshness.)
3. Pultec-style Equalizers
There’s a reason the EQP-1A has been emulated numerous times by hardware and software companies alike. Generally speaking, adding this to the master buss, and boosting in the 10-16k ranges adds clarity and definition to mixes like very few other EQs can.
If you can’t afford the hefty price tag for the hardware, I recommend trying the emulations by UAD, Waves, and Softube (which is technically an emulation of the similarly functioning Tube Tech PE 1C.)
4. Subtractive EQ and Low Pass Filters
Often times, it’s the battle between many sounds fighting for prominence in the upper frequency range that can lead to mixes sounding harsh and brittle. Sometimes, knowing which high frequencies to remove, and which can remain in your mix can make a significant difference.
Which tracks have sounds with high frequency content that needs to be featured? If you have an arrangement with constant crash cymbals, acoustic and electric guitar, and vocals, you may need to decide with elements need filtering.
Of course, a good recording engineer with vision will capture the performances properly, but we don’t always have this luxury. FabFilter Pro-Q 2 has a spectrum analyzer that is extremely helpful in showing areas in your individual tracks or entire mix that may have too much happening in a certain range. (Such as the drum overheads in this particularly dense arrangement: fig. 4)
5. Exciters (in moderation)
There are some excellent exciters that can achieve results which equalizers and compressors cannot, but I find that these are the types of processors that should be added last, after most of the surgical equalization and compression is complete.
My favorite is the SPL Vitalizer from Brainworx/Universal Audio. It has a top-notch stereo widener, and its “Mid-Hi Tune” and “LC-EQ” parameters do a great job of adding clarity to a mix when used subtly. (fig. 5)


