10 Tips for Recording a Choir
Article Content
Tracking a live choir session is one of the most challenging and rewarding tasks a recording engineer can be given. Because of the nature of multi-voice choral music, the sound you capture on recording day will be pretty close to what the final product sounds like, which makes this a situation where “getting it right at the source” is especially important.
I spent a lot of time recording church choirs in my early days in audio, and I’ve found that many of the techniques I learned from recording choirs have been useful in other areas of recording and music production.
Here are a few things that I have learned that might be helpful to other engineers taking on this task.
1. Find the Right Space
Because room acoustics will have a major effect on not only the sound of your singers’ voices, but also the way they perform, the room in which you record a choir can almost be seen as an instrument in itself. Moving a choir from an empty church sanctuary to a dry recording room can cause major changes, so it’s important to find a space that not only works for the choir but also provides the type of sound you’re after.
If you’re recording the whole group together all in one pass, adding digital reverb after the fact can sometimes sound unnatural, but one way I’ve found to get around this issue is to capture my own impulse response of the recording space using a convolution reverb. This gives you a digital approximation of the room that you can use later to adjust the reverb level if necessary.
2. Arrange the Choir for Optimal Blend
Most professional choirs will be good at achieving a natural blend (i.e. the balance between the singers), but sometimes because of the space you’re or in the mic setup you’re using you’ll need to make adjustments, either by moving around individual singers or by rearranging whole sections (altos, tenors, sopranos, etc.) of the choir. Think of this like mixing the voices in the choir before you get to the mixing phase, since you won’t be able to adjust them in the mix later.
3. Pick Your Favorite Stereo Mic Setup
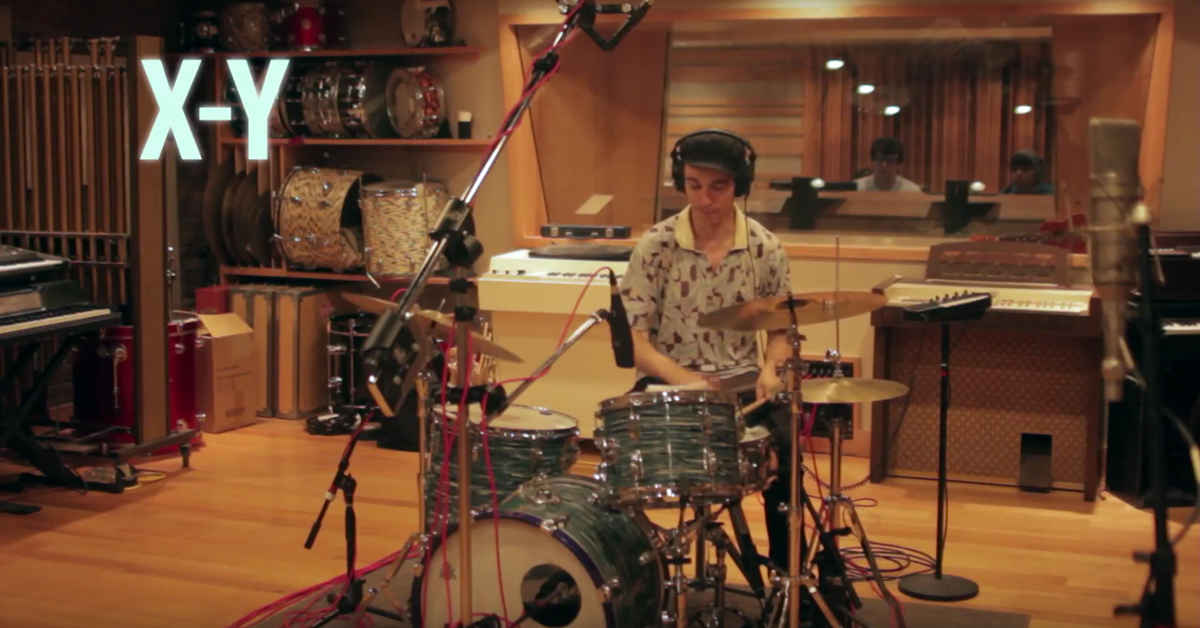
Generally with choir recordings the bulk of your sound will come from a single pair of stereo microphones. Every recording engineer tends to have their favorite stereo mic technique for choir recording (XY, ORTF, spaced pair, etc.), and each of these techniques has their own advantages and disadvantages. My advice is to go with a method you know well that won’t present a lot of phase issues.
My personal preference is the XY setup, although many engineers favor the ORTF method as this creates a very natural stereo image.
4. Use Small-diaphragm Condensers for Overheads
Whichever stereo mic technique you choose, the safest bet for microphones is small-diaphragm condensers. Not only are these easier to set up for most stereo recording patterns, they’re also better than large-diaphragm condensers at compensating for off-axis sound, which tends to occur a lot when you have a whole bunch of people singing at once in a large reverberant space.
5. Use the Three-Foot Rule for Mic Placement
As a Canadian, I abide by the one-metre rule for mic spacing. To put that in American terms, one metre translates into just over three feet (3.28 to be exact), so I suppose we could call this the three-foot-and-a-bit rule as well (although three-foot rule just sounds better).
The basis of the rule is that your main overhead mics should be at least three feet in front of the first row of singers, and three feet higher than the tallest singer in the top row. In most cases you’ll probably want to position the mics more than three feet away from/above the choir, but three feet makes a good starting point to work from. The challenge is to capture a clear sound without too much room ambiance, while still maintaining a good blend.
Sometimes you’ll also run into other challenges like explosive “s” sounds that get picked up too much by the mics, and you’ll need to adjust your mic placement further, usually by moving the mics farther away from the choir.
The idea here is to achieve equidistance between each singer and the mics – that way no single voice gets picked up more than the others. To achieve this, you may need to change the positioning of the choir (for example by having them stand in a semicircle rather than a straight line, or by changing the positioning of the risers).
6. Use Room Mics for Ambiance
Because you don’t want to capture too much room sound in your overhead mics, it can often be helpful to set up another pair of stereo mics farther away from the choir to help capture more of the natural room sound. A spaced pair can work well for your room mics, as these can be used to provide some extra width, but any stereo pair will do.
When mixing, you can blend the room mics with the overheads much like you would on a drum recording to achieve the right balance between wetness and dryness in the mix.
7. Use Spot Mics When Necessary
If the choir is being accompanied by instruments, or if there are singers who will be singing solos, you may want to add some spot mics to your setup. Spot mics can also be useful for groups that are having trouble balancing themselves; by using a spot mic for each section, you can cheat a little bit in the mixing process by adding in more of certain sections to balance out the sound.
Some choirs will prefer a totally “natural” sound with no spot mics, but I find it’s usually a good idea to set up a few spot mics, even if you don’t end up using them in the final mix.
8. Leave Plenty of Headroom
As with most classical music, it’s generally a good idea to use minimal compression when recording and to leave plenty of headroom. This leaves plenty of space for big changes in dynamics, and it also helps compensate for the fact that singers tend to get louder throughout the day as they warm up their voices.
9. Give Your Singers Plenty of Breaks
Choir recording sessions can be long and arduous, and it’s important to give your singers lots of breaks to help them preserve their voice quality. Sometimes you might want to do just one more take of a piece to get it right, but if your singers are getting tired, there’s no way you’ll be able to get a good sound out of them.
In the end, making sure your singers are well rested may actually be more efficient, as they’ll be able to get through more material with fewer takes that way.
10. Familiarize Yourself with Great Choir Recordings
If you’re new to choir recording, the best way to start is to listen to some great choir recordings.
For my money, it doesn’t get much better than the King’s College Cambridge Choir, but there are plenty of other amazing choirs out there as well, so go check out some recordings for guidance and inspiration before you embark on your own project.
Conclusion
Once you’ve familiarized yourself with how to make a good choir recording, you can apply these techniques to all sorts of other situations.
Next time you’re recording a band live off the floor, for example, you might think about the way you used mic placement to balance room and dry sounds in your last choir recording session. Or next time you’re recording drum overheads, you may use a similar stereo mic setup to what you use when recording choirs.
Developing a good sense of how to capture good sound in live, reverberant spaces can go a long way towards helping you make better recordings of all types of music.


