Mixing Rap Vocals – Part 2: EQ
12/14/2011
Article Content
In my previous article, Mixing Rap Vocals: Part 1, we discussed the importance of having an end game in mind for your vocal sound. In this article I’m going to give you techniques for actually getting there.
I’ve read (too) many articles about mixing vocals. Cut 300 Hz, boost 2 kHz, compress 4:1, yada yada. Unfortunately these articles don’t actually give you any real resource — they simply speculate on generalities. What I’m going to give you is specific things to listen for and how to address them. This article will focus on equalization.
Microphones
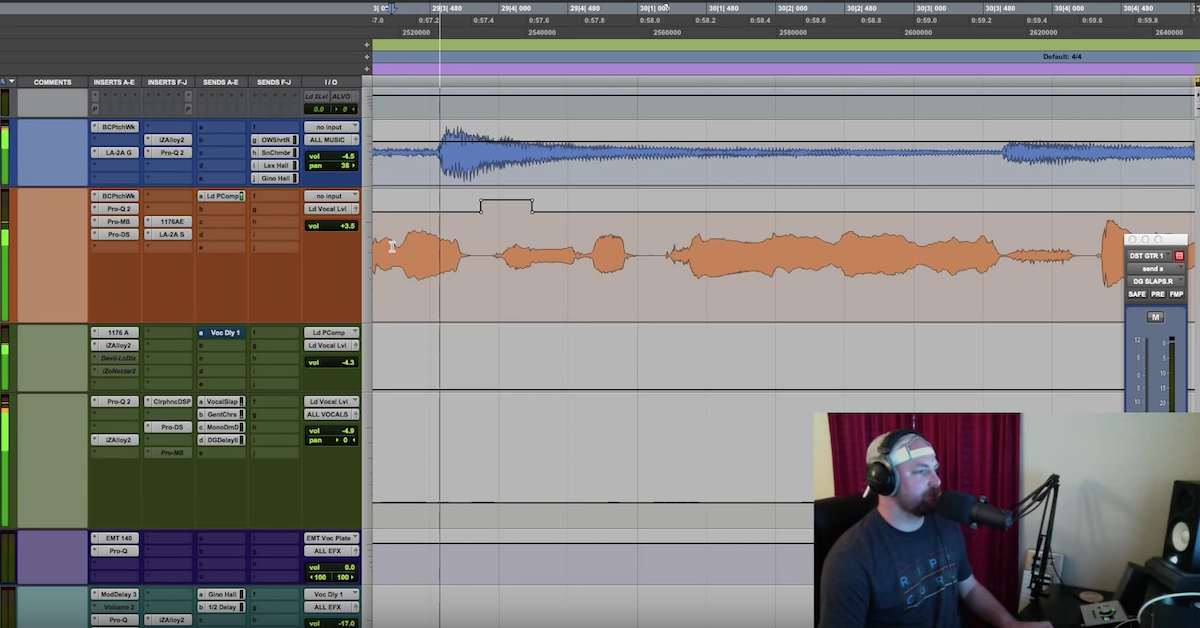
A vocal recording is an interaction between the vocalist and the microphone. In order to treat the vocal we’re going to have to address both the character of the voice, as well as the character of the microphone interacting with the voice.
Two common issues that arise from the microphone are low-end proximity build-up and mid-range resonance.
Proximity Effect
When a vocalist gets too close to a microphone, the low end will build up. If you have control of the tracking scenario, the optimal solution is to get the vocalist at the right distance from the microphone.
In the mix, the best way to eliminate this is to use a high-pass filter. I recommend not doing this haphazardly, as the weight of the voice is caught in that proximity mud.
Try using a gradual slope where the build up begins, or a medium slope to knock out the heavy build up in conjunction with a low shelf or bell to ease off any residual build up in the higher bass range.
Mid-range
Microphones also tend to be sensitive to the mid-range. It’s not uncommon for an airy resonance to perk up somewhere in the 300-600Hz range. Usually a few 2 dB cuts at a narrow Q will suck that right out. However, don’t make any cuts if there’s nothing there you want to get rid of!
In fact, be very wary of this range. This is sort of the area where everyone wants to constantly cut, but it’s also the body and “thickness” of the voice. You want enough content here that the vocal feels “full,” but not so much that it feels “unmixed” or “sloppy.”
The Voice
Now we can start listening to the character of the voice. For most rap vocals we want a sound that’s both bright and forward, but has body and character. Attaining forwardness and brightness tend to go hand in hand.
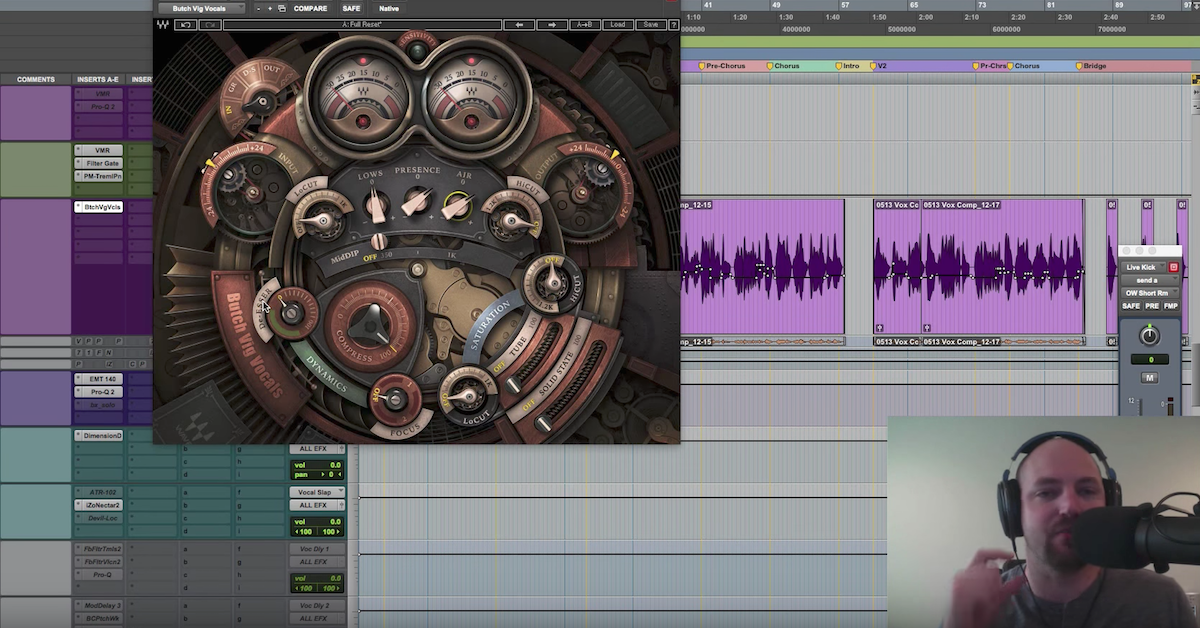
An easy place to start is in the treble range. Obviously if you already have a bright vocal, don’t boost the high end. However, many vocals benefit from some kind of high shelf boost.
The high end boost does not need to be supremely focused. In fact, a broad boost is generally more effective. I like shelves that have very gradual slopes: Pultecs, UBK Clariphonic, Waves HLS or LinEQ (using the non-resonant shelf) are all great choices. Of course, they’re also expensive choices. Most stock DAW EQs are pretty good these days, so don’t feel like you need the most expensive equipment or plug-ins to get good results.
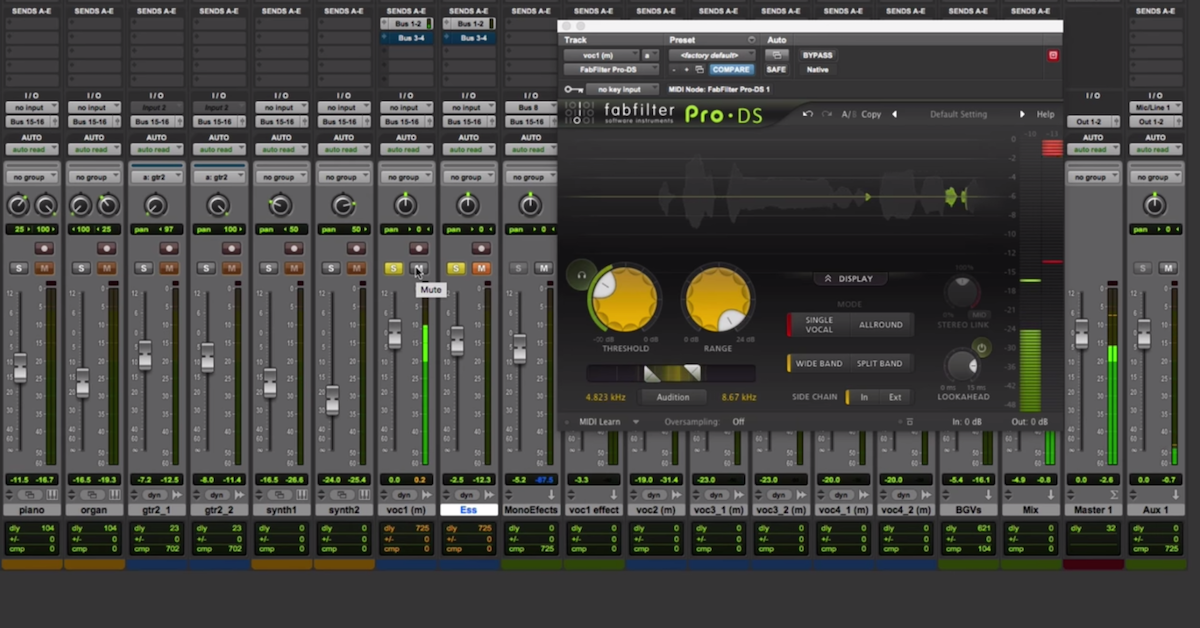
Sibilance
Now, I’m not a “mix by numbers” guy by any means. In fact, I think this ideology is just setting you up for failure. That said, I find a +4 dB shelf at 10k on a vocal is a good starting place. That setting usually works immediately or gets me pretty close to where I want to be (for most recordings).
A well recorded vocal won’t sound too sibilant as a result, but many recordings (especially if the vocalist is naturally sibilant) will get a bit essy. This is where de-essing comes in. I used to really struggle with de-essing, I didn’t like it. My issue was that I was putting the de-esser at the end of my chain. If you feed an EQ’d high end into a de-esser, you just end up pushing the de-esser harder to get that sibilance down. If you de-ess before you EQ, you even out your high end before hand, so the compression artifacts are less substantial.

Ready to elevate your ears?
It doesn’t have to take years to train your ears.
Get started today — and you’ll be amazed at how quickly using Quiztones for just a few minutes a day will improve your mixes, recordings, and productions!
Presence
The presence range is usually next on my check list. Somewhere in the upper-mids is the “excitement” and forwardness of the voice. It’s where all the mouth noise and articulations show up. Usually the tone isn’t too hard to find. Once you get it, it literally jumps out at you. What’s tricky is getting the voice to be very forward without it becoming piercing and too mid-rangy.
The key to getting maximum forwardness with minimum annoyance is the Q, or the width of the EQ band’s boost. Remember you’re not just boosting a single frequency but a range of frequencies. If you’re getting an annoying vocal tone from your upper-midrange boost, tighten up the Q until it goes away. Or, conversely, if you have a good boost going but the vocal is still smooth, see if you can stretch the Q, and when it gets to be too much, back it off a bit. Also, remember that a vocal in solo will appear more mid-rangy than a vocal in a full mix.
Mid-range
The mid-range — or everything above the bass and below the treble — is the character of the voice. The tones, the texture, it’s all in that mid-range. I encourage experimentation with a new voice. Do little boosts and cuts to just to hear what’s coming from the voice. You may find little “personality” tweaks that can help make the voice identifiable. Perhaps it’s a raspy overtone like DMX or Xzibit, or a nasal quality like Snoop Dogg or Q-Tip.
Finding unique tones helps give the vocal character. Of course, optimally, the character is already there — and if it is — don’t force anything. Doing something to put your own “engineer'” stamp on it is a common mistake and often results in a poor mix.
Hi-Pass Filters
Lastly, there’s the bass. DO NOT HI-PASS JUST BECAUSE PEOPLE DO IT. When I record vocals, I will hi-pass at the preamp if I feel I need to attenuate the bass of a voice. That means if you get a vocal that I tracked to mix, it either doesn’t need a hi-pass, or it was already hi-passed. Hi-passing would be needless and detrimental. That being said, if it does benefit from a hi-pass, go for it.
Now, here’s a little tidbit: just because you hi-passed a signal doesn’t mean you can’t also boost the low end to get more body. One of my favorite mixing techniques which I’ve used on everyone from Speech of Arrested Development, to Gift of Gab, to Gorilla Zoe, is to hi-pass out the mud, then use a broad slope EQ to boost bass back in. That’s right, I’m cutting, and I’m boosting the low end. A dB or two goes a long way with your low-shelf boost.
Conclusion
I’m giving you certain things to listen for and not necessarily specific things to do. If a vocal sounds great, don’t mess with it. You have to rely on what you are aiming to hear, not the processing. The key isn’t to do a lot of processing, but to do just the right amount of the right moves. Also, these ideas apply to the vocal on it’s own merits. Once we start bringing in the rest of the mix we may have to reassess our tone settings.
Anyway, if you haven’t already, check out my previous post on mixing rap vocals, or continue reading with Mixing Rap Vocals – Part 3: Compression.
Premium Mix Training