6 Easy Things You Can Do Right Now To Improve Your Mixes
02/27/2021
Article Content
Get ready, because in this article, I’m going to reveal the 5 secret effects settings that all the pros know (and you don’t) that will transform your mixes into solid platinum hits — in just five minutes!
Just kidding. Could you tell? Guess what — there are no magic bullets in music production. If you want to learn some cool processing tricks, this site is full of awesome tips and production techniques that may very well transform your mixes. But that’s not what this article is about.
Nope, sorry. The ideas in this article broadly fall into a few categories: easy things you can be doing to ensure more consistent quality in your mixes, ways to stop shooting yourself in the foot by making common mistakes and ways to save time while mixing.
That last category is important. Saving time while mixing isn’t about getting done sooner so you can kick up your feet and crack open a beer, though by all means don’t let me stop you. No, saving time while mixing is about spending less time on the routine, menial aspects of mixing so you can spend more time on the exciting, creative aspects. Do you really want to spend time being frustrated in front of your computer instead of getting in the zone, making your mixes sound their best? Didn’t think so.
Still with me? Let’s do this.
1. Use Reference Tracks
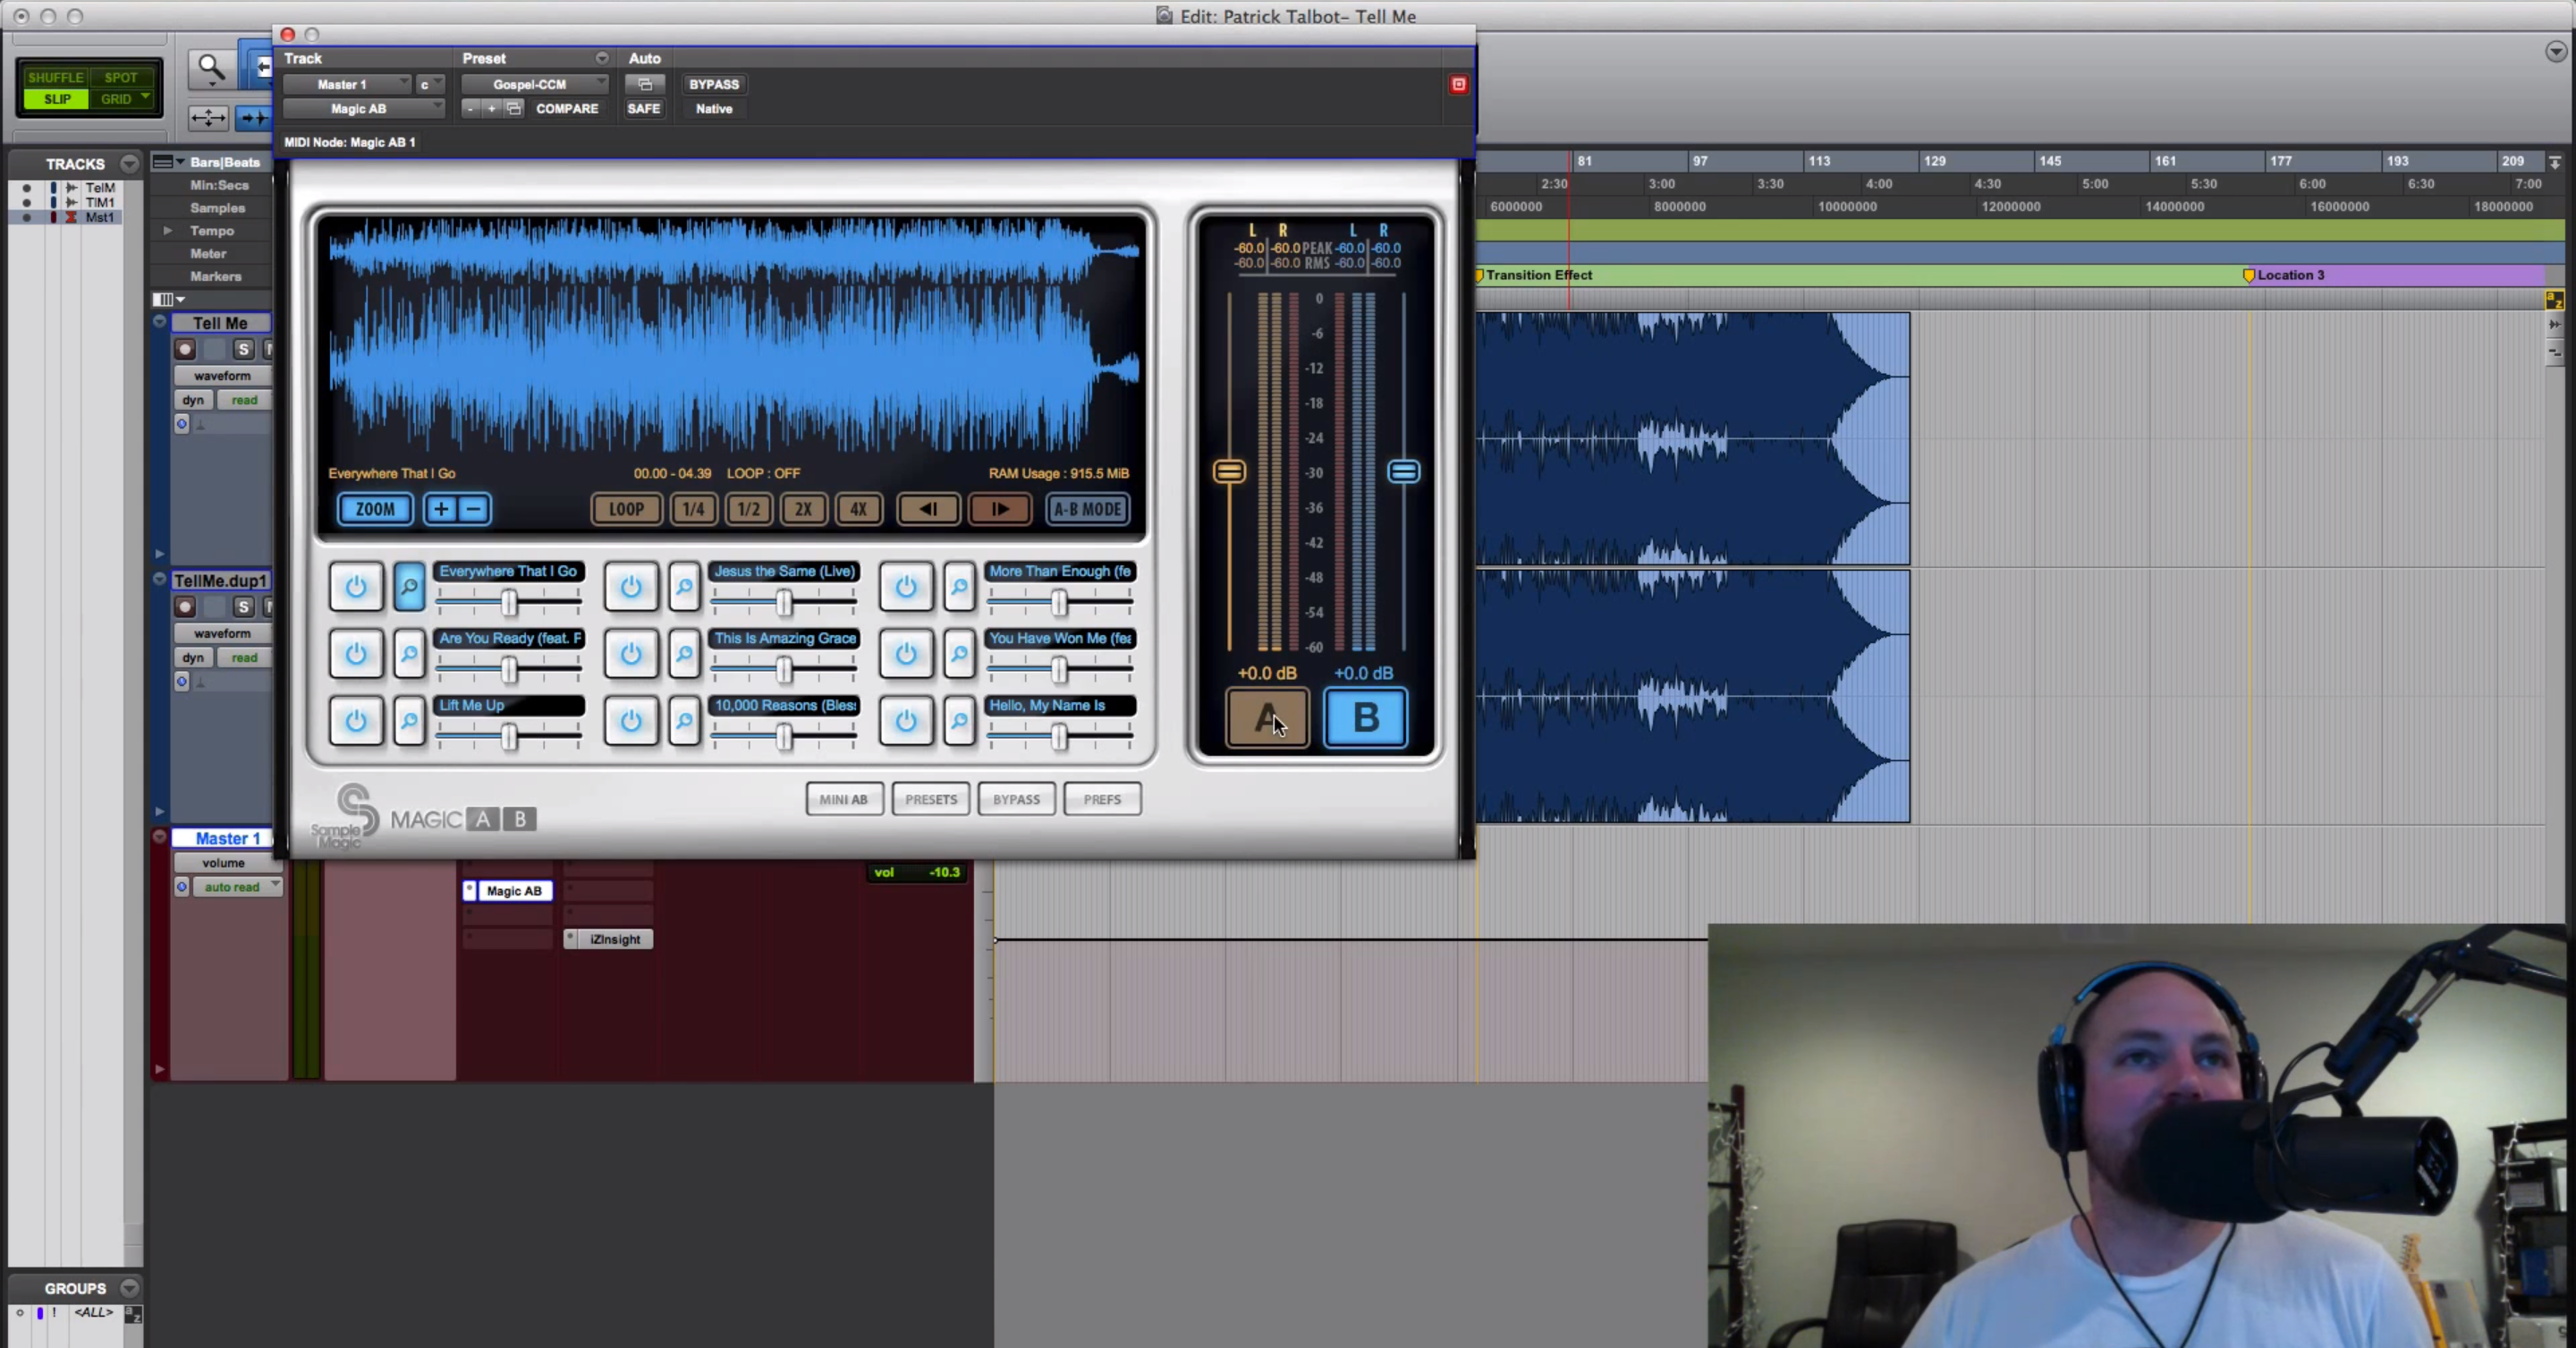
For those who are just starting out as producers or mixers, this can be a painful step to take. If your mixes aren’t measuring up to commercial productions, it can be depressing to hear your work next to a polished and mastered track. But if your mixes fall flat next to the clarity and power of your favorite recordings, that’s exactly the reason you should be using reference tracks.
Tough as it may be, it’s time to swallow your ego. Not only are reference tracks a great way to make sure your clients are happy with your work, they are perhaps the best way to develop the sort of objective critical listening skills that are required of a great mix engineer.
How to do it:
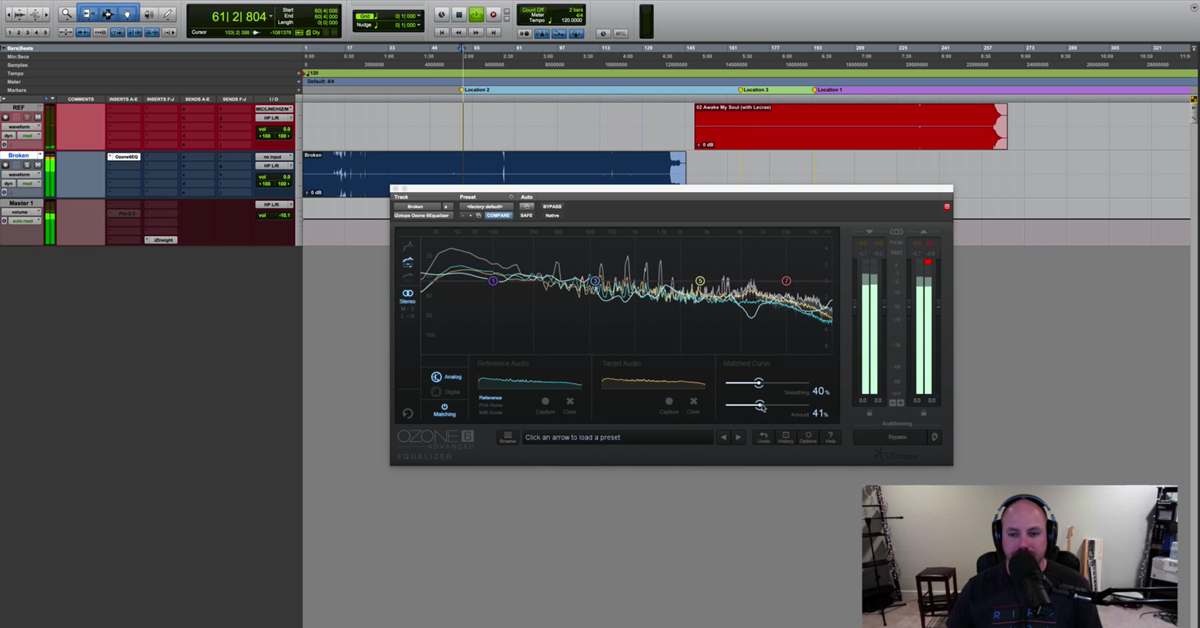
In your DAW session, route your mix through a sum buss where you will use your 2-buss processing. Then route that buss to the master. Next, import a high quality file of the song being referenced to its own track and route it directly to the master, bypassing the sum buss. This last bit is important, because the reference won’t work as intended if it is hitting the same 2-buss processing as your mix.
After establishing that your mix has enough headroom (more on that below), put a limiter on your sum buss that gets your mix to roughly the same level of loudness as the reference. As you mix, periodically toggle back and forth between your mix and the reference track. Listen to how various instruments and frequency areas sound in the reference, and do an honest comparison against your mix. If you’ve done your work correctly, your mix will not only sound more like the reference track as you mix, but also when you play back your work on different systems later.
2. Leave Lots of Headroom
If your mixes are regularly clipping, they are not sounding as good as they could. Ignore this warning at your own peril.
In all seriousness, the distortion caused by unintentionally clipping the master in a mix session is one of the biggest telltale signs of an amateur mix. Leaving healthy headroom in a mix session is one of the easiest ways to immediately improve your mixes if clipping your master has been an issue.
How to do it:
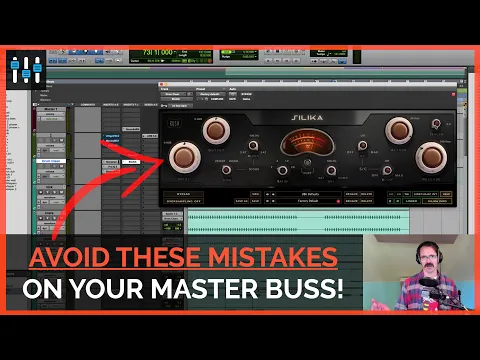
I did a whole video explaining how to keep your master buss from getting slammed. Check it out:
3. Start Fresh With a Clean Mix Session
What do I mean by “clean mix session”? The specifics can vary depending on the project. In general, I like to start a mix session by committing some of the basic in the box processing choices I’ve made during tracking. I’ll typically also commit some grouped tracks (like backup vocal overdubs) to a single stereo track.
Additionally, anything where lots of automation was used to sculpt a track is also a prime contender for being committed. I don’t want to keep having to deal with that automation while I’m mixing, unless it really needs to be left open to further tweaking (hint: it usually doesn’t). Moving from production into mixing, I want a session to have fewer total tracks, fewer (or no) inserts on each track and less automation complicating my ability to do basic things like adjusting levels or tweaking effect settings.
How to do it:
One very straightforward way to start clean on a mix is to print stems from the tracking session and import them into a fresh mix session. Lucky for you, I wrote a whole article on just that.
Sometimes, though, that isn’t the right approach. For instance, I’ll often begin drum buss processing during production but will stop short of finalizing those decisions before mixing. In those instances, I’ll typically create a copy of the session, deleting unused takes in the process. From there, I’ll commit tracks and print processing where I feel certain, leaving everything else open to further tweaking.
No, committing effects early isn’t going to change the sound. But having a clean, uncomplicated mix session to work from keeps me from having to focus on stupid logistical concerns like running out of insert slots.
4. Start by Getting Levels Balanced
Balancing levels is the heart and soul of mixing. Fight me if you disagree! Mixing is about how the tracks that make up a recording work together — and that starts with overall volume levels.
I’m not really going to worry about whether, say, the bass in a given song is occupying the exact right part of the sub-100 Hz slice of the frequency spectrum if that bass track is just too loud. I would even argue that we, as producers, can’t make those sorts of detailed decisions when big picture considerations like overall level balance are out of whack. Our perception of frequency content is affected by loudness (and vice versa), so starting with as representative of a mix as possible can be crucial to making good decisions down the road.
How to do it:

Ready to elevate your ears?
It doesn’t have to take years to train your ears.
Get started today — and you’ll be amazed at how quickly using Quiztones for just a few minutes a day will improve your mixes, recordings, and productions!
My first move mixing any song is making sure that I like the relative levels of every track. If not, that’s the very first thing I address — before adding insert effects and definitely before soloing anything. Before beginning to mix in earnest, try doing a complete listen through. Adjust fader levels as you go. As you make those adjustments, take note of where they fall short of achieving the balance you’re looking for and why they feel lacking. Those impressions will inform processing choices you make down the line.
5. Use Session Templates
Using templates for mix sessions was an idea I resisted for a long time. Even when I was happy with how a mix came out, I never wanted to feel like I was allowing myself to become stagnant. I wanted to push to find new and better ways to achieve the sound I was after.
The thing is, though, that using session templates doesn’t excuse us from being engaged in how the signal flow and effects chains in those templates are used. Even when two songs feature similar or identical sonic palettes (perhaps due to using the same samples, instruments and mics), musical differences in the songs will call for varying processing choices and effects settings.
So why use templates at all then if you’ll still need to be engaged with how they’re used? The answer is simple: time. Pulling up an insert effect takes time. Creating an aux track and routing audio tracks to it takes time. Hours? No, but it’s enough time that, over an entire project, those menial tasks can create a drag on overall workflow.
How to do it:
What sort of processing do you most often end up using in a mix? What type of buss structure? Try to identify the greatest hits of your past mixes, the mix moves you know work well, the ones you come back to again and again. Build out a DAW session and load it up with aux tracks routed so the signal flow works in a way you know you can use.
Fill those aux tracks with insert effects you rely on. If there are go-to presets or settings of your own, dial them in. Copying session data over from a finished mix is a great way to streamline this process.
6. Check Your Mixes on a Variety of Speakers
This is another one of those suggestions that might be really hard for those readers who are new to music production or mixing. An important early-stage milestone that anyone who has mixed a record inevitably goes through is to take a mix that you’re pumped on out of the studio, only to feel deflated upon discovering that it sounds like garbage when listening in the car.
Painful as the process may be, even a mix done on a well-calibrated monitor setup can have translation issues. It’s crucial to know that your mixes are going to play well across varying listening environments.
Does the bass of your track come through when listening on a phone? Or did the thing you tried to make the bass cut on phone speakers make the bass totally overpowering in the car? Does it sound muddy and dull on your living room stereo in a way that it didn’t on your monitors? Is it shrill on your laptop?
The bottom line is that a great mix will communicate the important parts of the song across widely varying systems — from phone speakers to a car stereo with a huge sub to a top-shelf home hi-fi system. If a great mix is what you’re aiming for (and why shouldn’t you?) that standard is impossible to ignore.
How to do it:
Pick a reference track (maybe the one you used in your mix session, maybe just a song you know well) and listen to it across a variety of different sounding systems. Get a sense of how that song translates in those environments. Now give your mix the same series of listens. How does it hold up? Remember, you’re not looking for complete consistency. Compare how the experience of your mix changes across platforms compared to the song you referenced.
Yeah, your mix is going to sound thinner coming off your phone than it did in the car. The goal isn’t to avoid that — it’s to get your mix to sound thinner in the same way that the reference did.
Admittedly, this is easier said than done. But like so many other things, with consistent practice you will absolutely see improvement. The key is not to be afraid of comparing your work (in a productive way!) to professional mixes.
Conclusion
We’ve all had transformative a-ha! moments where we hear some cool production trick working its magic for the first time. But the most enduring changes to my approach to mixing have come not from learning specific techniques, but rather from realizations that have helped me cultivate objectivity and a better workflow.
An exciting revelation? Perhaps not. But if any of these suggestions ring true, give them a try. You might be surprised at the result.
Yeah, maybe you would have preferred to learn those secret compressor settings the music illuminati don’t want you to know about. But come on, if I knew those why would I tell you?
Eleveate Your Ears