9 Easy Ways to Use Multiband Compression in Your Mix
08/4/2017
Article Content
Multiband compression can be confusing.
It’s a powerful tool that’s easily abused — and often misunderstood.
For a mastering engineer, it’s a vital part of the toolkit. But what about mixing?
Is multiband compression better left for the mastering stage? Or are there effective, simple ways to harness the power of this tool when mixing?
In this article you’ll learn nine practical ways to start enhancing your mixes with multiband compression. The benefits are numerous: more control, tighter low end, fuller vocals, less harshness, and a clearer top end.
But first, if you really want to use multiband compression like a pro — and get it right every time you open up a mix…
Read through the free multiband compression cheat sheet below before we start.
1. Controlling Lead Vocals
Let’s start with arguably the most important element of the mix — the vocals.
There are numerous ways to use multiband compression on the vocals, and this is perhaps the place where I rely on this tool the most.
The problem with using EQ to address issues on the vocal is that an equalizer is static — but vocals naturally vary wildly in tone. Every time the vocalist changes register, or applies vibrato to their voice, the tone changes.
Relying on EQ alone to remove ugliness from a vocal can ruin the tone in other sections. Let’s say you cut 200-500Hz because the vocal sounds a bit muddy in the verse.
But then, the vocalist moves up an octave for the chorus — suddenly their voice sounds thin and weak because you cut out all the warmth.
Instead, use a multiband compressor to reduce 200-500Hz only when it becomes an issue.
Adjust the bands until you’re focusing on this range, and then adjust the threshold until the compressor engages only on the problematic sections. Don’t apply any makeup gain — you want to dip these frequencies when they get too loud.
This way the chorus is left untouched. Now the vocal sounds clearer in the verse, but full and warm in the chorus.
You can use this same approach to control harshness, sibilance, nasal tones — any ugliness that is only present in certain sections or phrases.
2. Adding Consistent Bottom to the Vocal
Let’s stay on the vocals. This time, instead of controlling ugliness, you can use multiband compression to add a consistent low end to the vocal.
Remember, vocals vary dramatically in tone depending on register, vibrato and a range of other factors. Sometimes, when a vocalist moves up in register to falsetto (or ’head voice’), the tone suddenly becomes thin and weak.
Instead of boosting the low end, try using multiband compression to make the low end more consistent. Try compressing everything below 80Hz (this seems low, but you will still hear it) and applying makeup gain to bring it back up to the same volume.
Now, when the vocalist moves to a higher note, you still have the fullness and body that you have in lower registers.
3. Making Room for the Vocal with a Sidecain
Here’s one last way to improve the lead vocal with multiband compression — but this time, you aren’t compressing the vocal itself.
Instead, load up a multiband compressor on any instruments that are competing with the lead vocal (guitars, snares, backing vocals). Now, if you have a plugin that supports it, set the lead vocal as the sidechain.
Your aim here is to compress the competing instruments when the vocal comes in. This creates more space for the vocal in the mix. But instead of compressing the entire frequency range, you can just drop out the frequencies that are most prominent in the vocal.
Let’s say you have a male lead vocal that has a lot of energy around 150Hz, and you have also applied a boost at 1kHz to help it cut through.
Try dipping 100Hz to 1kHz on the snare, guitar or backing vocal every time the lead vocal comes in (using the sidechain). This way, you’re creating space for the vocal where it needs it, rather than compressing the entire frequency range of these competing parts.
You could even send all of these parts to a buss and compress them all at once.
4. Consistent Bass and Kick Bottom
Let’s move on from the vocals now.
This trick is similar to technique number 2, where you compressed the low end of the vocal to make sure it didn’t sound weak in higher registers.
This time, though, try it on the bass or kick — and be more aggressive.
This is a great way to give these parts a consistent, powerful low end. Try squashing everything below 100Hz on whichever part is more important. Be aggressive — try 7-10dB of gain reduction and apply makeup gain to volume match.
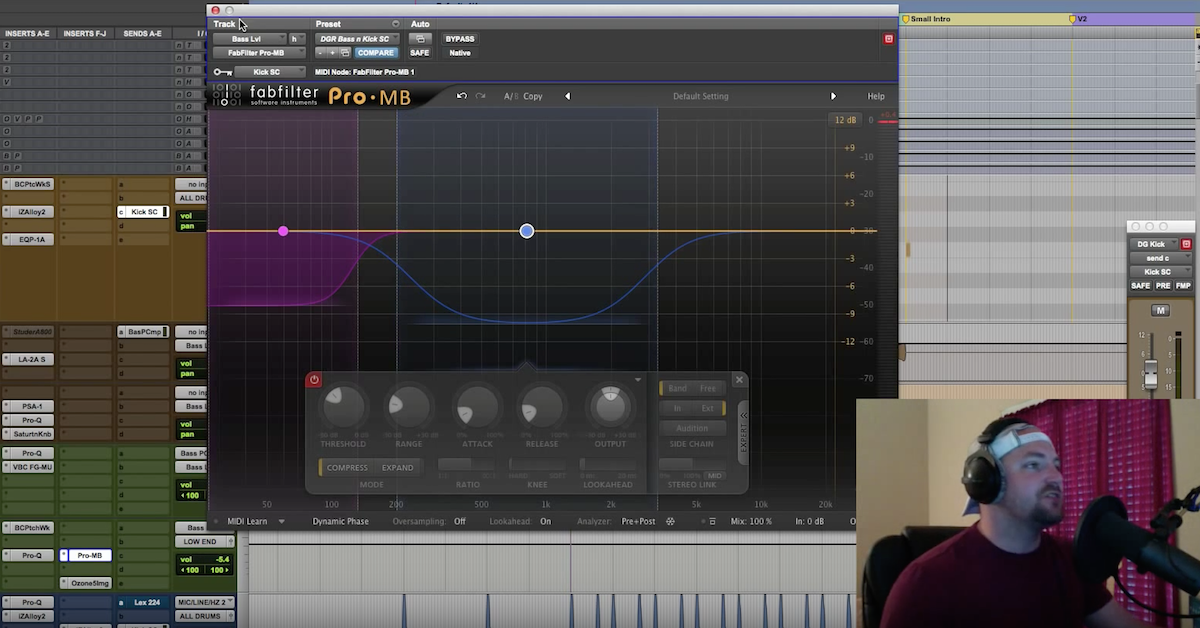
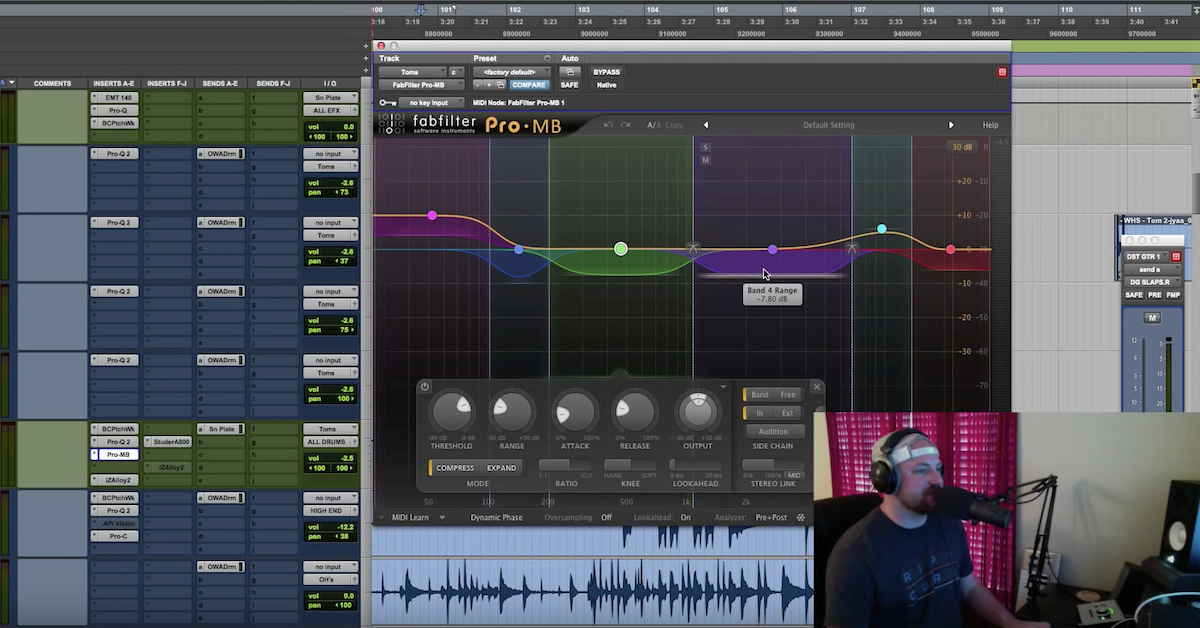
5. Controlling Ringing Drums
No matter how long you spend tuning the drums and playing with dampening, there will always be a ring on one of the drums. Usually it’s the toms, sometimes it’s the snare.
Many people will find the frequency of this ring by boosting 10dB on a narrow EQ band and sweeping it around. When you find the frequency, you notch it out.
But there’s a better way. Use a multiband compressor to control that frequency instead, and you have an intelligent tool that will control that frequency more effectively.

Ready to elevate your ears?
It doesn’t have to take years to train your ears.
Get started today — and you’ll be amazed at how quickly using Quiztones for just a few minutes a day will improve your mixes, recordings, and productions!
When it gets louder, the compressor clamps down more. And when it’s not there, the multiband does nothing. Perfect.
6. Controlling Loud Cymbal Hits
When the cymbals get too loud, they can take up a lot of room in the top end. Sometimes, it becomes overpowering, and can distract from the vocal.
The solution to this may be simple — just automate down the louder hits. But often, the cymbals have been recorded with overheads, and not close-miked. So applying automation also affects the volume of the snare, kick and toms.
Multiband compression is back again to save the day. Just compress the top end on the overheads or even the drum buss (maybe 6kHz and above).
Find a section with loud cymbal hits and adjust the threshold until you’re catching them. Don’t apply makeup gain — you want to reduce the volume when this section comes up.
7. Reducing String Noise
Sometimes it’s quicker to use a de-esser for this job. After all, a de-esser is just a basic form of multiband compression.
But sometimes you need more control.
Have an acoustic guitar part with annoying string noise between phrases? Or a violin part? A bass guitar?
Find the guilty frequency range by sweeping around with an EQ boost — it will be somewhere in the upper midrange. Then target this area with a multiband compressor. Again, no makeup gain this time.
8. Mix Buss Low End
If the low end in your mix is overpowering, make sure you address the arrangement and balance of the low end parts before you resort to plugins. After that, address the individual channels before resorting to this trick.
But, if you find that the low end in your mix is too inconsistent, and you want a quick fix, try using multiband compression on your mix buss.
Compress everything below 150Hz, for example. As you’re working on the mix buss, you can be less aggressive. Try 2-5dB of gain reduction, and apply makeup gain to match.
9. Add Energy to the Mix
This is a great trick for adding more energy to your mix in seconds.
Mix buss compression is a great way to add glue and excitement to your mix. But you can take it one step further with multiband compression.
Load up your multiband compressor and engage two bands — one for the low mids (maybe 200Hz to 2kHz) and one for the upper mids (maybe 2kHz to 10kHz).
Try applying 2-3dB of gain reduction using the same settings on both bands. You aren’t trying to do anything surgical here. The act of compressing these ranges independently is enough to add energy to your mix.
Just give it a go — it’s subtle, but you’ll miss it when it’s gone.
Get Multiband Compression Right Every Time
Multiband compression doesn’t have to be confusing. In fact, when approached strategically, it’s quite easy.
If you really want to take your mixes to the next level, and feel confident with this powerful tool, you need to implement what you’ve learned here.
That’s when the magic happens.
To help you with that, I put together a handy cheat sheet to use as a reference.
If you enjoyed this article, you’re going to love this free PDF. Inside, I also cover the only two ways to approach multiband compression, and reveal why EQ is often problematic …