Mixing 101: How to Get a Rough Vocal Mix
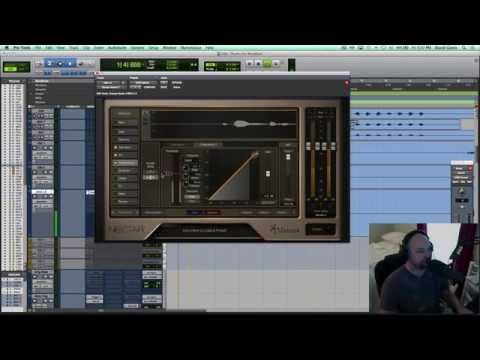
I’m excited because I’m going to switch gears a little bit today, and a lot of us are mixing engineers, and that’s awesome, up and coming mixers, that sort of thing. But today, you’re going to learn something still I think, but I’m going to direct this more at artists recording themselves, producers looking to tighten up their rough mix, and I’m going to take you step by step pretty quickly and show you how you can quickly get a solid rough mix of your vocals. So I’m going to do this with one plug-in, I’m going to use iZotope Nectar 2, and we’ll get to that in a minute.
Right now, the first thing I’m going to do is listen to the vocal. This is a song called “Thanks for Breakfast,” it’s by the artist Jessica Ripka, Jessica’s actually been kind enough to open up her whole archive of songs, and she’s got all the session files. I reached out to her, became a fan, and she said yes, so we’re going to use some of her stuff. I hope you love it, and don’t forget to check her out and support her over at jessicaripka.com
Moving on, we’ve got her vocal, we’re going to hit play and take a listen.
[song]
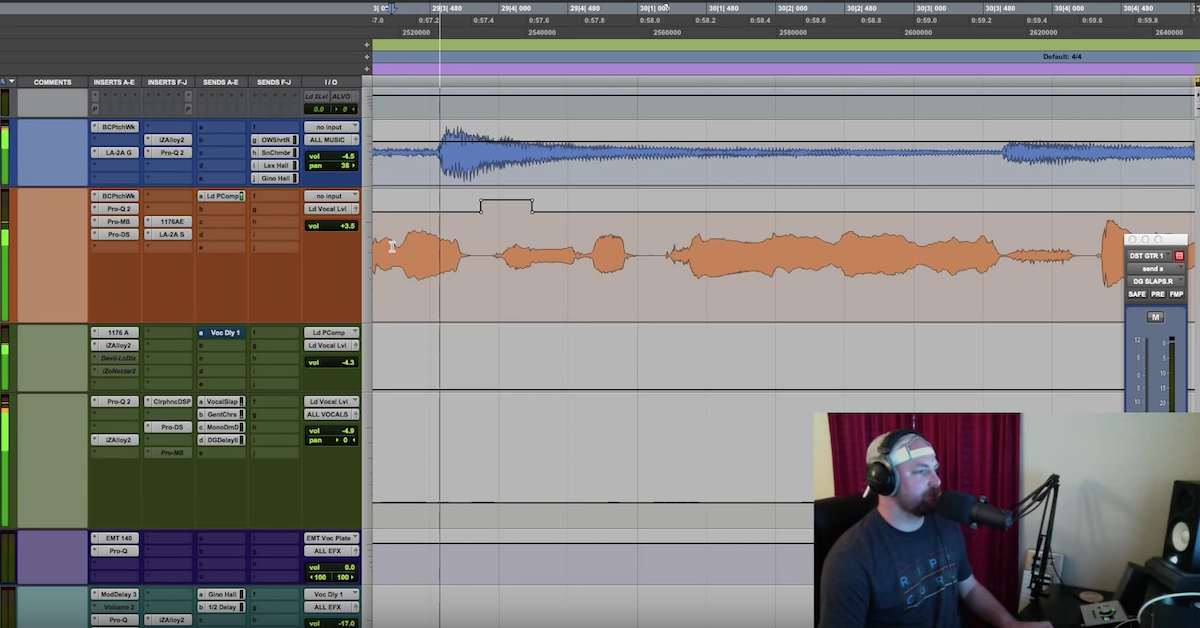
Okay, cool. So sounds have been recorded well, the only complaint I have is they’re recorded kind of hot. So looking over at the meter, you’ll see that it’s good practice to – Kinny Joya has a great tutorial over at groove 3 where he handles recording vocals, and something he said was to make sure you record at kind of like a -18dBFS, and you can change your meters in Pro Tools whenever you do that, but try to keep your peaks, even your peaks from getting above kind of the halfway point. You don’t want anything jumping up above that. If you want to record your verse softer at a different preamp level, and your other at another, that’s great, but nowadays with 24 bit recording and the converters that we have and everything, you don’t need to record hotter than your peaks sitting at about half way. That’s kind of crazy.
So the first thing I’m going to do with this, I’m going to use clip gain and I’m going to bring it down probably 6-7 dB and see what we get.
[song]
Okay. Still a little bit hot, but I can work with that. It’s a lead vocal, so we want it to sit on top. It’s going to be louder than everything else anyways.
So moving on, I’m going to open up iZotope’s Nectar. Like I said, it sounded like this was recorded with a good mic in a treated space. I don’t hear any room sound, which is incredible. I’ve been plagued with mixes that have some pretty terrible room noise in them, so that’s something I’m super thankful for.
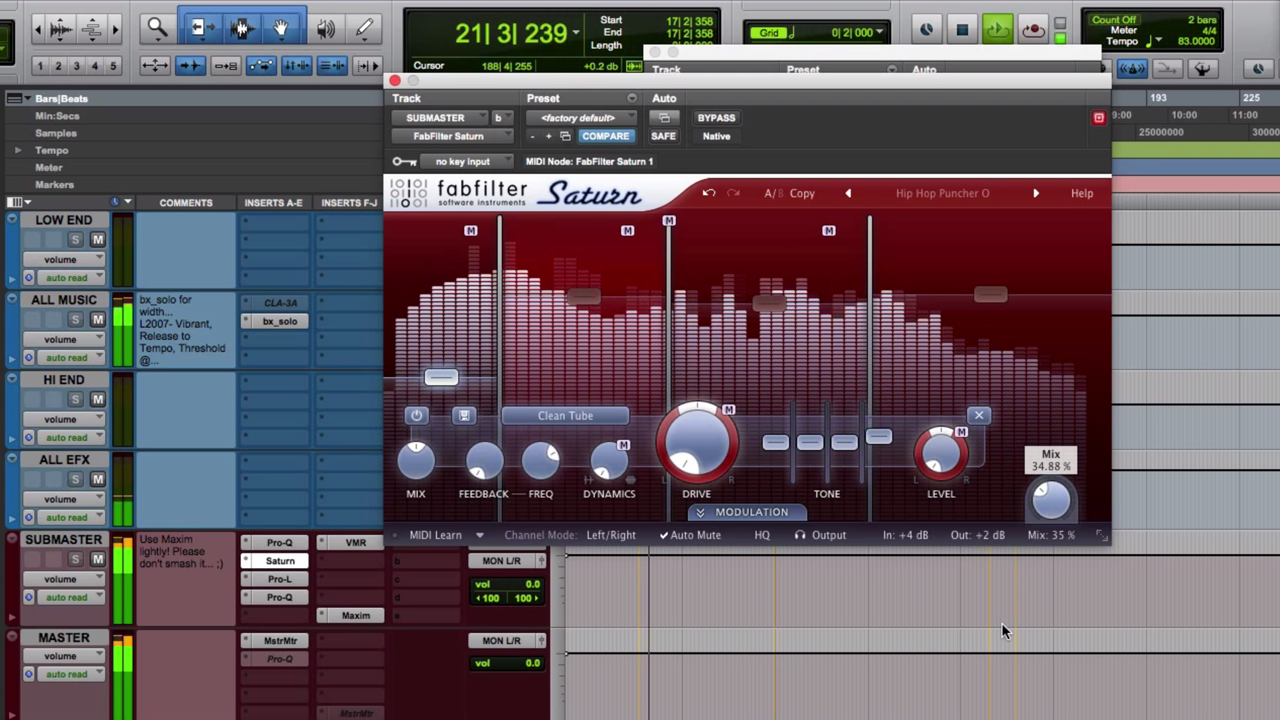
The first thing I’m going to look for is some saturation, just going to pull in some character to this. I’m just going to work, you watch me, then try out what I’m doing, I’ll try to talk in between what I’m doing, and we’ll go from there.
[music]
Let’s see what happens when I push this. It actually doesn’t sound too bad. It’s pretty subtle, but you can hear it kind of filling out the vocal a little bit.
[music plays]
Here’s it in.
[song plays, enabling and disabling saturation]
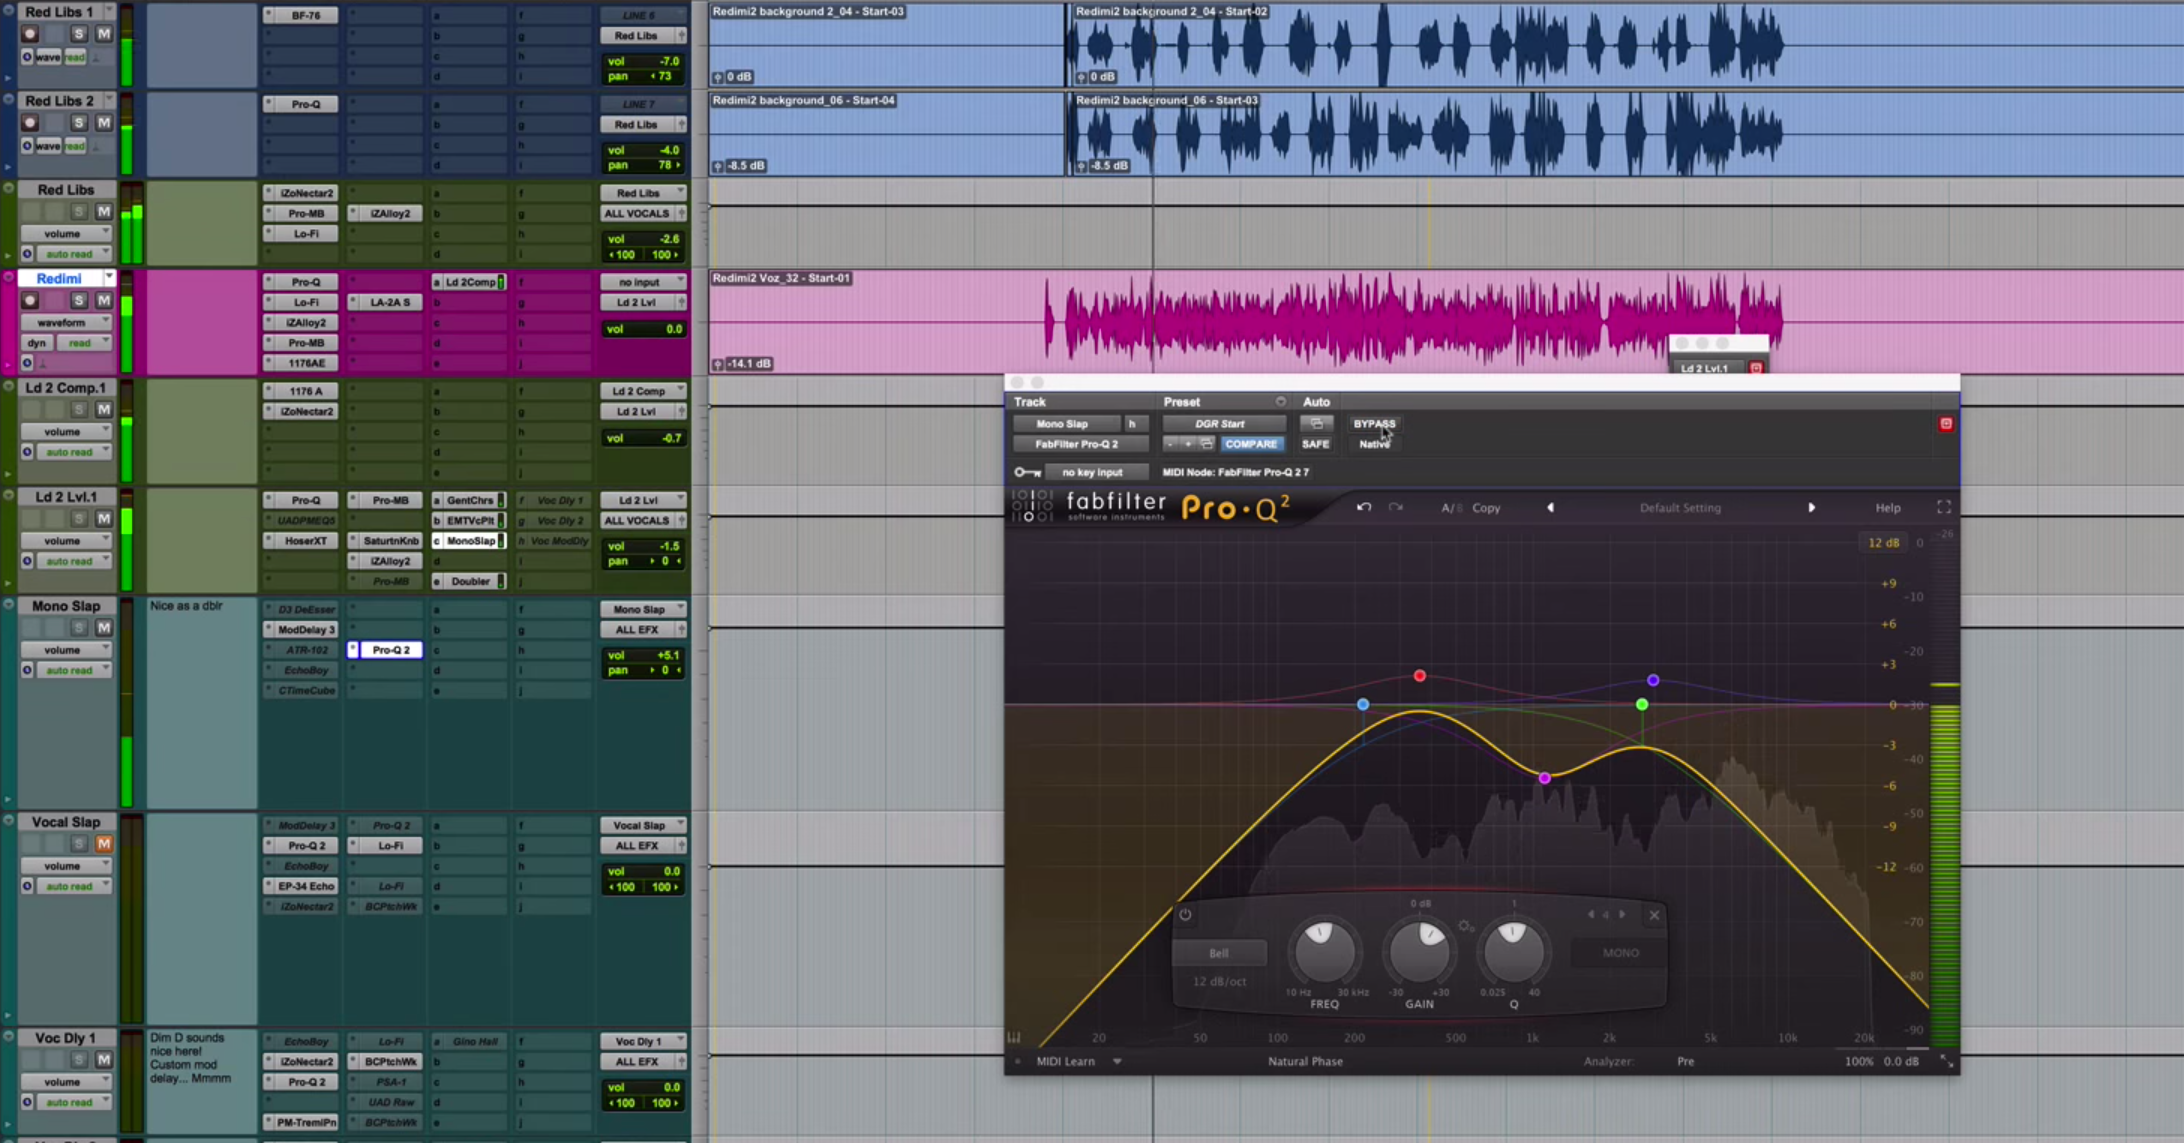
Okay, so it’s subtle, but it’s kind of lifting the vocal a little bit. Giving it a little bit of oomph. Let’s pull open an EQ. I don’t hear any low end that needs to be filtered out, but I’m pretty OCD when it comes to my low end being filtered out on my vocals, so I’m going to go ahead and do it.
[song]
Cool. And what that’s going to do, is it’s going to remove and air conditioning, rumble, any kind of low noise, bump in the mic with the foot or anything like that. Any kind of accidents that could have happened.
A lot of times we’re not recording with pop filters or shock mounts, and so that can really help to cut the rumble out, but we don’t really need anything. I get in the habit of – I released a tutorial all about mixing vocals over at mixingvocals.com, and I mentioned that I’m finding more and more that in modern mixes, I’m not really needing much below 150. I’m cutting most, if not all below that out anyways, and then using kind of 125-200 for the warmth and the fullness in a vocal and for the chestiness. So anyways, just going to cut out some of those lows. I’m going to move on to some compression.
[music]
Okay, so for this first compressor I’m looking to limit the peaks. Just kind of smack those. For rough vocal sounds, I’m not going to worry too much about the attack, you see here it’s got kind of a fast attack, a pretty quick release, and that’s just going to kind of smack it down, get it out of the way, and move on. But I will elaborate more on that on some vocal driven tutorials.
Moving on, I’m going to actually add a compressor to this so we can use two in parallel.
[song plays]
Okay, so this over here is kind of a mix knob between the first compressor and the second compressor. I’ve got it about half way, so we’re parallel compressing there, and that ratio I’m thinking could come up a little bit.
[music plays]
Okay. So we’ve tightened that up a little bit, that’s quite a bit of compression. We’re going to move on and see – I don’t know if this needs any de-essing, but once I limit it, I have a feeling we’re going to want a little bit of a de-esser. I like to use this, I love the limiter. This would be equivalent to if you had an L1 in a Waves bundle.
[song plays]
Okay, I’m going to try something. We’re not seeing any gain reduction because we pulled the level down and I didn’t drive this in. I’m going to pull the sound almost all the way, and I’m going to see if I can tap into a little bit of reduction.
[song plays]
Okay, now let’s hear before and after where we’re at right now. So I’m going to bypass it. And then with it.
[song plays, iZotope Nectar 2 on]
Yeah, very cool. So not too bad on the compression, we’re definitely leveling it out, we’re balancing it, getting it kind of – not necessarily pop/smashed into my face, but it’s going to help me to understand a little bit better, especially for a rough mix, to be able to be communicated to the mixing engineer.
I’m hearing that we may need a little bit of de-essing. Not much, just kind of a touch of it. We’re not really boosting too much of the top end, which we could. Let’s try that.
[song plays]
That’s not bad. Now we can touch it with a de-esser. Yeah! Let’s hear without the de-esser.
[song plays, no de-esser on vocals]
You hear that “s?”
[music plays]
Cool, that just kind of tames it a little bit. Just a quick de-esser.
Let’s move on, let’s add some effects. I’m a big fan of some gentle chorus with my lead vocals. Just to kind of blend it in to where I feel it start to shape the vocal, but I don’t want to hear it. I’m going to boost it up to where I do hear it, then back it down.
[song]
Very cool. So now we just kind of feel it. You heard it kind of ringing on us, then I backed it down so you just kind of feel it. So let me bypass it.
[song plays, effects disabled, then enabled]
Very cool. I could use a little bit less. Moving on, let’s put maybe a little slap delay. I don’t know if it works for this song. I like to start around 90ms-120ms, that’s usually the sweet spot. We’re going to play with that. Let’s see… I like modulating things. Let’s go with .2 and let’s boost the depth. So by a lower rate, we can drive it harder depth wise and it’ll be a much softer, smoother sound, so we’re almost modulating this a little bit as well and getting a chorusing sound.
[music]
Okay, so I could use a little bit less of that, but let’s hear before and after.
[song plays, effects disabled, then enabled]
Yeah, so just kind of gives it a little bit of a space. Not your John Lennon slap by any means, but it just kind of pushes it back just a little bit and gives it kind of a dimension. Let’s throw a little bit of verb and see what we can do with this. Let’s pull the wetness up, and let’s see what this does.
[music plays]
Okay. So I’m already not a huge fan of reverb. I have to be really careful when I’m using reverb. It’s usually just for a stylistic – the client comes with me and says “hey, I want it to sound like this,” and there’s lots of reverb on it and I’ll match that, or I do a lot of work with reverbs where you feel them, but don’t really hear them.
In this case, this is one you’re hearing pretty obviously. So what I want to do is I want to create some separation between the vocalist and the reverb, the reflections. How I’m going to do that is I’m going to use predelay, and what’s great about iZotope is you don’t have to do all this other stuff, you just follow a tutorial like this and you can really dial in a tight vocal sound. Let’s go ahead and set some predelay.
It’s probably worth mentioning that you can dial in a pretty strict predelay to your rhythm to the tempo, this is actually not tracked to a click, but it’s about 79 bpm. I tapped it in, and what you can do, is there’s an app called “Producer’s Tools,” and I use this a lot for – I just mentioned it in another tutorial about using R-Bass and pulling up the frequency translator. For this, I’m going to pull open a delay calculator, and I’m going to go to about 79 bpm and I’m going to scroll through and see what a 64th note would be. 47.47ms. So I’m going to go to around 50ms, and I’m going to see if that creates a nice little separation between the vocalist and the reverb sound. Let’s hear that.
[song plays]
The other thing to listen for, whenever you’re dealing with decay, a good rule of thumb would be to listen for the decay to start on the 1, and end by the next phrase. So think about it in a rhythmic way, and the rhythmic way would be your snare drum.
[emulates snare drum]
So that between those two snare hits, think about your decay starting and ending before the next hit. Kind of timing your reverb to the track so that you can keep it from getting too muddy and getting too washy and getting all over the place. So let’s listen to that and see if we’ve got the decay set about right.
[song]
You see, it’ll get really washy. Cool, so that’s actually not too bad, because the song kind of lends itself to that trailing reverb.
So then what I want to do, this is way too much. I’m going to pull this all the way down and I’m just going to blend it in until we just start to feel it rather than hear it.
[music]
Very cool. So, I kind of like where the reverb’s at, but I still hear it a little bit too much, so what I’m going to do, is the beautiful thing about Nectar is it’s got a built in analyzer and it’s go these filters. We’ve got a low-cut/high-pass, and we have a high-cut/low=pass. So we can drag these until the reverb starts to feel the way we want it. I feel there’s a little too much low end in the reverb, so I’m going to filter that out. So let’s take a listen and just slide that up until it feels good. And actually, what I’m going to do is I’m going to boost the reverb so it’s exaggerated.
[mix playback]
Okay, cool. So now I’m feeling like the low end’s a little bit tighter, but the top end is a little bit too bright. It’s taking my attention away from the vocalist and the top end that’s in her voice, so I’m going to pull some of that out.
[song]
Yeah, I started to feel the breath in “without you” coming back into the reverb up there and I didn’t like that. So now, we’ve kind of got the reverb tightened up. Let’s blend that into the track from zero.
[music]
Very cool. Now let’s turn it off, and let’s hear it before and after.
[song plays, reverb EQ disabled and then enabled]
Very cool. It’s just a nice gentle touch of reverb, and it serves the track well. So now, let’s hear what we’ve done. Have we accomplished our goal of getting a solid rough vocal in so that we can better prepare that for the mixing engineer? Let’s see. Let’s bypass it.
[music, Nectar bypassed, then enabled]
Very cool. I think we did a great job. Let’s see volume wise.
[mix, Nectar enabling and disabling to verify volume differences]
Very cool. So we’ve leveled it out, we’ve given it a little bit of character. It’s more enjoyable to listen to, so while we’re getting the balances and working on our rough mix, you’re printing that for your artist to take home to listen to it. It’s a great way to tighten up the vocal sound. We’ve got one plug-in instantiated for this. If you’re more advanced than that, feel free to check out mixingvocals.com, where I’m going to walk you through top to bottom, A-Z mixing vocals from gain staging, to clean up, to fixing vocals that were recorded in a poorly treated or not treated room. All that good stuff, but much more to come on mixing vocals at davidglennrecording.com.
As always, check out theproaudiofiles.com for incredible content, and we’ll catch you guys on the next one.


