How to Mimic MIDI Velocity for Audio Loops [Quick Tip]
03/15/2017
So the technique I’m going to be showing you today is how to mimic MIDI velocity when you’re working with audio loops. So, velocity is basically the speed at which you hit the key on your keyboard, and that in turn triggers a different sample depending on how hard or fast you hit the key.
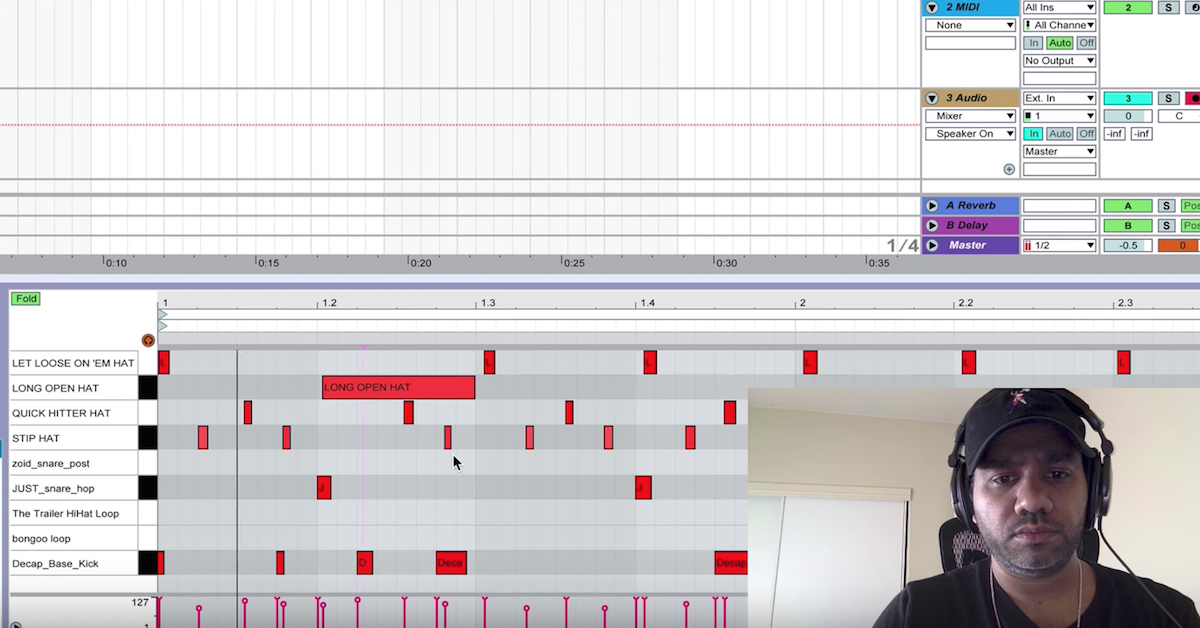
So for instance, we have Addictive Drums here, and we have MIDI notes. So let’s listen to what it sounds like when I increase the velocity.
[snare, adjusting velocity]
So as you can hear, when I increase the velocity, the sound of the drum being hit with a greater intensity are triggered. So the problem when we use audio loops is that most of the time, we have maybe four or eight bars of something, and we’re going to use that perhaps throughout the whole song, and we want it to sound differently in different sections of the song.
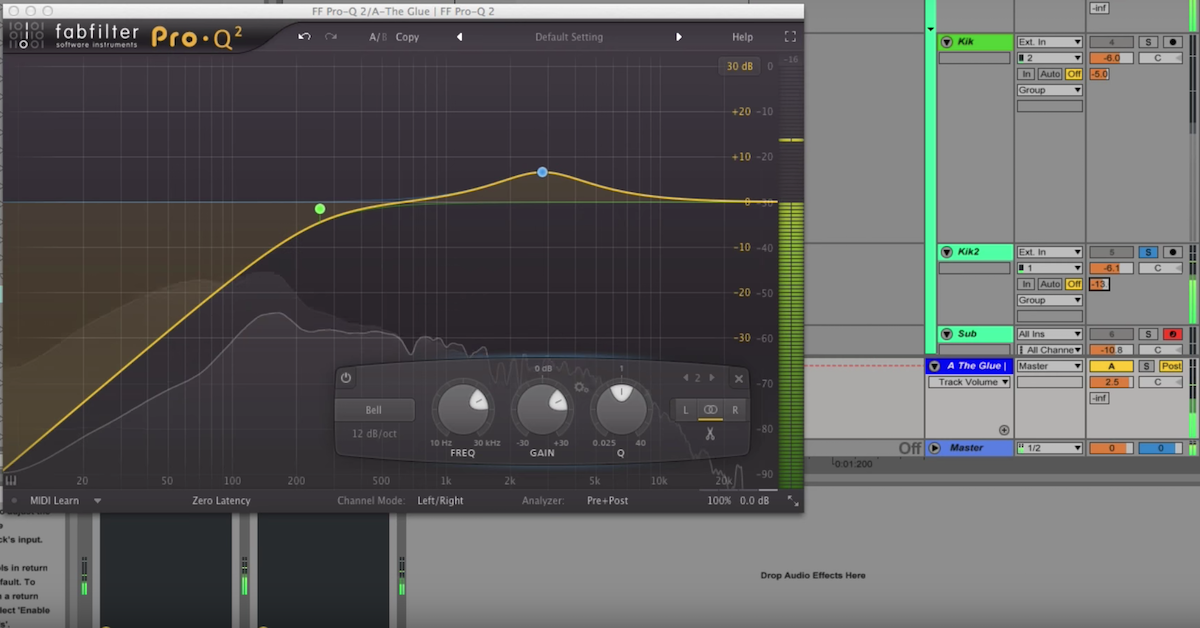
A common way to tackle this is by using volume automation, and that certainly works pretty well, but it doesn’t really mimic the sound of the instrument being played with more intensity, because that affects the transients of the sound as well.
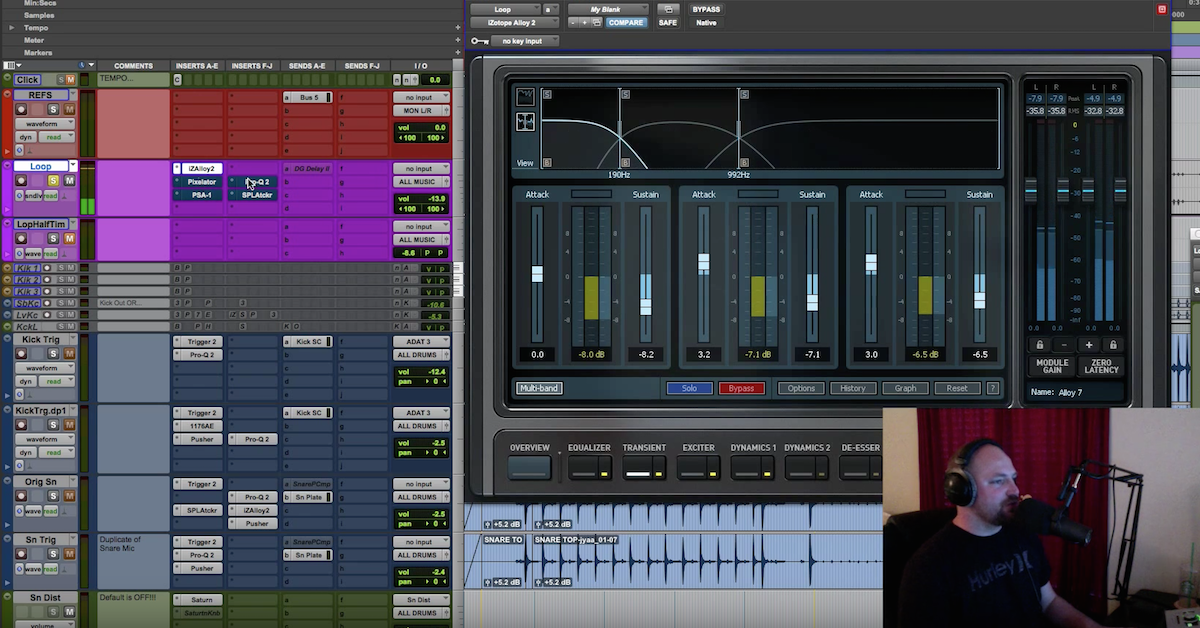
So what we’re going to do is we’re going to use a transient designer, and we’re going to use it on a couple of shaker loops. So here’s a couple of shaker loops, and we’re going to listen to them in solo. I’ve inserted a transient designer on the group. This is Transient Shaper from iZotope.
There’s a lot of different ones. I love the SPL Transient Designer. I think that’s the original one, and there’s one from Stillwell that’s called Transient Monster I think, and I believe Native Instruments makes one as well. I really love transient designers for a lot of different things. Definitely something you should have in your toolbox.
So we’re going to start by decreasing the attack by 10dB, and I’m going to start increasing the attack after awhile. So listen to how the sound is affected.
[shaker loop]
So that pretty much mimics what it would sound like when you play the shaker with more intensity, because when you shake it harder, you get more defined transients, and this is what this does.
So let’s listen to it in context. I have a drum track and a bass track, and some other things, and I’m going to ride the transient designer throughout the track to fit different sections. I’m going to start at minus 10, so here we go.
[mix]
So that’s how you do it. You can use this on many different things. You can use it on drum loops or anything that has transients in it, like a string loop or a piano loop. So go get yourself a transient designer if you haven’t got one already and start experimenting. You can follow me on Facebook for more tips and tricks, and don’t forget to check out my book at makingsound.co, and I’ll see you next time!
Elevate Your Ears