How to Mix Acoustic Music — Part 4: Stereo Buss
03/2/2014
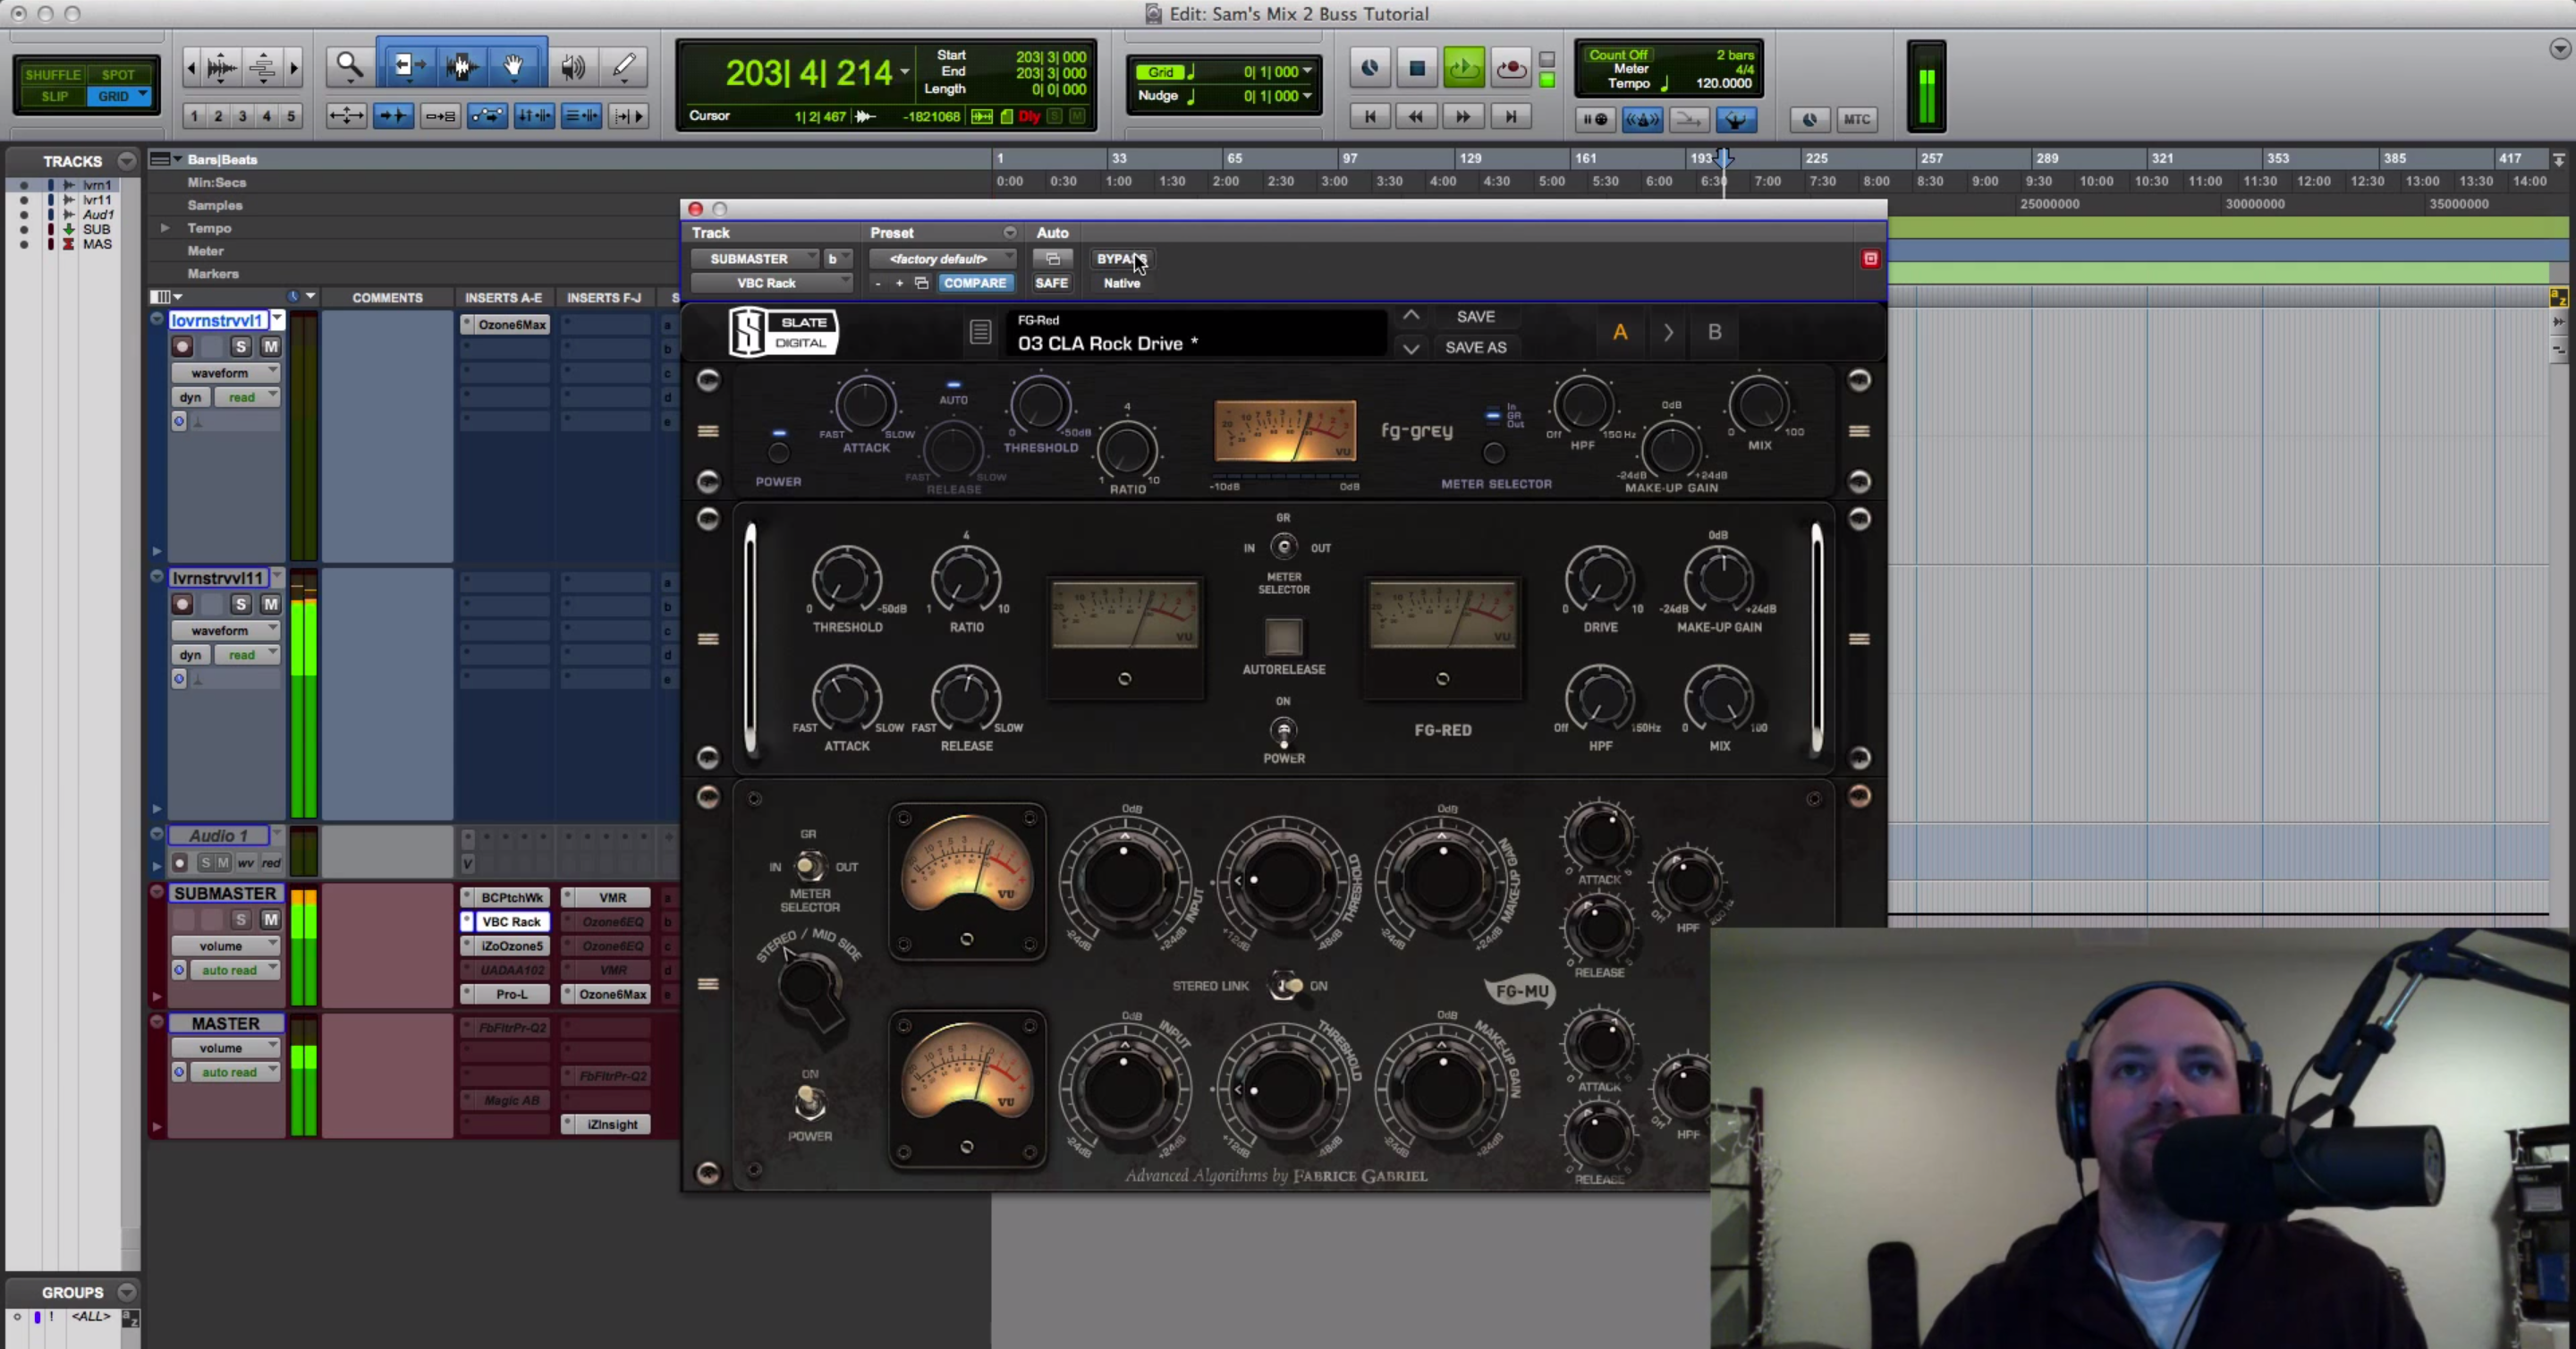
Jumping right in. Before I pull open the plugins, let me put that to the side just for a second. Let me recap. You see the in brown. We’ve got the acoustic guitars and the picked acoustics are going to are going to an aux. They’re going then out to the all music. The strummed acoustics are going to an aux, and then they’re going out to all music. Those two instruments are then meeting. All music is right here. I’m adding a little bit of compression. We covered that in another video, but that’s a slate, and that’s also from video three. We handled the M-S EQ, and that’s there. The All Music goes out to the sub-master.
It’s a stereo bus, two bus. It could be called a couple different things, but I picked up sub-master, I want to say it was back when I did the expert certification for Pro Tools version seven or something like that. And my instructor mentioned the sub-master, so that stuck with me. So just so you know what I’m talking about, that goes out to the submaster, and the submaster is here, where all vocals, all drums, all music, all the effects, low end, high end. You guys follow Dave Pensado, you know he uses this technique. I want to give credit where it’s due. And let’s pull open the first plugin.
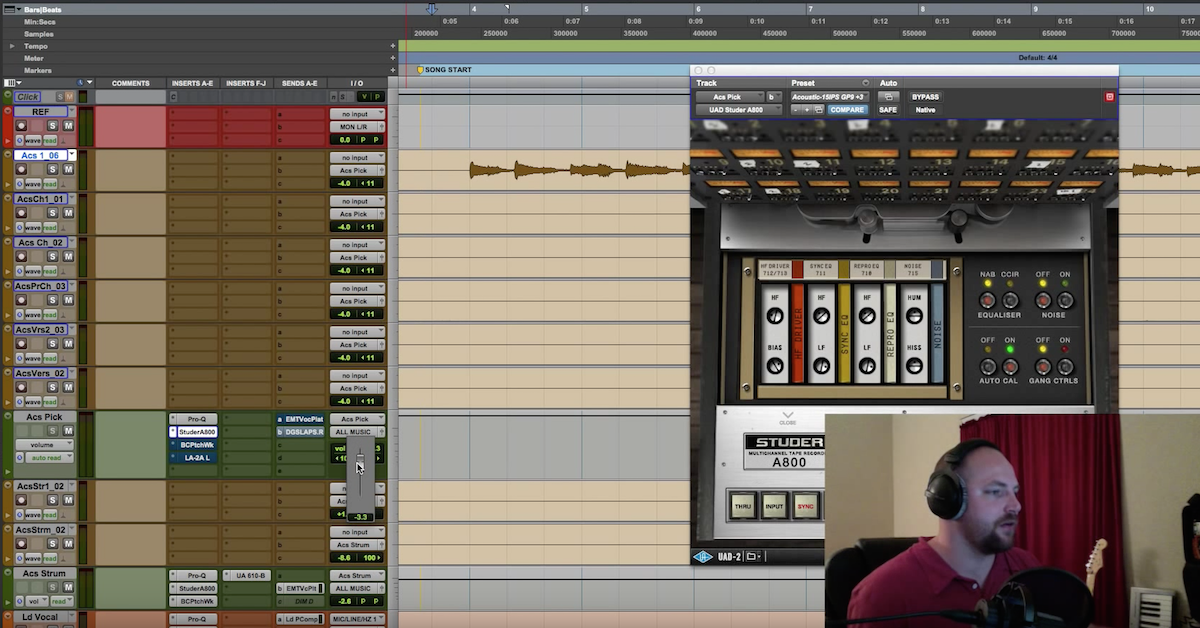
I’m using the Kramer. You can see the preset has been untouched. It’s the mastering soft clean compression preset. I think I may have dialed the noise down, but sometimes I pull it up. Who knows. Just depends on what I’m in the mood for. But this plugin is the first plugin that those, anything in the song hits, and sometimes I’ll swap it out for the Studer. Sometimes I’ll swap it for the J37 now that that’s out. It all depends. But this is what’s stuck in my template. I put it there, and I like what it does, so I leave it. Let me play the mix, I guess would be a good way to kind of demonstrate this atthe high point.
So let’s play it from there. And then I’m going to bypass it so you guys can hear what happens when I remove each thing from the stereo bus. Now I’m going to bypass it. Back in. Cool. So something to note, the volume changes, but I’m mixing into this chain that I’m walking you through right now. I’m mixing into it from the very beginning. There’s a couple points in the process that I’ll cover, where I’m going to keep checking in with my two bus, my stereo bus, but for the most part, I am mixing into this, actually not for the most part, I am 100 percent mixing into thisfrom the very beginning. Plugin number two in the chain is the beautiful slate VBC. I am in love with this plugin. It’s ridiculous. Let’s hit Play, and then I’ll show you what happens when you take it out, as it sucks the life out of our song here.
Back in. Back out. Yeah. I mean, it speaks for itself. You hear it. You hear what’s happening without it. You hear what’s happening when I engage it. You also will notice, if you look and pay attention, the needles aren’t moving. I don’t even think they shook even a little bit. That’s all just the harmonic character that’s built into this plugin, and I’ve just got the two engaged. So I’m skipping the red on the stereo bus, but the two engaged for character. Not much to say about that one, but man, I absolutely love it. This is the next in line. We are hitting the linear phase multi-band waves. I watched a series where Greg Wells, Katy Perry, I could go on his credits forever, did a series with Abba. They did a series of videos. And he mentioned this, and I said, “Hey, what the heck. Let me throw it after the slate and see what’s happening.”
And it’s the multi electro mastering preset. It sounds incredible. I love it. I don’t touch it. I leave it alone, and I just kind of keep an eye on it to make sure that my gain is not hitting the two bus too hard. If you can take a look, it’s minus six, minus 11, and I’ve got a whole series I’m going to introduce you guys to how I, everything from importing the session into the mix, and getting the client files, and all that kind of stuff. But for now I’m just going to keep it short and sweet. But stay tuned. The next in chain after the linear multi-band is an L2. It is doing very little. I’m going to hit Play for that one. Now I’m going to bypass it. Now with it.
So if you look, there’s no attenuation happening. I’m merely using that to help lift the track a little bit, because what’s next is I use Ozone. Ozone is one I recently picked up, and I’m super-thankful for it, man. A great plugin, great stuff going on with this. I start with this. Like I said, I’m mixing into this from the very beginning. Some things that I’ve done, really, really small touch of EQ. You’ve got selected the analog circuit there, the harmonic exciter, doing just a little bit of stuff. And you guys can pause and check those settings out if you want to try it out, but the dynamic section is something that I pay very close attention to all throughout the mix. Whenever I’m starting a mix, whether I’m starting with a kick, the bass, the vocal, from the very beginning, I’m watching what’s being sent into Ozone and how the multi-band is effecting and is responding to what’s being sent into it. If I hit Play here…
So not too much low content. I didn’t pay too much attention to the low end of it, other than the fact that I didn’t want it really doing anything, doing much. But the low mids, if I hit Play here. You can see over here where I’m rolling my mouse around, the reduction is still pretty minimal. You know, two, three dB of reduction, but that’s just affecting the low mids. Feel free to email me if you have any questions on any of this stuff. But I promise I’ve got a big plan in mind for you guys to be able to understand more of why I’m doing this, what the settings are, what I’m doing through A to Z in my mix template. But moving on, we’ve got the other bands. Take a quick peek.
This is going to be extremely important to pay really close attention to when you have drums and other elements in the mix. For now, the acoustic guitar and the vocal not really calling for us to smash the low end of anything like that, but moving on, we’ve got the maximizer. I’ve got that set to IRC2, and then I’ve pulled the threshold down to give me the reduction that I like. Listen to it with my eyes closed, my ears open, and let’s take a look at what that’s doing.
So a couple parts there, it’s hitting it pretty decent. Let me pull this over. I’m staring at this just about the entire time that I’m mixing and kind of watching where I’m at, where I’m going, and I bring in tracks, mainstream tracks that have been mastered, and I’m watching what they’re perceived loudness is to RMS, all that good stuff. And then I will kind of A, B, and match, and feel like if I’ve got the right vibe with mine, if I need to go back to the drawing board with my levels or compression in the track. But something to note, I probably, I’d be willing to guess that I’m compressing less in the mix than I would without this stereo bus chain. And I’m okay with that. I like the way it sounds. Call it a crazy stereo bus, crazy two bus, whatever you want to label it. For the people who want to give this a shot, I highly recommend this technique. The presets are less important than just using your ears, but by all means pull these up, give them a starting point, and take a shot at it. See what happens. If you hate it, by all means, go back to whatever you’re used to. But, man, I would encourage you to just give it a shot and try it out.
Be conscious of your meters, always referencing. I’m always pulling up tracks from, if I’ve got a song like this, I’ve got a, like I mentioned in the first video, I’ve got Matt Nathan singing the song “Angel” pulled in. It’s an acoustic guitar and a vocal, and I’m listening to the quality of his acoustic guitar and his vocal, and I’m always checking mine against him, just to kind of, especially for up-and-coming mixers, I’m not working with Billboard Hot 100 artists right now. I’ve got a lot of potential clients that are doing extremely well, not to cut myself short, but by all means, I look to the guys who have been doing it for the years and years, you now, doing it well. And I listen to them to learn from them, like Dave Pensado, like the Tony Maserati’s and those guys. That’s my walk-through. That’s the stereo bus. That concludes the four-part series on the acoustic.
We’ve hit some rabbit trails, and all the kinds of good stuff on the side. But as I collect my thoughts and look forward, man, keep the emails coming. You guys are doing incredible. I’ve got a list, I don’t know if you guys have heard of Wunderlist, but it’s an app in the app store. Man, I’ve got like 100 video ideas that I’ve just got drilled through this thing. So keep them coming. I’m just going to keep chipping away, and we’ll keep making great music. So hope you guys are doing well, and we’ll catch you in the next video.
Elevate Your Ears