The Fundamentals of Designing Sound to Picture
01/27/2019
Article Content
Sound is, at its best, in service of the story.
Filmmaking is an extremely powerful art form. Major budget motion pictures are grand-scale collaborative efforts. Each and every name listed once the credits roll has played a part in creating a world designed to draw in the audience, emotionally-speaking.
Every detail — each word, costume, and sound is important in developing this world. While it’s essential to have a comprehensive understanding of the technology we use when designing sound for visual media, it’s all for naught if one doesn’t appreciate storytelling, emotion and the art of engaging an audience. When tasked with designing sound for picture, I am more concerned with sculpting sounds that work in concert with the visuals and the story, than ones that display my technical prowess.
I always strive for authenticity when designing sound. If I’m working on a scene that takes place in another country and we see or hear an ambulance siren, I conduct research to find out what ambulance sirens actually sound like in that country. If a character is getting into their dilapidated car, I’m going to hunt down car door sounds with some creak and rattle to them. These details matter — EMT workers from countries other than my own love movies too, and we risk not achieving the all-important suspension of disbelief by choosing the wrong ambulance sound. How are we supposed to feel badly for the character who’s climbing into their battered, broken-down car if the driver’s side door sounds crisp and expensive like that of a Porsche? These details are what draw audiences into the worlds we construct and allow our audience to feel empathy for the characters we create.
The Importance of Frames
When we experience our favorite movie or TV show, what we’re actually witnessing is a rapid-fire series of images, also known as frames. A sound designers’ role is to craft a sonic foundation that compliments this fluid succession of frames. Understanding how to use technology to “access” each and every frame of the project you’re working on, so you can then make careful decisions as to which sound or sounds belong married to these pictures, is essential.
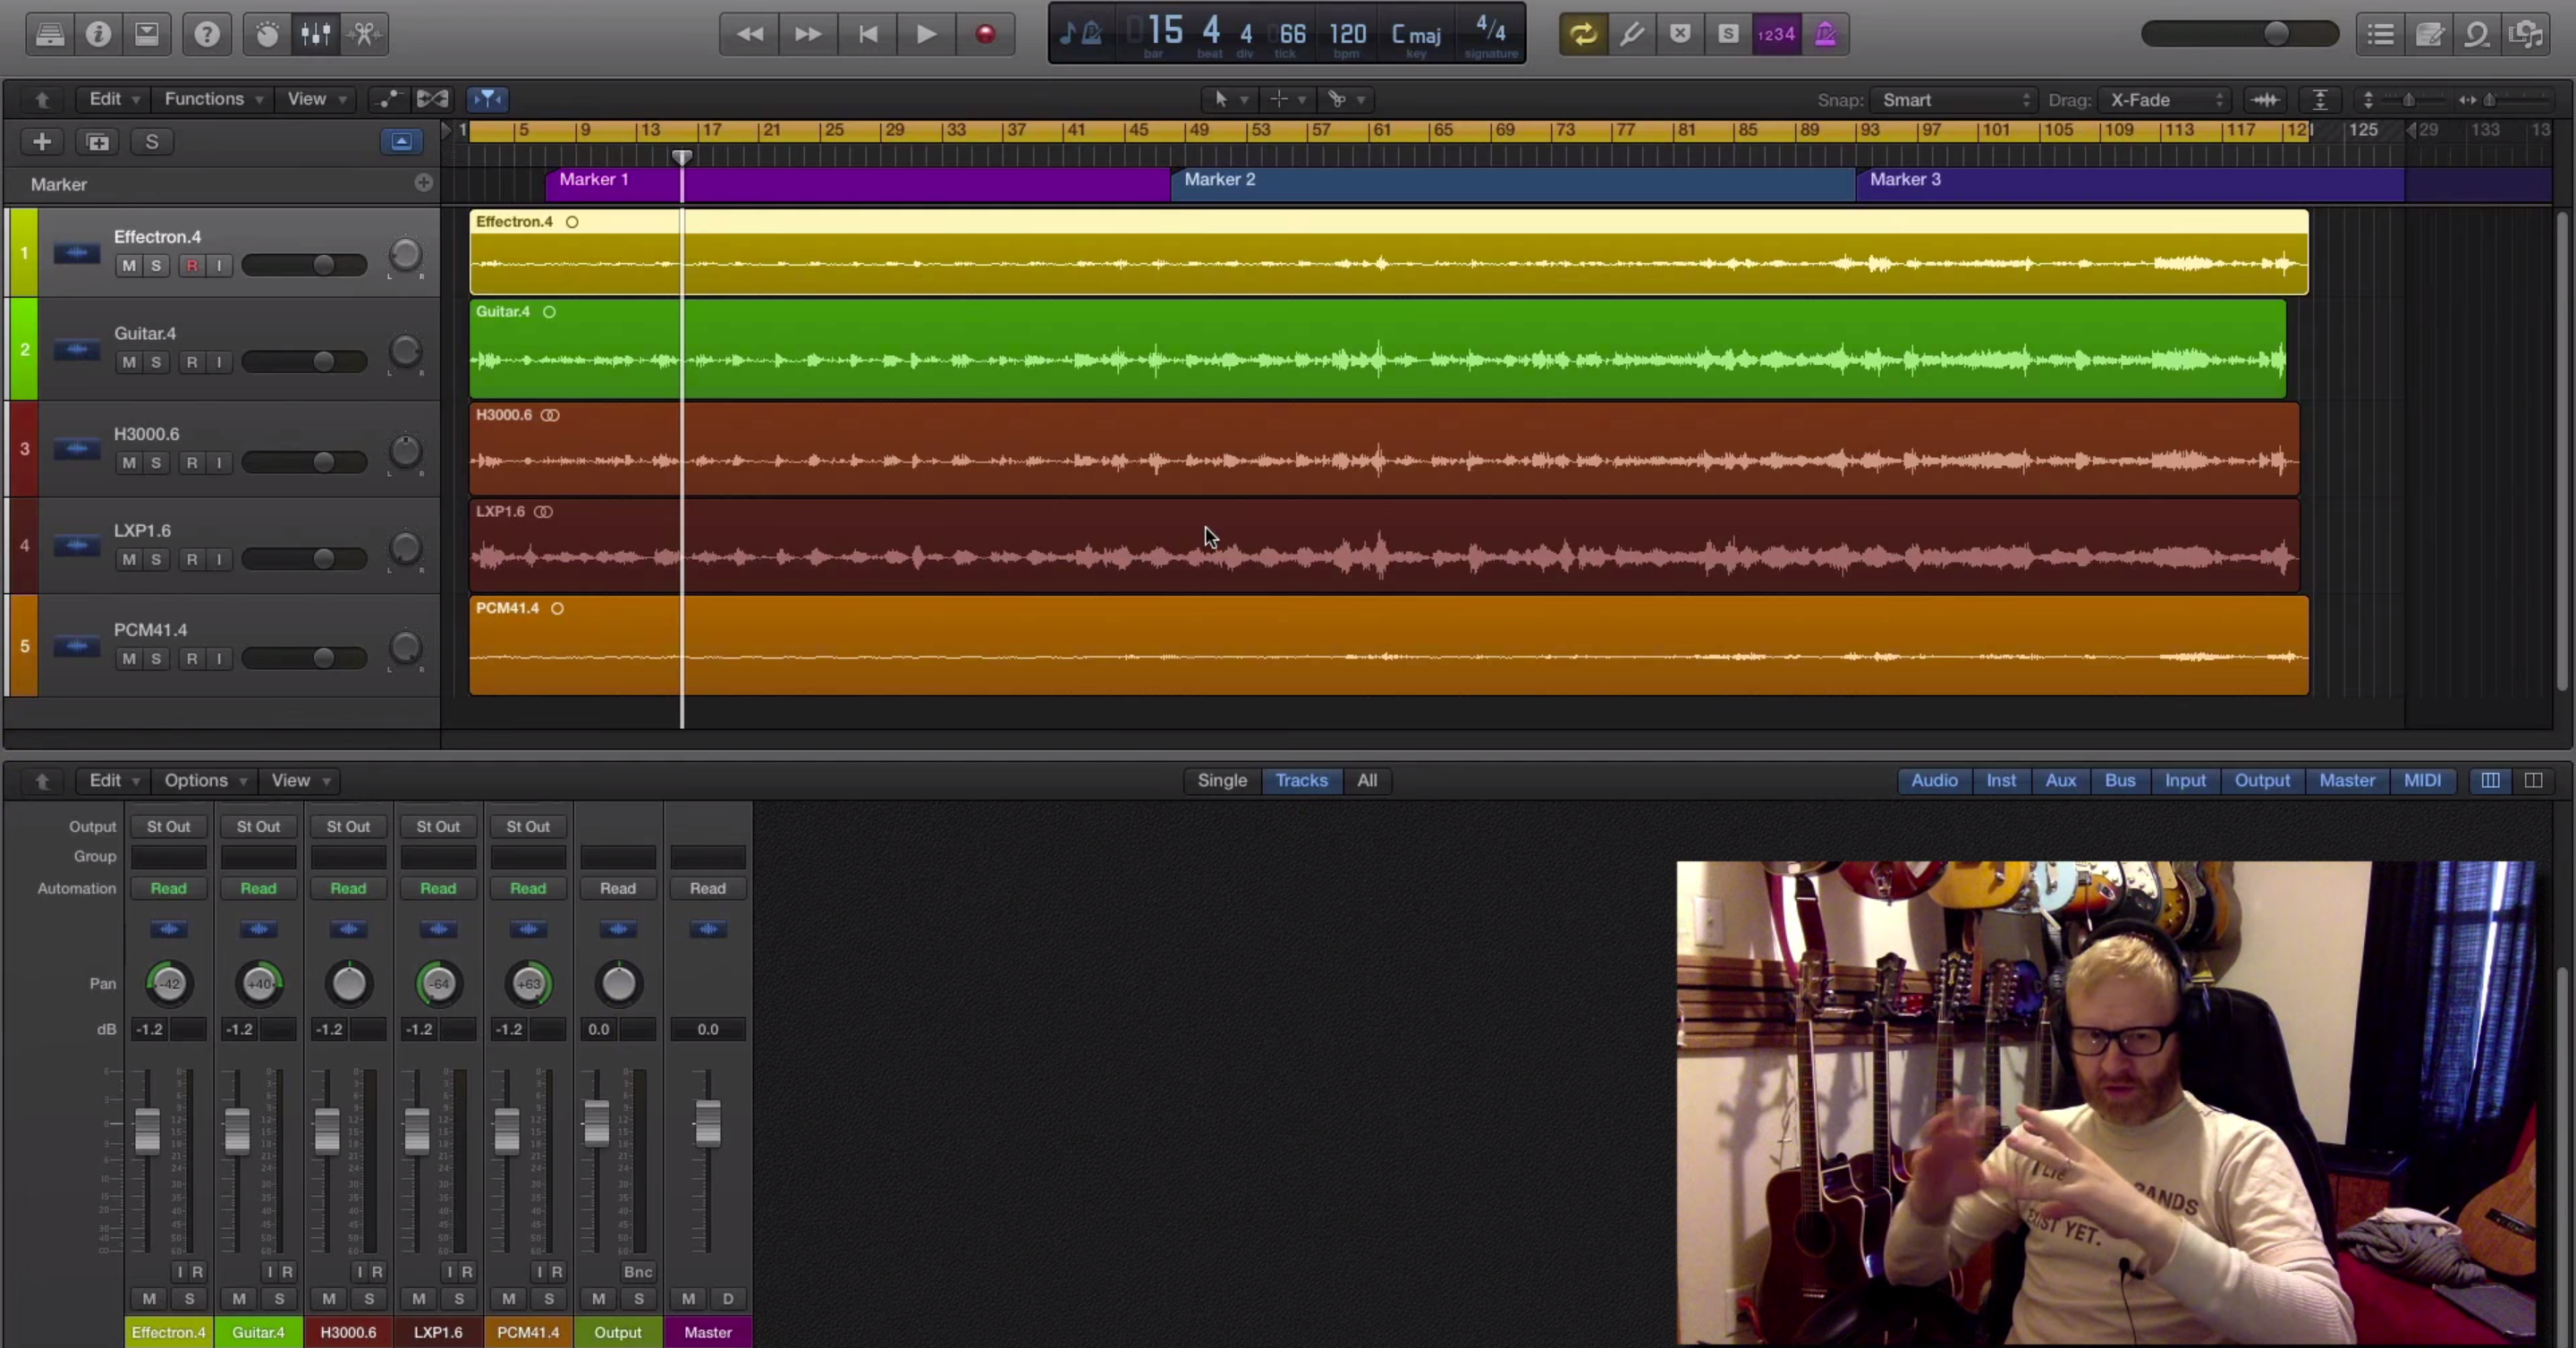
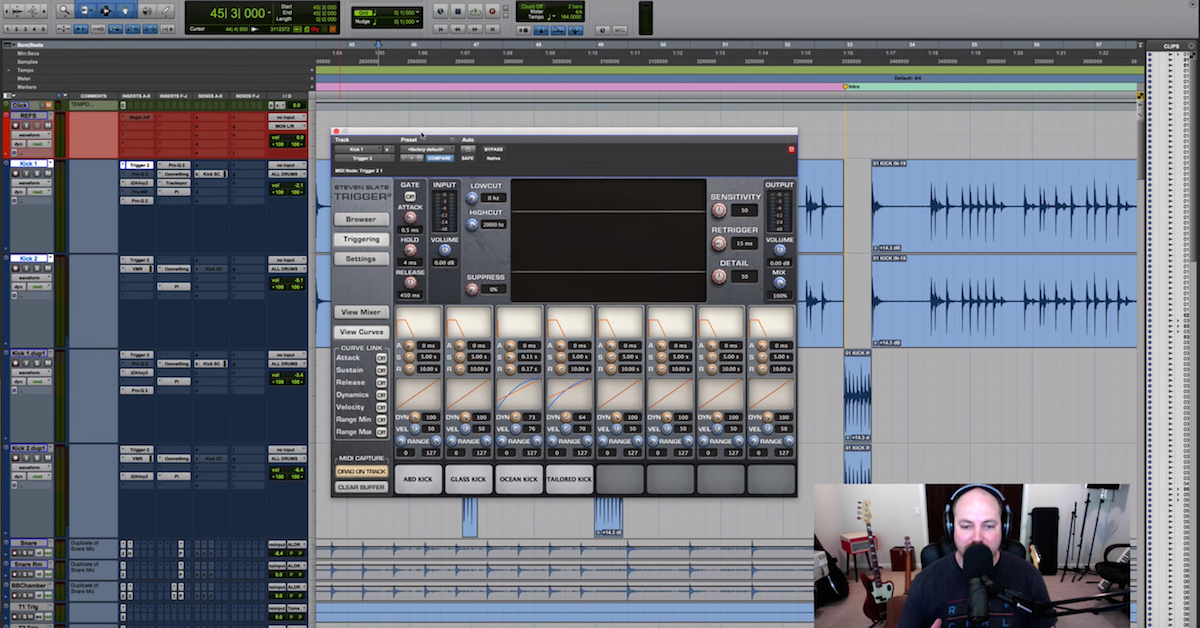
My DAW of choice for most audio post-production duties is Pro Tools — partially because it’s what I’ve spent the most time using, and partially because it’s an industry standard, and therefore makes file sharing and working in multiple environments easier than most other systems. I know what to expect with Pro Tools and the shortcuts are burned into my muscle memory. I feel as if it’s an extension of my creative mind. When tasked with the job of designing sound for picture, I set up my Pro Tools session as follows:
First, I ensure that the session start time is 00:00:00:00. These numbers represent timecode, with the four pairs of zeroes representing hours, minutes, seconds and frames, respectively.
Next, I load the movie file into my Pro Tools session (the shortcut is shift+option+command+I) and “spot” the video track so that it’s at the appropriate place on the timeline. Generally, I receive video files with timecode “burned in” to the picture, so my goal is to synchronize my session with the video.
Historically, the video will have a countdown leader, and two seconds before the first frame of picture, I’ll place a 1-frame sine tone also known as a “2-pop”. Sometimes, once I’ve placed the video file on the timeline, the timecode rate shows up as red, notating that the timecode rate of the session differs from that of the video, so I’ll change my session settings to match the provided video file. This is essential in being able to establish synchronization or “sync”.
I will then set my grid and nudge values to timecode>1 frame. Now I can use handy shortcuts (+ & -) to quickly toggle between consecutive frames. It’s crucial that they are set to 1 frame, as lesser values would result in needing to hit + or – multiple times, and higher values will skip frames entirely.
This bit of technical work pays off, as the result is being able to quickly see and navigate back and forth between each and every frame. Now, I can see the slight changes that occur between frames with absolute precision, and use this visual information to determine which sounds to employ at each and every moment.
If I’m working on a scene that involves a baseball player hitting a home run, I can nudge to the exact frame in which we see the bat making contact with a ball, and then place the sound effect that works perfectly with the visual. This precision is part of what creates a perfect marriage of sound and image, and draws the audience into the world we are hoping to create. Obtaining and maintaining synchronization is essential in professional workflows, and I strongly recommend learning this skill if you’re interested in working in audio post-production and sound design.
Layers
Picture two giant robots battling. Our protagonist robot is damaged badly and lying helplessly on the ground. The antagonist can sense its opponents’ vulnerability, and plans to go in for the kill — crushing its skull. The brooding antagonist takes three massive steps, leaps, reaches up high in the sky, and its fists come flying down with incredible force. We cut to black briefly … the next thing we see is a closeup of the protagonist robot’s face, entirely intact. Another visual cut reveals he had pulled out a giant sword as his opponent barreled toward him. The antagonist robot sits there, impaled, barely functioning for a brief moment, and then powers down.
I clearly can’t teach you science fiction writing, but what I can tell you is the sound design for a scene similar to what I just described would involve many, many layers of sound. Think of the protagonists’ electrical systems failing, the impact of the giant metal feet making contact with the earth, and the metallic crunch of the giant sword piercing the antagonists’ armor, wreaking havoc on its complex innards.
A series of “sweetening” elements such as tiny bits of metal falling to the ground would help to further sonically illustrate the aftermath of the battle. We may even want to leave our audience with a moment of empathy for the defeated robot, so a somewhat human-esque last breath just before he powers down might be in order.
If the arrangement of sounds is too sparse, it wouldn’t seem natural and we risk losing credibility with the audience. We also need to consider that each robot should have its own set of sounds, as to create a sense of separation between the two. We can employ psychoacoustics here — perhaps working in the sound of a predatory animal into the design of the antagonist, and something less threatening for the palette of sounds used for our hero. For each and every sonic element incorporated into the sound design here, we need to consider pitch, amplitude and envelope, so it’s very rare that individual events aren’t manipulated, in one way or another, to serve the bigger sonic picture.
I’ve been designing sound for over 15 years, so I’ve gotten good at navigating gigantic sample libraries, browsing and editing virtual instrument patches, and getting creative when recording layers in a controlled environment, as well as in the field. On a short film I worked on not too long ago, a character (an employee at a movie theatre) was tasked with unclogging an absolutely disgusting non-functioning toilet. My goal was to make the sound as gag-inducing as the picture. I, of course, didn’t want to risk clogging my own toilet, so rather, I recorded multiple layers of myself plunging away at the bowl — both filled with water and right after it had been flushed. I then froze a bunch of bananas, put them in the microwave and defrosted them in a large bowl, and recorded myself squishing them with my hands, all while watching the provided video, and doing my best to match the on-screen action. The sound was grotesque. It took a good amount of precise editing of the individual layers to match the timing of the plunger making contact with the excitement-filled toilet, but the result achieves the desired effect. On a large-scale production, the Foley team would likely handle this task, as they are responsible for incorporating common, everyday sounds into a films’ soundtrack.
For a thorough breakdown of the different roles in audio post-production, check out this article.
Synthesis & Virtual Instruments
In the robot battle scene I described earlier, we would likely want to incorporate bleeps, bloops, alerts, and warning signals into the sonic palette of the robots. We could, of course, revert to sound effects libraries, but I find myself getting a bit bored of using the same library sounds over and over again, and would prefer the customizability of a synthesizer or virtual instrument. There are too many excellent hardware and software synths/virtual instruments out there to mention, but the following are a few of my favorites:
Omnisphere
This is one of the most versatile virtual instruments ever created, and I use it for music production, sound design and scoring to picture. The sound quality, sheer number of patches, and ability to tweak parameters is astounding.

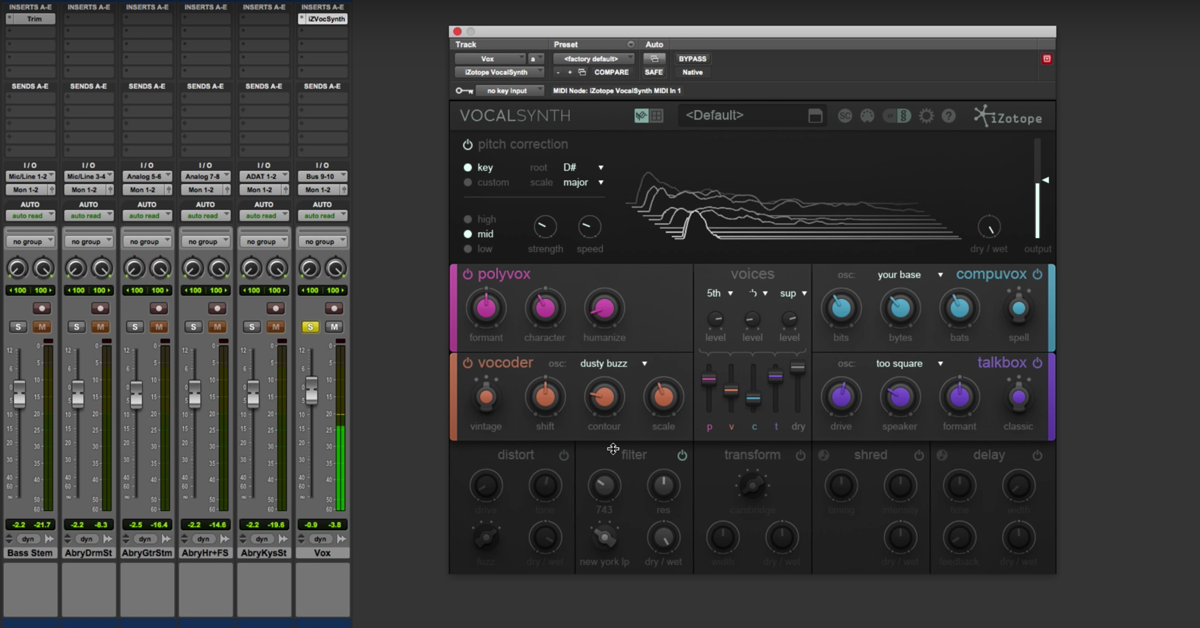
iZotope Iris 2 & Vocalsynth 2
I use Iris 2 when I want to quickly load in one of my own samples, play it on a MIDI controller, and sonically manipulate it. Vocalsynth 2 is my go-to for when designing the sound of robotic voices.


Arcade by Output
Arcade is my favorite virtual instrument that was released in 2018. The GUI is stunning, and the playability provides instant inspiration. It’s a loop-based instrument that is being updated regularly, and it even allows you to load in your own sounds. I use it for sound design and music production, alike.

Arturia V Collection
Arturia has done a wonderful job in recreating the sound and feel of over a dozen classic keyboard instruments. It’s a veritable history lesson on synthesizers and is a great starting point if you’re hoping to learn about the basics of synthesis.

Diegetic vs. Non-Diegetic Sound
Diegetic sounds are the ones that characters within the world of the film can hear — or at least it’s implied that they can hear them. Characters speaking to each other, everyday sounds like traditional room tone/ambience, footsteps and character movements usually fall within the diegetic category. I stress the word ‘usually’ because filmmakers are always finding unique and creative ways to play with the diegetic/non-diegetic balance.

Ready to elevate your ears?
It doesn’t have to take years to train your ears.
Get started today — and you’ll be amazed at how quickly using Quiztones for just a few minutes a day will improve your mixes, recordings, and productions!
Non-diegetic sounds refer to elements of a films’ soundtrack that the characters are unable to hear. Underscore — music used to establish mood, to give a character a sense of theme, or to punctuate visual cues would serve as non-diegetic sound.
A famous and supremely effective piece of non-diegetic music is the Jaws theme, composed by John Williams. It serves as a compelling tension builder, as we usually hear the theme alongside smooth, underwater footage meant to be from the perspective of the shark. We, the audience, know that when the theme is heard, the shark is on the hunt for an unsuspecting victim. We know something that the characters don’t, and it creates an incredibly uneasy feeling. The music is certainly non-diegetic, as I imagine if any character within Jaws started to hear the menacing theme, they would waste no time in exiting the water, and we wouldn’t have much of a movie.
Music, effects, and dialog can sometimes dance between diegetic and non-diegetic, and it’s essential to understand the two perspectives, and how to use them most effectively when working on sound for visual media.
There are many, many tools and techniques that go into effective sound design for visual media, and the art form itself has a rich and interesting history. I would say that these aforementioned tips are a good starting point if you’re hoping to get into designing sound for picture.