31 Microphone Tips from Recording Hacks
09/8/2011
Article Content
Here are 31 tips from Matthew McGlynn of recordinghacks.com:

Ready to elevate your ears?
It doesn’t have to take years to train your ears.
Get started today — and you’ll be amazed at how quickly using Quiztones for just a few minutes a day will improve your mixes, recordings, and productions!
ADVERTISEMENT
- *Listen*. If the track sounds like crap, move the microphone.
- Omni mics don’t necessarily mean “bleed.” Try one up close. No proximity!
- If a client blows into a mic to test it, immediately explain that that’s bad for the mic. While beating him with it.
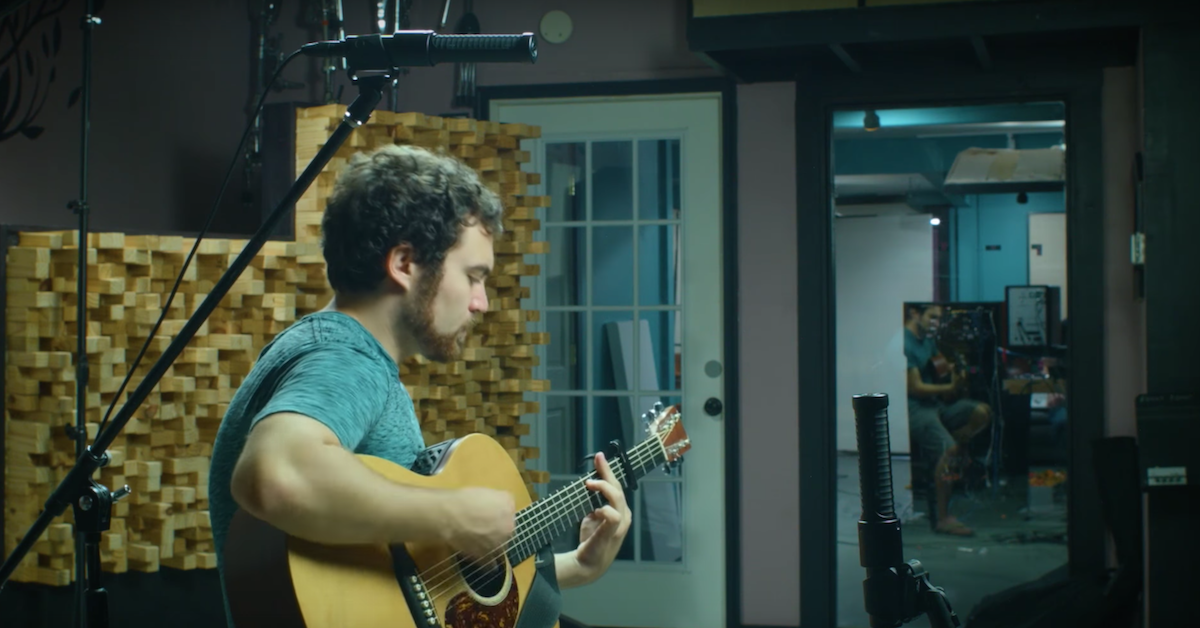
- Put a fig-8 mic under the cardioid on acoustic guitar. Mid-Side = instant free stereo ambience. Adjust to taste at mix time.
- Put a second mic 10′ away from the cabinet or acoustic instrument, for ambience.
- Need a tight, ‘poppy’ kick sound? Try a boundary mic: crown PZM or Shure Beta 91A on a pillow inside the drum.
- Fix the room. Make all your mics sound better.
- Buy cables with 90-degree female XLR ends for your end-address snare and tom mics. The drummer will thank you.
- Try bringing the vocal mic in from above, nose height, angled down. Reduces plosives and makes the singer stand up straight.
- Need more lows to thicken up a guitar? Try a ribbon mic. Proximity can be your friend.
- Check phase coherency of kick, snare, and OH mics *before* you record.
- Life is too short for crappy cables.
- Tracking a band live? Dynamic mics will pick up much less bleed/ambient sound than condensers.
- Bulk mic cable costs $1/ft. Commercial XLR cables cost $1.50-2.00/ft. Learn to solder!
- Most inexpensive condensers have funky off-axis coloration. Consider what unwanted EQ this brings to your track. Or buy nicer mics. ; )
- Watch the drummer play before you set up mics: see where not to put them!
- Still getting too much bleed in the vocal mic? Try a Shure SM7B: 19dB rear rejection! (shootout here)
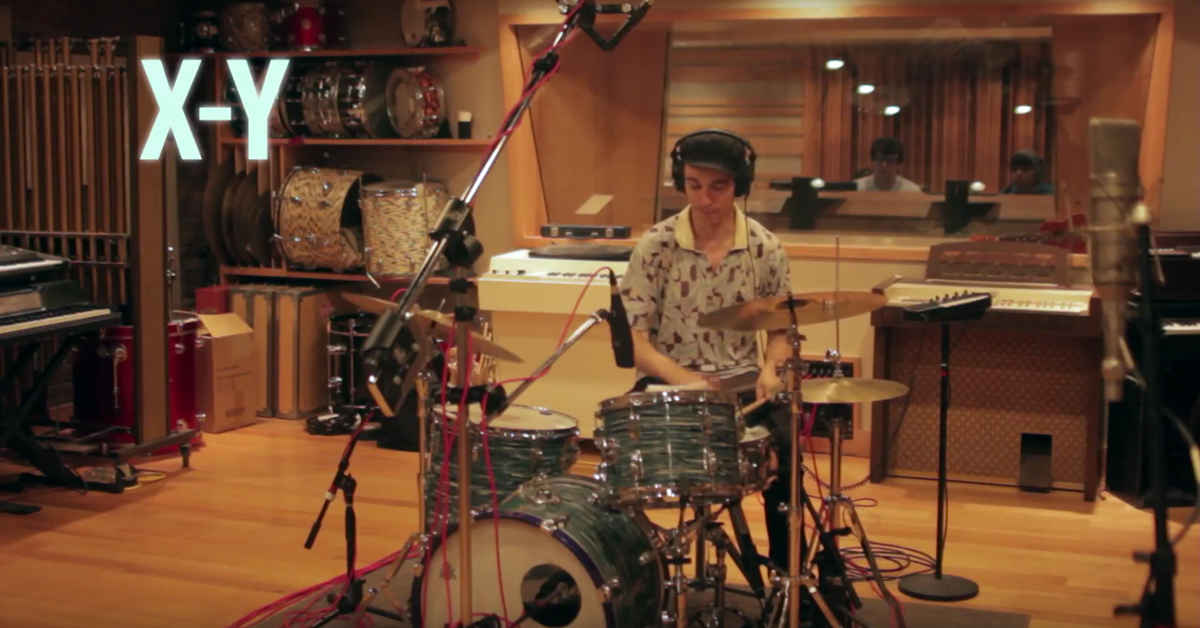
- Get stereo mic mounts for XY, MS, and ORTF. Using just 1 stand for these pairs is SO MUCH easier than using two.
- If the room sound isn’t great, keep the drum OH mics low to increase the ratio of direct to reflected sound.
- Have at least 1 very clean, high-gain input channel for your dynamics & ribbons. (Or, get one of these)
- Very few microphones “suck.” But lots of placements do. (And some engineers, too.)
- The magnets in ribbon mics will attract harmful “tramp iron” if left exposed. Cover or case them when not in use.
- There is 1 indispensable tool for finding the best mic position for ANY source. (Hint: you have 2 of them.)
- High-pass filter the guitar track you’re re-amping, esp. if the cab is close-miked. Proximity + subharmonics = mud.
- Amateur drummer? Put OH mics high, & cheap dynamics close. Save the grief of an errant stick taking out your best condensers.
- Just because you can pound nails with your vintage Electro-Voice dynamics doesn’t mean you should do it.
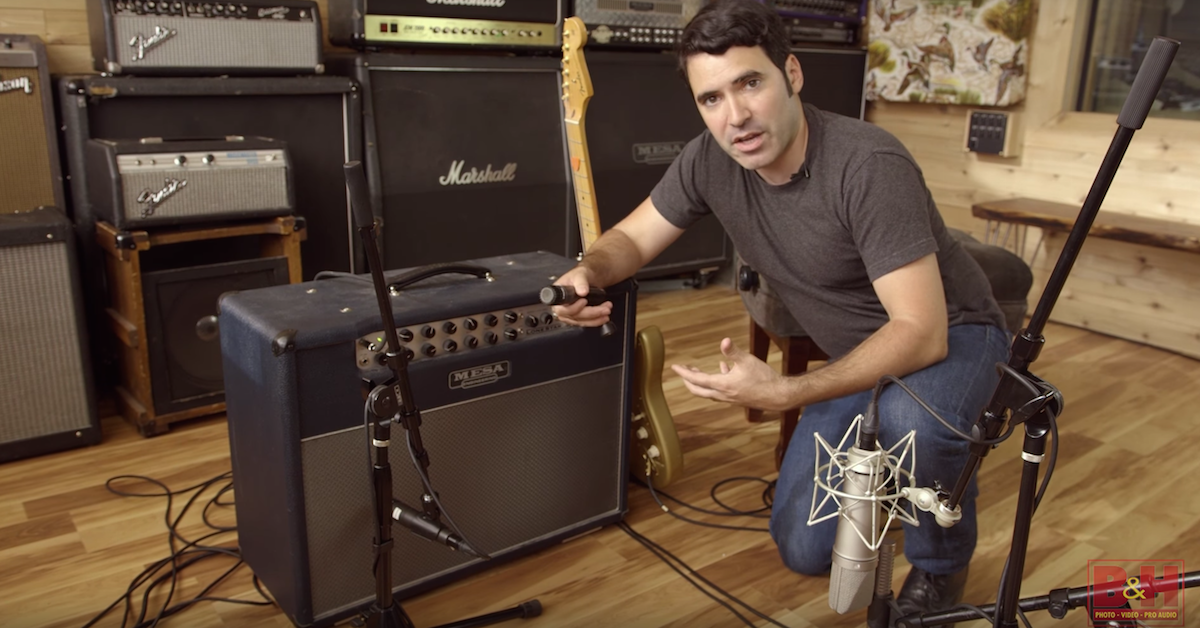
- Your cab’s speakers probably do not sound the same. Record the one that sounds best.
- For quiet acoustic instruments, stay away from high-self-noise condenser mics.
- Hang your tube mics upside-down for long sessions, so the tube heat doesn’t cook the diaphragms.
- Point the 90-degree nulls of a fig-8 ribbon at nearby instruments you don’t want to record: better isolation than a Cardioid mic.
- Use a pop shield to enforce a minimum distance between the singer’s mouth and the microphone.