Tips for Producing Lo-Fi Music
07/14/2021
Article Content
Low fidelity or “lo-fi” music has roots that are difficult to pinpoint. If we go by the literal definition of fidelity — the degree of exactness with which something is copied or reproduced — then lo-fi music can be defined as music captured without precision. What muddies the waters here is how recording technology has improved since its invention. It’s now cheaper and easier to accurately record music without the sonic artifacts introduced by analog tape. As a result, heavily saturated & noisy mixes with audible tape edits and imperfect performances are relatively easy to avoid. Additionally, the quality of samples and virtual instruments has become about as “high fidelity” as it gets, with VSTs and sample libraries being created in world-class studios, enlisting the talents of some of the best musicians available. Because of this, today’s bedroom recordings are arguably less “lo-fi” than the most expensive and best-selling records of decades past. Some of my favorite recordings by bands including The Beach Boys, The Beatles, garage rock heroes The Kinks (and plenty of other artists that had access to top-of-the-line studios and engineers in their day), would certainly be considered lo-fi if they were recorded exactly as they were and released today.
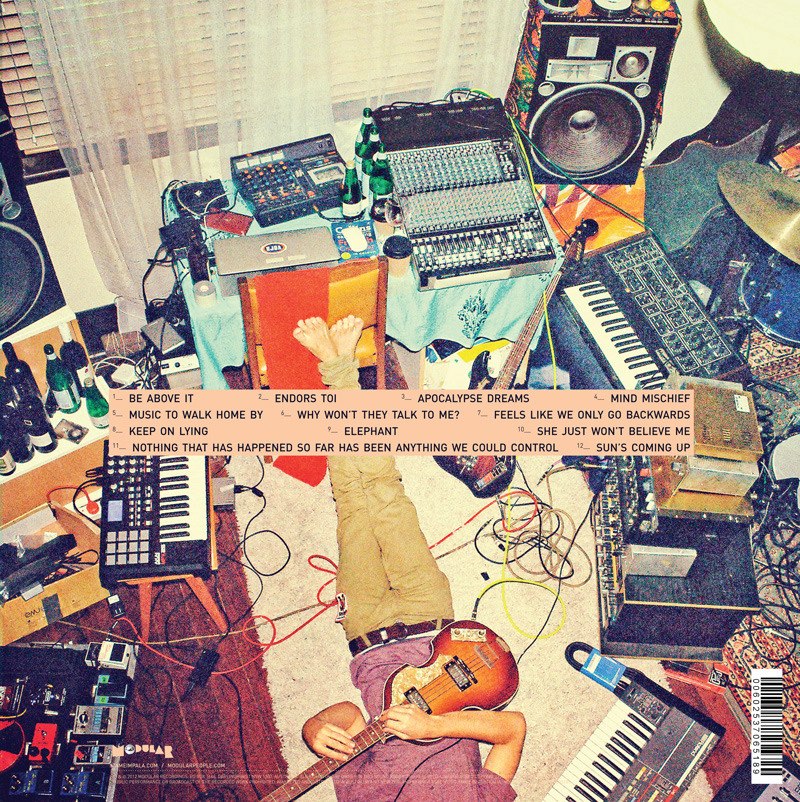
The back album cover from Lonerism by Tame Impala, a band that simultaneously sounds well-produced and Lo-Fi.
In this article, I am going to cover some of my favorite techniques and tools that can be used if you want to give your productions a “lo-fi” quality. Before I go more in depth, I’d like to make a general statement that I’d like you to consider: lo-fi is more an attitude than it is a genre. It’s about not overthinking during the creative process, using the technology you have at hand and not taking a moment to lament that you’re not a virtuoso musician.
1. Don’t Use a DAW
I am well aware that this first piece of advice isn’t practical or cost effective, but hear me out… My first recording device was a 4-track cassette tape recorder made by Yamaha, and to this day I regret selling it. Its overdubbing capabilities were limited — you could bounce tracks 1-3 onto track 4, and then record onto them again, but it was nothing like the seemingly unlimited track counts available in modern digital workflows. I regularly mix songs with well over 100 tracks, and my iMac loaded up with Pro Tools doesn’t bat an eye. The sound quality of the Yamaha was not nearly on par with my current UAD Apollo, either. It was a bit noisy, had an inherent timbre due to cassette being the recording medium and didn’t come with plugins, per se, unless you include the auxiliary sends and returns that could be used to incorporate hardware processors.
All that said, my 4-track had a lot of character, and I honestly miss the process of making recordings with it. Today, used cassette recorders from companies including Tascam and Yamaha can be purchased from sites like eBay or Reverb. Interestingly enough, the prices of these pre-owned units have consistently risen over the past few years, with the average sale value of the TASCAM Porta 02 Ministudio 4-Track Cassette Recorder having doubled in price since 2018. There is something exciting about the limitations of the medium, and it’s clearly resonating with music makers.
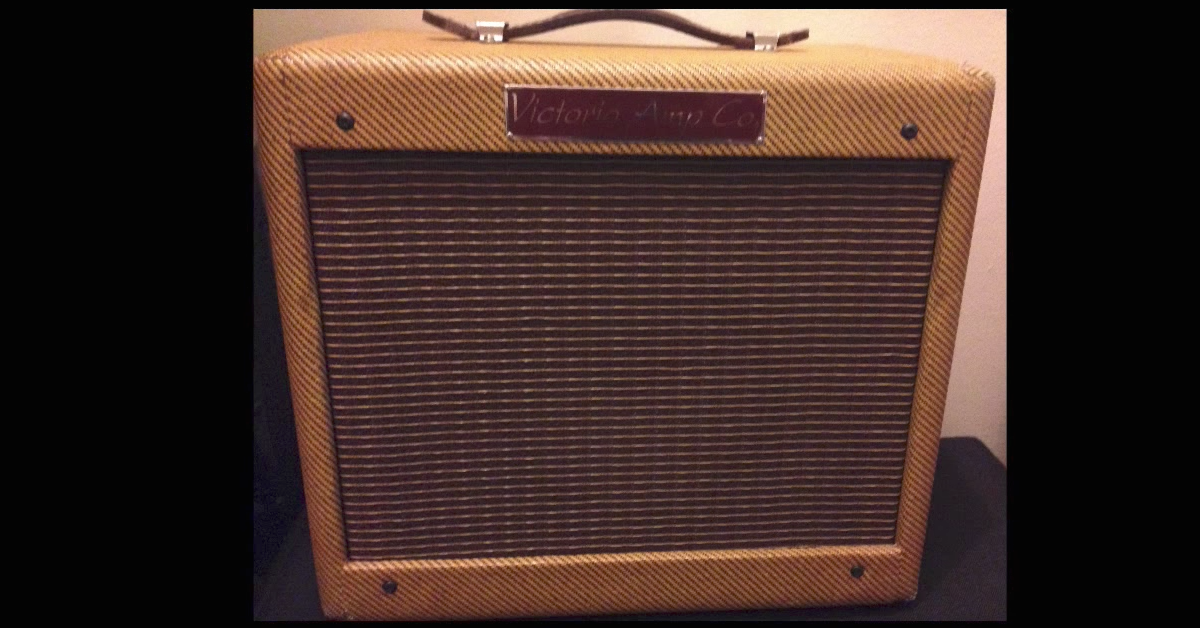
For an understandably higher price, used reel-to-reel tape decks from companies including Fostex, Sony, and Akai can be purchased as well. The learning curve on these types of units is steeper and the maintenance and cost of tape is more expensive, but these units provide sonic and practical dividends. Plus, from a purely visually aesthetic perspective, a reel-to-reel looks like a cool piece of furniture, and anything that adds inspiration to a studio space has value.
You don’t need to move to an entirely analog-based workflow to reap the benefits of tape. It’s not uncommon for producers to either track onto tape and then dump the recordings into a DAW, or send signal out of a DAW onto analog tape to impart the sonic characteristics of the medium, ultimately bringing those tracks back into their DAW of choice. I would never switch from Pro Tools to using tape exclusively, but I admit that I miss the tactile qualities of creating with a DAW-less workflow. I’ll stop short of claiming that any plugin can perfectly capture the sound of analog tape, but there are many great tape emulator plugins on the market, and I use them often for the tonal and dynamic benefits of tape — without the cost and hassle. I’ll cover a couple of my favorite tape emulators closer to the end of this article.
2. Musical Imprecision Is Okay, Maybe Even Preferred
When producing in a lo-fi manner, it’s more important to capture the feeling of the performance than it is having the performance be technically perfect. Heck, I’d argue that is a truthful statement across all styles of production, but you can afford to push the envelope with the concept especially when producing lo-fi. Perhaps a note (or several) were played a bit ahead or behind the beat. Maybe you completely flubbed a line when laying down electric guitar. Or maybe when singing you were slightly flat on a few notes, but in a way that is vulnerable, not awkward. All of these aforementioned scenarios are the essence of lo-fi music. The imperfection is part of the style, so when recording, don’t obsess on getting it right. Focus on getting it feeling right, even if it’s musically wrong.
I still use comping (compiling tracks) when producing lo-fi, but when the recording is said and done, I focus on using the take (or parts of the take) that sounds the most interesting, warts and all — guitar feedback squeals, snare drum hit inconsistencies and general rhythmic imperfections don’t bother me. I’m not trying to impress virtuosic musicians, I’m trying to create something raw, engaging, and honest.
Virtual instruments and creating using MIDI are such a huge part of modern music production. While they certainly have their place in all genres, including those that benefit from “lower fidelity,” it might take a bit of finessing (or restraint) to get musical elements created with these methods sitting right. Avoid over-quantization when programming MIDI parts, instead opting for lower values. Additionally, try to utilize dynamics by editing the velocities to take full advantage of your sample libraries. If you’re programming acoustic drums, there isn’t anything less “lo-fi” than drums quantized perfectly to the grid with uniform velocities the entire time. For more tips on how to make MIDI sound more human, check out this article.
3. When Recording Live Instruments, Noise, Bleed and Saturation Are Your Friend
Just as musical perfection takes away from the perceived “lo-fi-ness” of a production, the same can be said about recording techniques. Since we are aiming for low fidelity, embrace whatever signal path you have access to. Worry not about microphones, preamps and outboard gear. In fact, you might be better served with a cheap microphone than one that breaks the bank. If your equipment hisses, buzzes or rumbles, that’s no issue. In fact, you might want to incorporate some sonic imperfections to prevent your recordings from being too clean.
Rock bands like The White Stripes and The Black Keys do a great job of sounding like a band in a room — there is a believability to their recordings. If you’re a one-person show/bedroom producer striving to achieve a band-in-a-room sound, don’t be afraid to use the sound of your bedroom/space to your advantage. Try using 1 close mic and 1 room mic per sound source, blending the two so that the separate parts sound more cohesive when placed together. Utilizing the sound of your room, whether or not it is perfectly designed and treated, will result in a more authentic sounding recording.
On a lo-fi project I produced years back, I used a typical studio workhorse condenser microphone when tracking, but also employed a handheld dynamic microphone which I then re-amped (in another room) during recording. The condenser mic provided the detail, clarity and warmth that you’d expect, and the dynamic mic created a gritty, dark, semi-distorted, kind of harsh tone that proved useful during mixing. On its own, the dynamic mic signal wouldn’t have cut it, but within context, it was exactly what was needed.

Ready to elevate your ears?
It doesn’t have to take years to train your ears.
Get started today — and you’ll be amazed at how quickly using Quiztones for just a few minutes a day will improve your mixes, recordings, and productions!
If you weren’t there at the recording session and are simply the mix engineer, there are still plenty of ways to “dirty up” signals. I regularly re-amp tracks — sending them out of my DAW into one of my several guitar amps, then miking them up and blending these recordings in with the original signal(s). All sorts of signals work here — vocals, close miked drums & room mics, keys, DI bass and electric guitar, of course. Sometimes I’ll push the amplifier to introduce some overdrive, and I might even use a bit (or a lot) of spring reverb to give my sounds a washy quality.
As a guitar player, I’ve also got a collection of pedals at my disposal that I’ll run tracks through after they’ve been recorded. The Colour Box V2 from JHS Pedals was designed to emulate recording DI through a Neve console (nothing less lo-fi than a Neve, but I digress…), and it is so much more than a guitar stomp box. It features both an XLR and a ¼ inch input, so it can be used with a microphone in addition to a guitar/instrument. Its sounds range from subtle saturation to absolute filth, and I have a great time using this gorgeous-looking (and sounding) pedal in a number of ways when recording and mixing. I’ve used it on drums, vocals, synths and several other non-guitar sources, always to great effect.
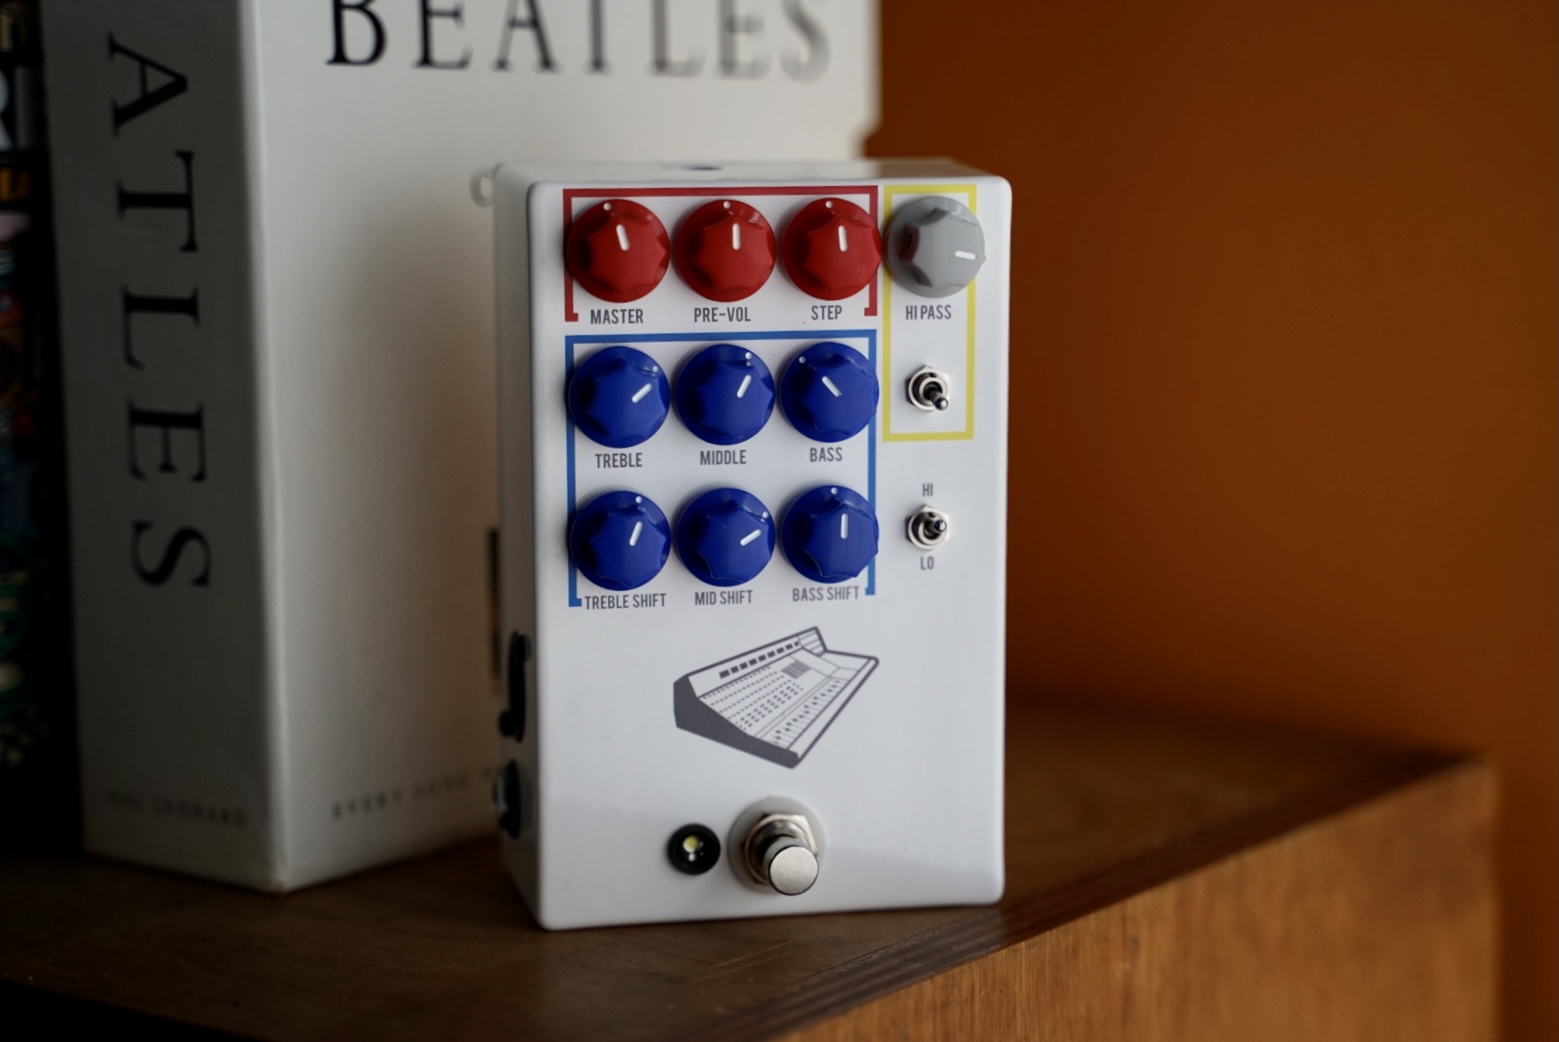
The JHS Colour Box V2
I also have an MXR Dyna Comp compressor pedal. It has served me pretty well over the years to even out the dynamics of my guitar playing, but recently it’s gone a bit haywire — it’s super noisy, and even on very low settings it compresses a lot more than it should. Rather than try to fix it or throw it away, I’ve decided to simply live with it. It utterly squashes whatever I run through it when the sensitivity knob is turned past 9 o’clock, and that’s kind of cool. It’s got character and offers me a specific sound that very few other engineers/musicians can (or would even want to) obtain in their productions.
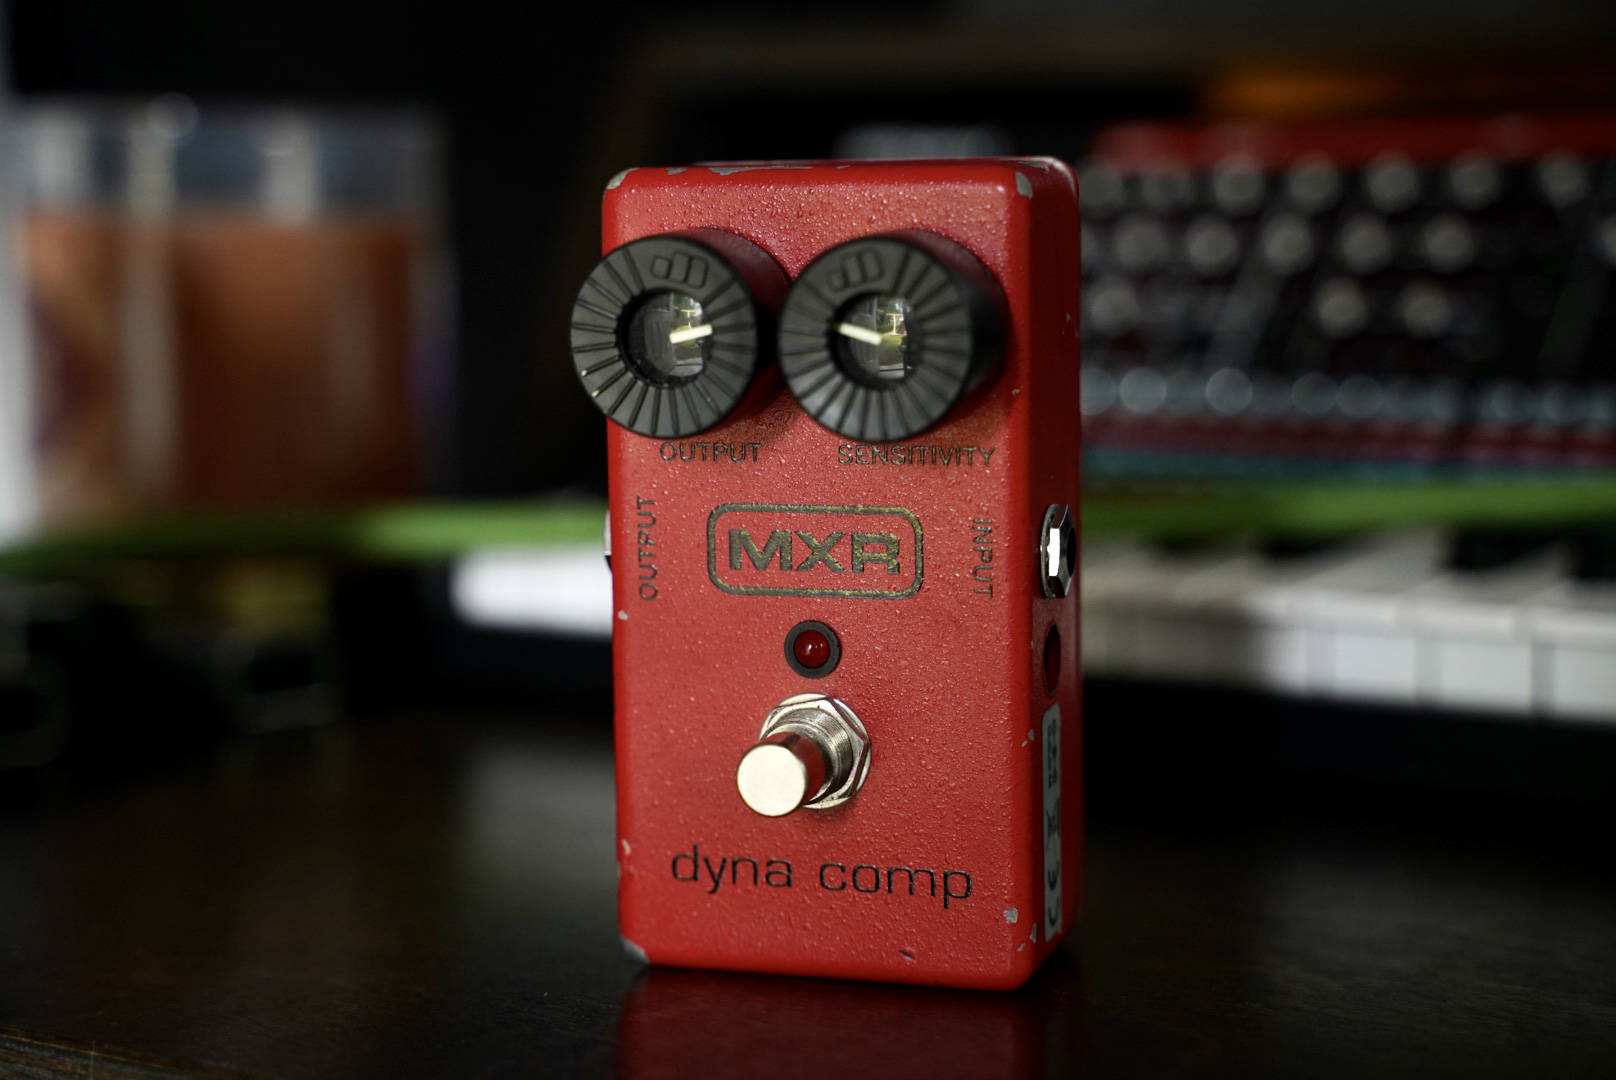
My “busted” MXR Dynacomp
Running tracks through my amps and pedals and re-recording them adds a three-dimensionality to the sounds — there is something about sending sounds outside of the computer and through circuitry that makes them seem more “alive.”
4. Commit, Commit, Commit
One of the better pieces of advice I’ve received in my career is to make do with whatever you’ve got at hand, and part of that is making commitments during the recording and mixing process. While I like the idea of recording a DI electric guitar signal along with whatever mics are setup in front of the amplifier, that practice doesn’t really jive when you are using a lo-fi approach. Sure, it’s nice to have on hand if you are hoping to re-record the part with a new amplified tone somewhere down the line, but what you’re really doing is creating another decision that needs to be made at some point. Lo-fi production, to me, is about lovingly accepting the flaws of the moment and moving forward onto the next task. Recording aside, it sounds like a nice mantra for a happier life, doesn’t it?
5. Favorite Plugins
Here’s a roundup of some of my favorite lo-fi plugins.
Eleveate Your Ears