The Anatomy of Audio for TV Commercials
Article Content
Post-production audio for television has evolved over the last 20 years just as every other field of professional audio has in that time. The history and each part of the process could and in some cases do merit complete articles or even books about them.
This article will give you a quick overview of the entire process:
The Shoot
The actual commercial shoot is handled by a production company, who (in partnership with the advertising agency producer) hires the sound recordist/location mixer. This person is responsible for 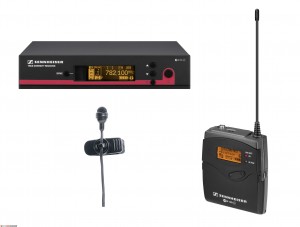 capturing all the location audio. These days, a combination of shotgun and wireless lavalier microphones are used to record to a multi-track digital machine, such as the 744 recorder (pictured here). Using such equipment, each microphone is recorded to its own discrete track; simultaneously, the location mixer also creates a two-track mono, or two-track stereo mix of all the microphones being used. This mix is then routed to one, or all of the cameras on set. The editor will use these two, rough mixed tracks of audio during the editing process. This audio may frequently contain quality problems that the discreet “production tracks” on the multi-track recorder do not have, but they allow the editor to hear all dialogue that was recorded. Also on set, timecode information is fed from one master source to the audio recorder, the smart slate, and all the film and video cameras on set.
Telecine—Film Workflow
Productions shooting traditional film then need to have their film negative developed. Following that, all the developed film neg is then transferred to video tape (digiBeta, mini-DV, etc) with it’s corresponding audio, through a process called “Telecine” (pronounced teləˌsinē). The audio used in the telecine, to generate these “dailies” tapes, is the aforementioned rough mix that was generated on set. In cases where the film was shot at 24 frames per second, a “pulldown” process is utilized on the picture, in order have the 24 fps film run in sync on a 29.97 fps standard def digiBeta (or 59.94 fps high def D5 tape).
The editing company responsible for the off-line edit, then loads (or digitizes) all these dailies tapes into a video editing system at a resolution that will look acceptable to their client, the advertising agency, but not take up an excessive amount of hard disk space.
File Transfer—Digital Cinema Workflow
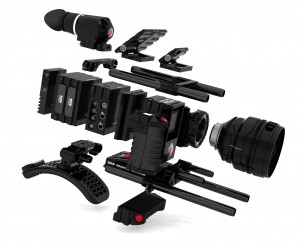
As time passes, more and more commercial productions are utilizing digital cinema cameras (such as the Red Camera, and others) that have made film, and therefore the telecine process unnecessary. Rather than recording images to a strip of film or cassette tape, these cameras generate large, high-quality, digital video files. In this workflow (instead of “dailies” videotapes) “proxies” or smaller, lower-quality conversions of these large master video files are generated for use during the offline edit. These proxy files are smaller, and therefore more manageable to deal with; but they have the same file names and timecodes as the master files they were generated from. This is important later in the process, when the rough cuts are approved, and final picture needs to be created.
The Offline Edit
Eventually, all these dailies video tapes, and/or proxy video files are delivered to the editorial company, where an assistant editor loads this footage into a digital video editing workstation (such as Avid or Final Cut).
Then the offline editor, working with the agency creative team, can start culling down the footage, creatively experimenting with different options, and generating the best cut possible. Indeed, many different versions of :60, :30, and :15 second commercials can be created from one shoot; and the ad agency (and their client) may want to pursue, and ultimately finish any number of spots.
As mentioned before, the audio being used during the offline is usually the two track real time mix that was generated on-set by the production mixer. This work audio may, or may not, also contain discrete microphone signals (if only two or less microphones were used on set). Many times, the “dailies” mix audio is perfectly fine to use as an element for the final mix. However, whenever more than two mics have been used, when noise or phase problems are suspected, or when any other quality issue or question arises; the original production audio tracks should be loaded from the production audio source. Not too long ago, this meant loading audio from the production DATs (digital audio tapes) but nowadays more frequently, this audio exists as files on data DVDs. These DVDs contain the original audio files from the multitrack digital recorder that was used on set. These BWF audio files may contain time code and other useful metadata that can help on projects where many audio files exist. These production files are discrete recordings made directly from the microphones, and are not mixed together with other sources. They are the highest quality sources available for the mix. Not many audio workstations have the ability to auto conform audio from the offline editor’s EDL, or “edit decision list.” So, in the case of television commercials, the easiest way to complete this task is to ask the assistant video editor to take care of it. On larger productions and films, the audio team should have the capability to do this themselves (which will involve using a third party application such as Katy).
The Record and Mix
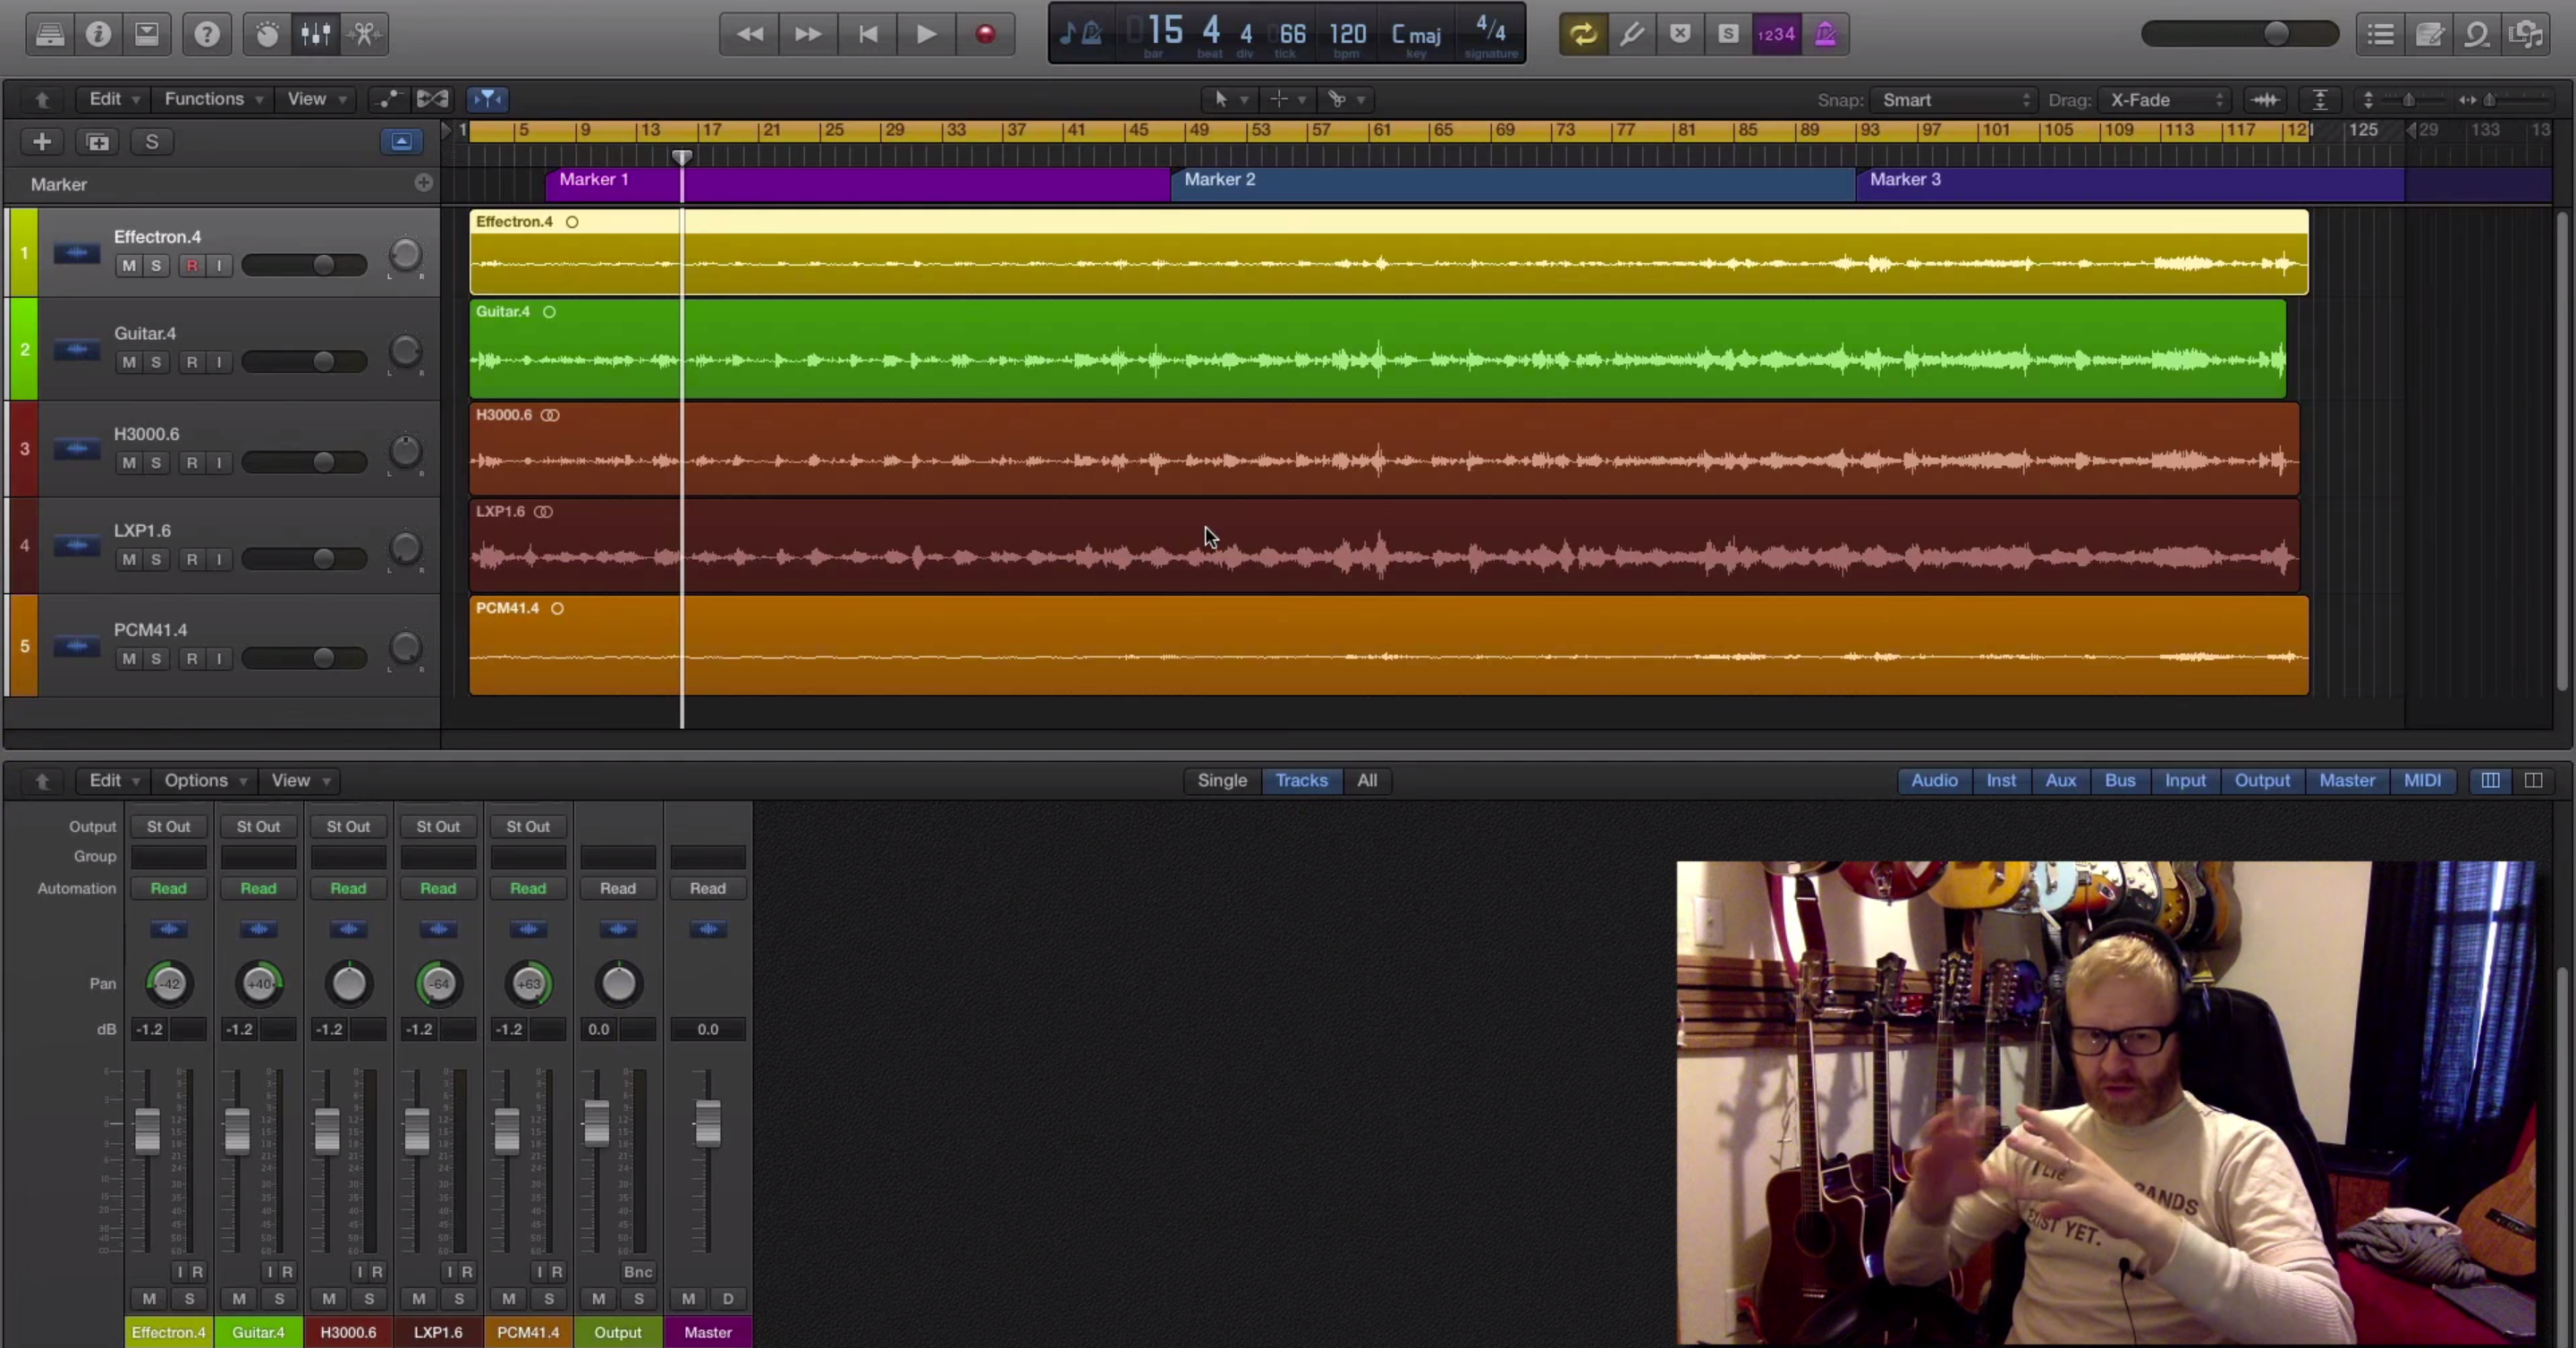
The editor and the agency creative team will eventually have a client approved cut of a spot. This rough cut will include location dialogue, temp or final music, and sometimes temp or final sound effects tracks. The assistant editor will then make an OMF or AAF, which will contain all the audio tracks used during the offline. They will also generate a rough cut picture guide, which will come in the form of either a video file (most likely a QuickTime) or a layoff to tape (usually digibeta). If the picture guide is an .mov file, make sure that it has been generated using specs compatible with your DAW. Also, The OMF or AAF for a mix must contain embedded audio only, and no video files, in order to be compatible with today’s audio workstations.
The audio mixer will then load all these materials into his, or her DAW. Don’t wait until the time of the mix session to make sure that the OMF or AAF opens properly, and that the video has been formatted correctly for the DAW you are working on. Advertising sessions charge more per hour than most other types of sessions, and actors may be waiting in the lobby. This could be a costly error if your session is delayed, and it wont matter much who made the mistake in prepping the job. Try to get the elements far enough ahead of the session so that there is time to correct whatever problems pop up.
Sync between the reference audio on the video rough cut should be checked against the audio files that are imported from the OMF to make sure that all the audio files (dialogue, music, sfx, etc.) were correctly included and placed in the OMF. If needed, announcer voice-over is recorded in the mix session, and (in some cases) actors may be recorded in the studio to replace on-camera dialogue. This process is similar to ADR done for films, except the software and documentation used for this type of session is much simpler, since the amount of work involved is not as extensive as that done for a film. A music house/ composer may deliver final music, or the mixer may have to edit a selected music track from a stock music library. Many times, the video editor has already done a final music edit, and these elements are included in the OMF. Sound design may have been completely or partially done during the offline edit, and this would also be delivered in the OMF. Correspondingly, the mixer may need to create, or supplement the sound design during the session.
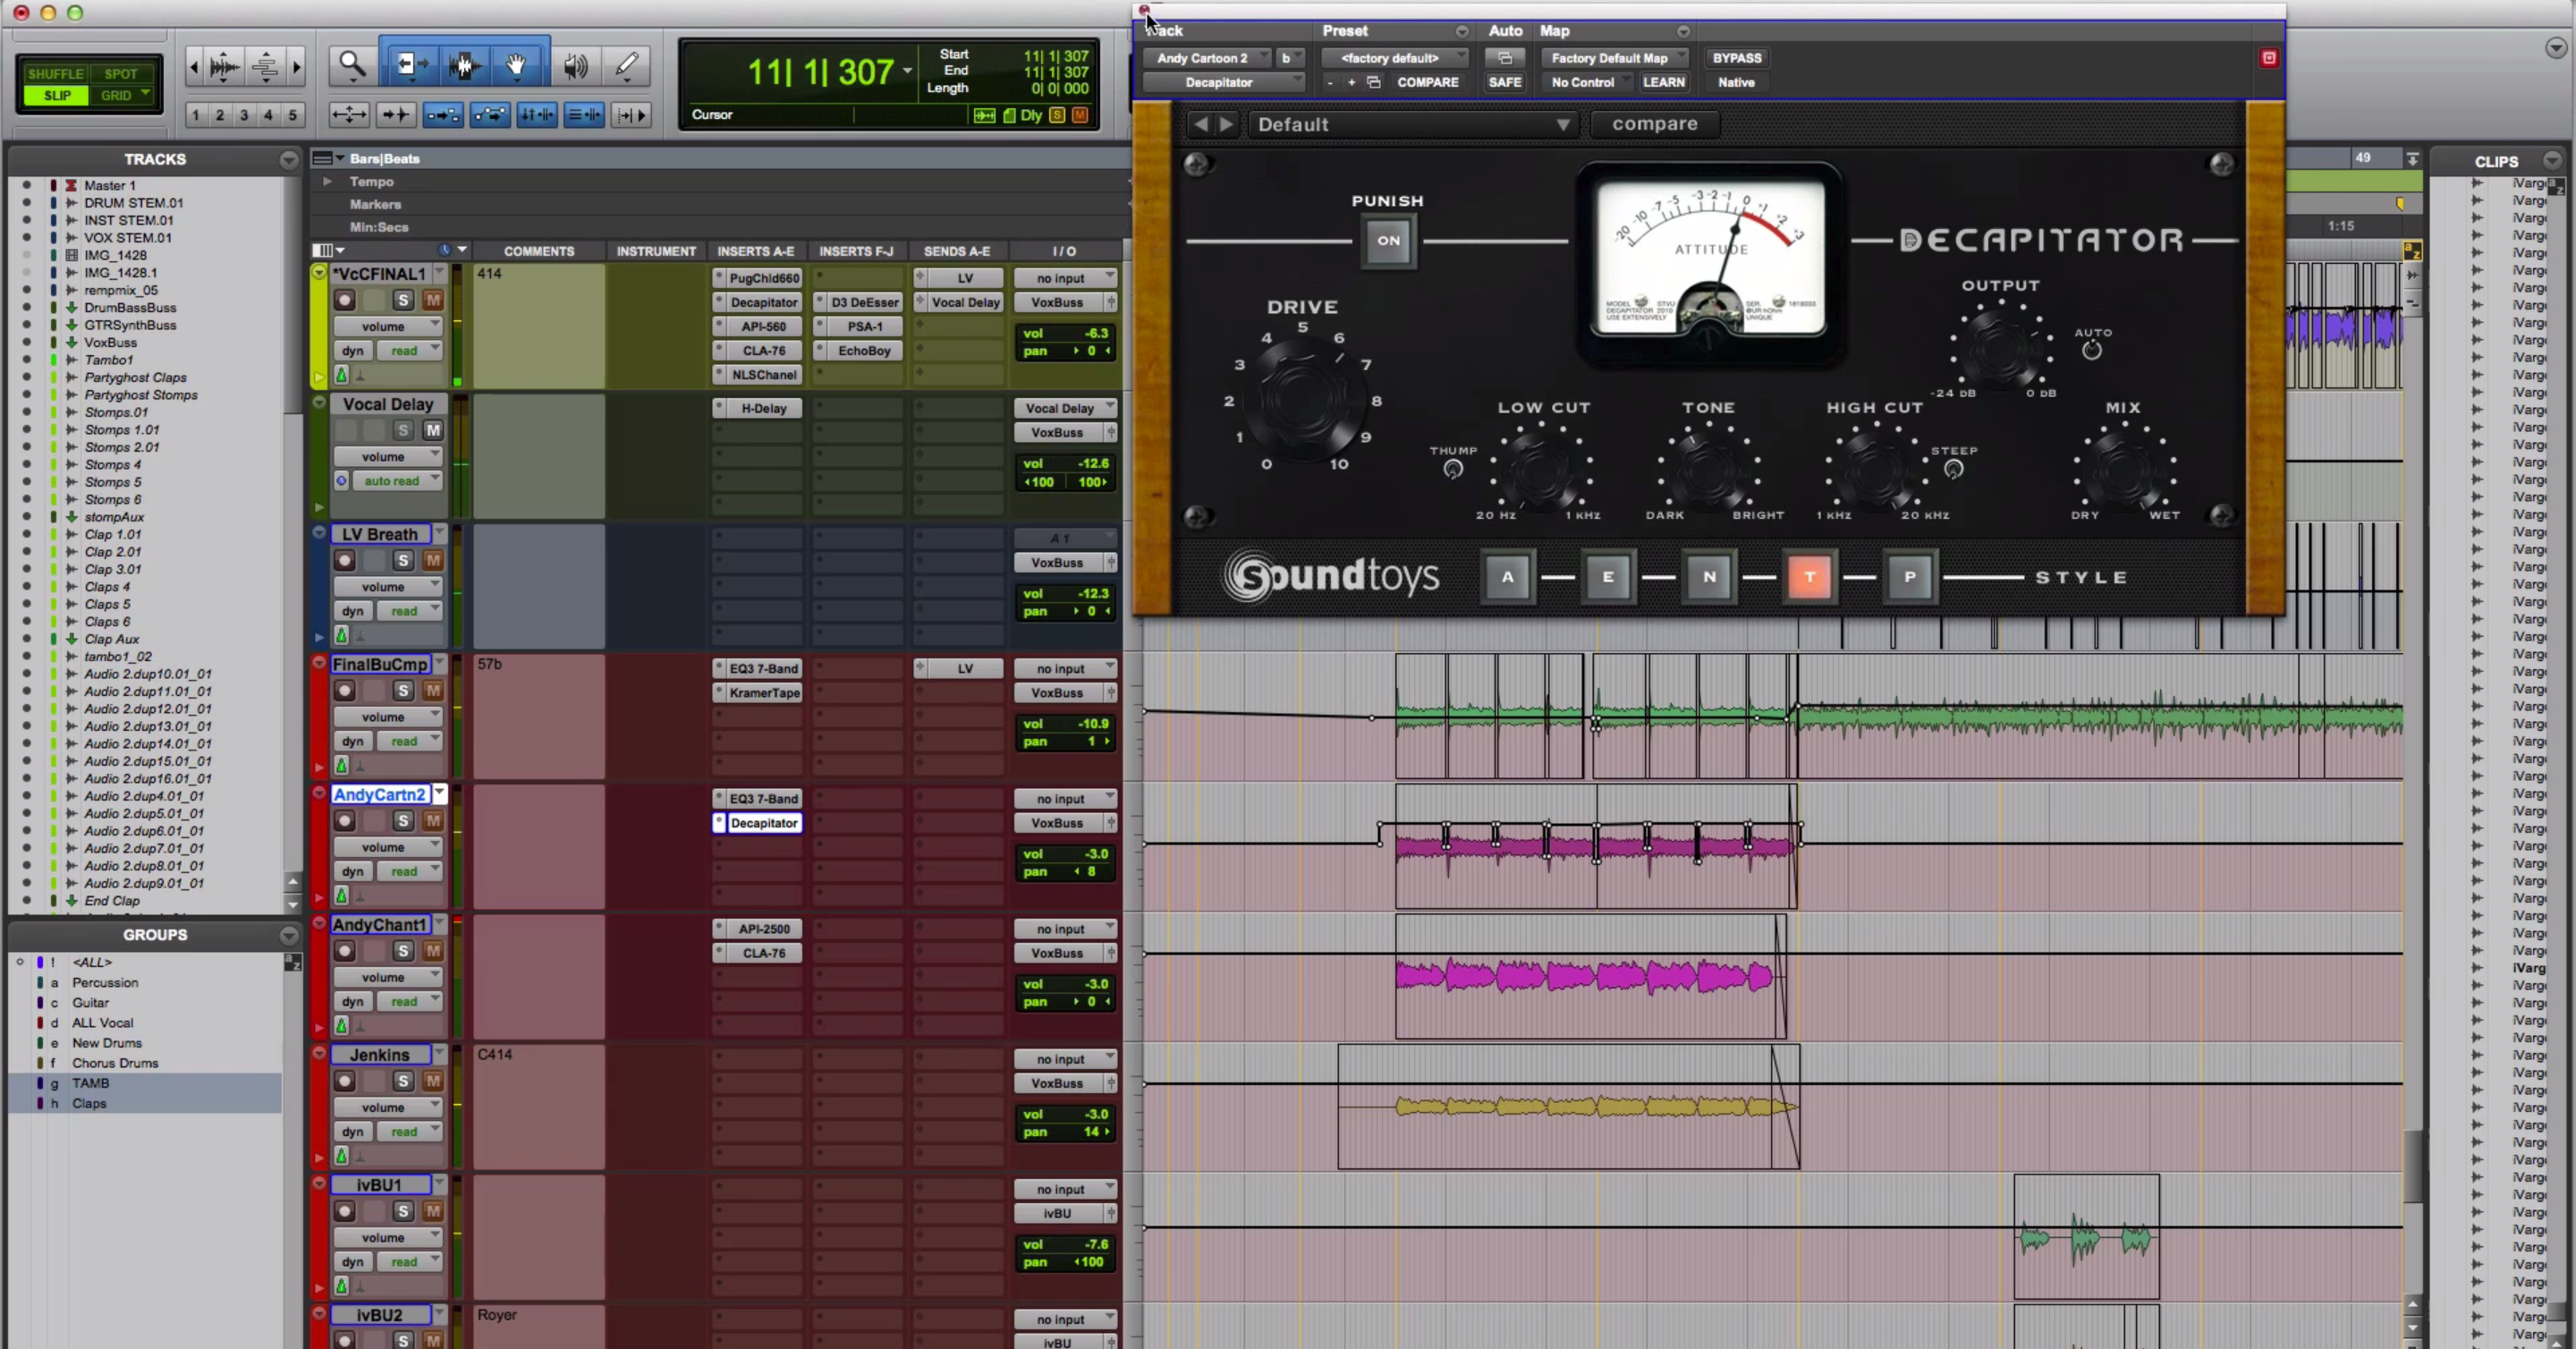
Once all of the final audio elements are present, the mix engineer will undertake the task of combining everything in the mix. A mix for television broadcast is a very different animal from a mix for popular music (CD, .acc, .mp3, etc.) Strict adherence to specific peak and average levels for broadcast must be observed; with special attention paid to clarity of voices and audio/ visual synchronization. The answer to the question of “what level to mix at?” is both a simple one and a complicated one. Everyone knows of the complaint that commercials are too loud. I feel it is a combination of the standards currently in place, and audio mixers who cheat more than a few decibels above the standard that create this situation. Other techniques, such as EQ and aggressive compression used in a broadcast mix, also change the subjective loudness. A new standard that has been around for a while but is slowly starting to be implemented is ITU-R BS 1770. Already in use by some networks, this standard will level out the playing field and hopefully allow all those set top decoder boxes to adequately do their job. It will however require new metering equipment for studios not yet adhering to it. Congress has also gotten involved with their own legislation (as though they didn’t have more important things to meet about).
Finally, remember to check the exact length of your mix, anything over the length of the commercial will get cut off, or worse get rejected or flagged by the dubbing house; which could be personally embarrassing, and potentially expensive.
Mixes these days are stored as 16bit or 24bit interleaved multi channel files at 48KHz sample rate with two seconds of black (blank) audio at the head and a 2 pop (sync tone). Any file naming convention that is clear and makes sense will work and in the case of a six-channel surround mix accompanying track documentation is advisable. Along with your final stereo or surround mix file, a set of splits or stripes or stems is usually created. These are mixed subsets of the final mix such as: Dialog only, music only, effects only. There may be more than these three sets depending on the complexity of the mix, but these three are the minimum. Also, some splits are created “without dips,” without level modulations. You should library the mix and split files, with copies going to the editorial facility and the advertising agency. Include with these copies, any raw voice over files that were recorded at your sessions with photocopies or scans of your take sheets and notes. Backup your DAW session.
Conform
The conform is considered an on-line session where high resolution files are loaded into one of several types of workstations to recreate the editors final cut with the highest quality video available. Only the final selected pieces of the commercial are loaded at this point because the full resolution of the capture will take up a lot of hard disk space. The editor or assistant editor supplies the conformist or colorist with an EDL or edit decision list, which has been created by the Avid or Final Cut editing system. This is an automated process, though in some cases tapes will have to be manually changed and the conform should be checked against the editors work picture to make sure that it matches. This is especially important where on-camera dialogue is present because the dialogue will seem out of sync if anything has slipped even a few frames. Believe me, in the end, all eyes will look to you for an answer to why the dialogue looks out of sync even though it may have matched the work picture that you mixed to. As long as both the mixer and the picture conformist (smoke operator, etc.) match the rough cut, to the frame, everything will be in sync when the final picture and the final audio mix are combined.
Once in a while, the conform has already been completed by the time the mix is undertaken. In this case, a compressed QuickTime of the final video may be used to mix to. This is ideal, however it only happens about 30% of the time. At Outside Edit, the editors, graphic designers, colorist and audio mixers are under the same roof and so we enjoy a lot of latitude when it comes to prepping, asking for additional mix elements, and checking the mix to final picture. Everything more or less can happen with the blink of an eye and the clients can have two or more parts of the process happening simultaneously. This is not the norm.
Layback
Layback is where the final picture has been transferred to some type of digital tape, and the audio is then relayed (or recorded) in a separate pass to the tape by the audio mixer. This will require a working knowledge of a few tape machines currently in use as well as the synchronization abilities of your specific DAW. The audio is relayed to the tape on the proper tracks, at the proper levels, in sync. After the relay, each and every spot on the tape should be watched to check that all of the above has been done correctly. Once you are sure you have a perfect master, have someone from the agency creative team take a second look with you in order to get their stamp of approval on it.
Personally, I like to give my final mix files to the picture conformist, so they can import them into their on-line machine (Smoke, Flame, etc.) That way, they can lay down the final picture and the final audio to the tape simultaneously. It does save me some work, but I also believe that the on-line machine that contains the final picture should also have the final audio attached to it. This will prevent any mistakes later on, should another master need to be made. By the same token, if any revisions to any of the titles or graphics are called for, the final audio will already be attached to the picture inside the machine. This convenience, however, does not mean that, as the mixer, you are not responsible for checking (QC’ing) the final audio layback.
Pre-production Meeting
It has honestly been a while since I have been invited to a pre-production meeting as a post mixer. I work with many of the same editors, assistants and producers, and the workflow for most commercial shoots are pretty well established. As long as I know what to expect from the editors (and I usually do), and I know what the specific deliverables are (what the specific tape and file formats are), I don’t usually need to attend the pre-pro meeting. This meeting is vital, however, for the editor, director, agency producer, and members of the production company. That is not to say that it hasn’t come up. I have been to two or three such meetings in the last year and a half that I was glad I attended. Sometimes you can throw a suggestion or two into the pre-pro process that will ultimately make your job easier when the final mix rolls around. This being said, I would recommend that anyone having the opportunity to attend one of these meetings go to it. It can only benefit you in ways that may not even have much to do with how your mix will sound. You may get a glimpse into the intended direction of the commercial so that you are a step ahead when it comes time to mix. It can also show your clients that you care about your work, and theirs; it can be good face time. If you truly have nothing to add to the meeting, keep your mouth shut, take notes, and thank them for inviting you–otherwise you may ruin it for the rest of us. If there is something mentioned that you’re not sure about (something that you think perhaps you should know) you can always write it down, look it up later, and call the editor to talk it over. Do make sure you understand the frame rate choices and delivery specs by the time you need materials from the editor.


