How to Record Acoustic Guitar: Mono Microphone Techniques
We’re going to start with acoustic guitars. First, giving you great strategies for getting an excellent acoustic guitar sound with just one mic, then we’ll move into some more sophisticated acoustic guitar micing techniques using two mics, both stereo and blended techniques, and then in the last part of the series, we’re going to look at approaches for recording electric guitar, both with a single mic, and with some multi-mic techniques.
We’ve got a great guitar player here in the studio, Sulene Van der Walt, let’s dive right in!
Alright, let’s look at some mono mic techniques for acoustic guitar. A lot of people think you have to do some sophisticated placement to get a really great, full dimensional acoustic guitar sound, but you don’t. A single microphone can really do a lot. A single microphone is generally going to be preferable when you’re working a kind of dense mix.
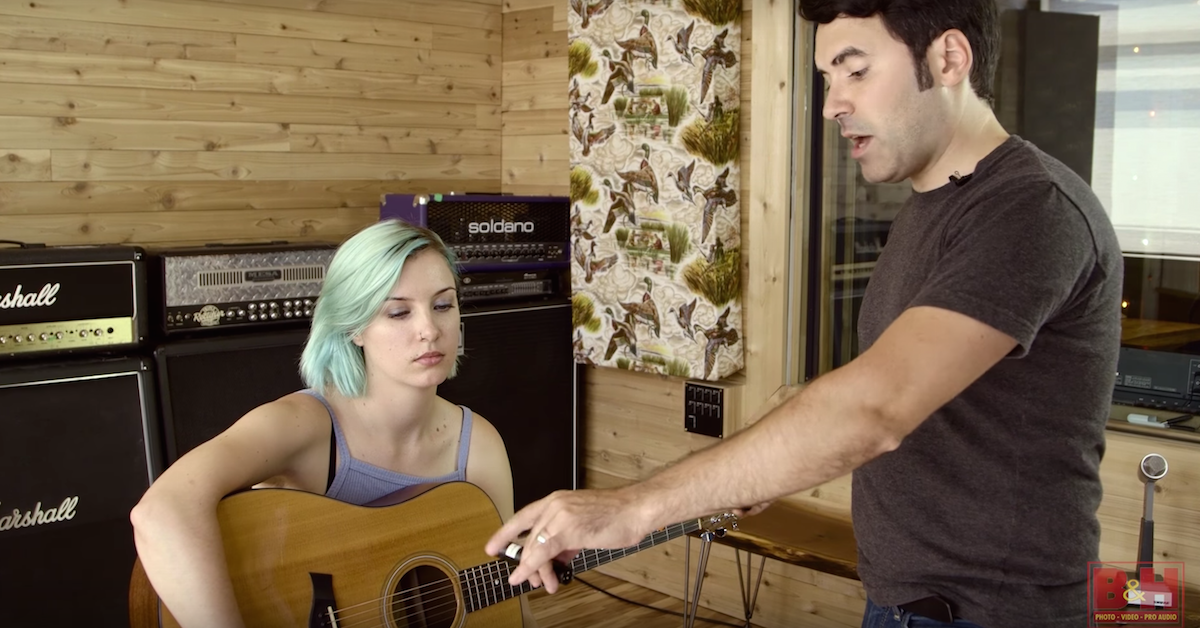
In a really dense mix, you’re not going to want the acoustic guitar to take up too much space in the mix, and a single microphone, often pointed right about here where the neck meets the body is going to give you a really great balanced tone. It’s going to fit into a dense mix pretty nicely.
In general, the further out you go towards the finger board, the brighter the tone is going to be, and as you get closer to the sound hole, the more bass you’ll get. You’ll want to get careful if you’re pointing directly at the sound hole, you’ll get a lot of bass buildup. Probably too much. So aiming at the sound hold a bit off-axis can be a bit helpful.
Some engineers will record out here by the bridge, and you’ll generally get a lot of mid-range by the bridge, a bit more pick attack, but this can give you a very focused sound, and it might be appropriate for the track you’re working on.
In general, I would say you want to start six to twelve inches away, depending on how far back in the mix you want the acoustic guitar to sit. So let’s plug this mic in, and we’ll hear each of these zones, and then we’ll come back and we wil do a few of the most popular fixed positions — out here where the neck meets the body, going in more towards the sound hold, a little bit off-axis, and then recording closer to the bridge.
These aren’t the only techniques possible. Some engineers will record from above or below the sound hold, and occasionally, you’ll see people trying to record over the shoulder, trying to give an impression of what the guitar sounds like to the player. Last quick note is if we were doing guitar and vocals today, I might be inclined to set my mics to a hyper cardioid or bi-directional pattern, and that will give us greater isolation between the singer and the guitar so we won’t have too much spill from the guitar into the vocal mic, and vice versa, but for this demonstration, we’re going to be sticking mostly to cardioid pattern.
Alright, let’s start hearing it. Sulene, you ready to play a little bit? Alright.
[acoustic guitar, moving the mic position manually, AKG C451B into an API 3124]
Alright, let’s hear a few of the most popular fixed mono mic positions.
[acoustic guitar, mic at neck/body joint]
[acoustic guitar, mic at sound hole slightly off-axis]
[acoustic guitar, mic pointed toward the bridge]
Thanks for joining us for this installment in our three-part series on micing guitars! Make sure you check out the other two parts. This has been Justin Colletti of Sonic Scoop, coming at you from Bronze Studios, courtesy of B&H. Go to sonicscoop.com, check us out there for more videos. Go to b&h.com. Thanks for hanging out with me. See you next time.


