Tips for Recording a Close-Miked Acoustic Piano
10/5/2010
Article Content
The Close-Miked Grand
In a world of sampled instruments and MIDI sequencing, recording an acoustic grand piano is not a task for the faint of heart. Most engineers can rely on an instrument package, like Garritan’s “Authorized Steinway” or “Ivory”, for nice sounds. However, when a piano needs to be the primary focus of a mix, or when you have a very serious player in the studio, you will need a well-maintained acoustic grand to make the best possible recording. Miking a grand can be a daunting task, but in this article, I hope I can ease your mind by explaining a few techniques and tricks that can help you record a great close-miked piano.
The Close-Miked Sound and When To Use It
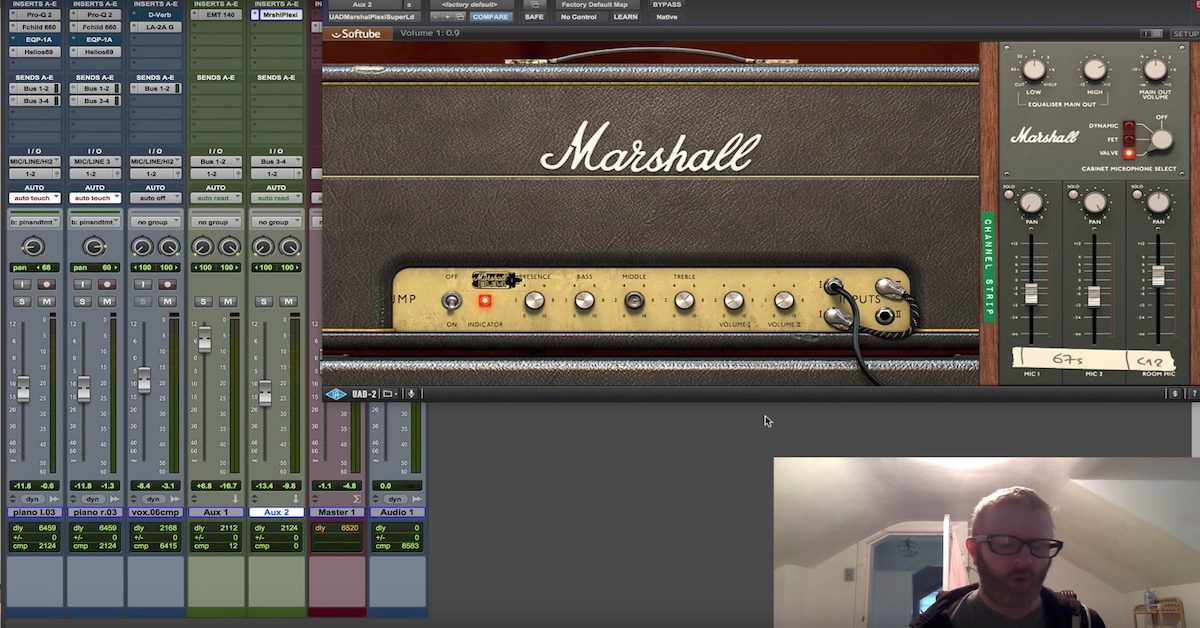
The piano sound you will most often hear in pop music and in jazz is the close-miked sound. Not only does it help eliminate bleed if the piano is recorded in the live room with the rest of a band, but it also gives the mix engineer a wide range of choices to help what usually is the physically largest instrument fit into the mix. There is very little room in the sound, and the room that does exist is most likely faked with a hardware or software reverb. A variety of miking techniques can be used to achieve different sounds from percussive to balanced, from narrow to wide, and from bright to mellow. The closeness of mikes is what makes the sound both the easiest to achieve, and yet also makes choosing an appropriate technique very difficult. As this sound is the most commonly sought after in the studio, it makes a perfect starting place for us.
A Brief Anatomy of A Piano
Before we begin talking about sound and how to record the sound of a piano, we must first understand how that sound is produced and naturally amplified by the instrument. The diagram to the left illustrates a few of the most important parts on the inside of a piano.
Depressing the keys of the piano starts a very complex lever in motion, resulting in the hammer striking the string, which in turn results in the sound we hear. Hammers are located below the dampers, as you can see in the diagram. They are covered in a semi-soft felt that provides a variety of tones depending on the speed at which the hammer hits the strings and also the age and use of the instrument. In general, the faster a hammer hits a string, the more its felt is depressed upon contact, creating a harder surface and a brighter and louder tone. That tone then resonates through a precisely crafted soundboard, the wooden bed that runs the entire length and width of the instrument. The bridge, as seen in the diagram, is not just a point at which strings are connected, but on many good instruments, the length of string beyond the bridge is capable of vibrating and can help produce extra overtones and in general a ‘bigger’ sound.
There are plenty of resources to learn about the whole mechanism inside the piano, but I think the above points are the most valid for starters. Now let’s dig into some more meaty information.
Close Miking Techniques and a Few Pros and Cons of Each
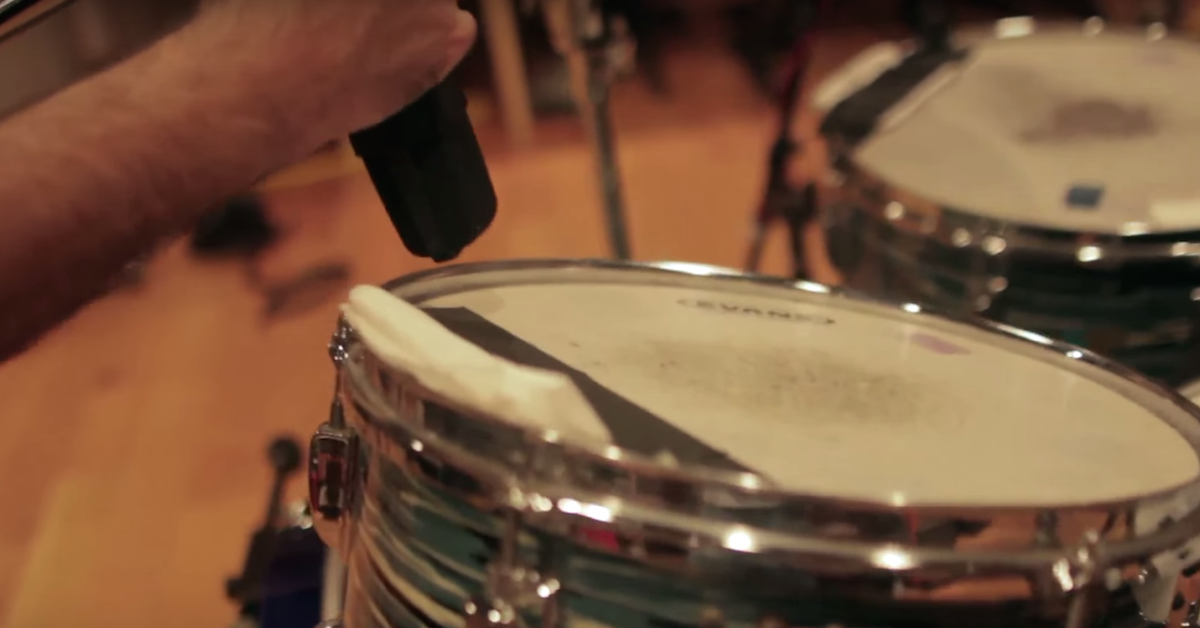
As there are quite a few techniques we will cover here, we will organize them by starting with the techniques that are used nearest to the hammers, moving toward the bridge and tail of the piano as we go. Keep in mind that all of these techniques use microphones “under the lid” of the piano, very close to the strings themselves.
1) The Percussive Rock Piano
This technique highlights the percussive nature of the instrument by placing mikes nearly on top of the strings over where the hammers strike. It is useful for very busy rock mixes where the piano needs to be heard but doesn’t need much depth. You can place mikes in XY, ORTF, and AB spaced pair (allowing a variety of stereo widths), and you can also feel free to use pretty much any polar pattern, except figure-8. Always keep in mind that a true omni will accurately hear down to the lowest bass the instrument can produce, while many cardioids have some sort of roll-off. Also, true omnis will not exhibit the proximity effect, while cardioids will. The distance from the strings that the mikes are placed will determine how percussive the sound is: the closer, the more percussive; the further, the more balanced. By ‘close’ I mean as close as just a few inches from the strings, and moving further away from there.
2) The Wide Stereo, Balanced Piano
This technique can provide a warm yet detailed tone, but will always create a wide stereo image. Again using cardioid or omni mikes, place one mike over the upper treble section of the instrument and place one mike over the lower bass section of the instrument. The mike over the high strings will be closer to the keyboard, while the bass mike will be closer to the tail of the instrument. Again, distance can vary from just a few inches to sometimes as much as a foot from the strings. In this case, the closer the mike the more detailed the sound, while the further the mike the more accurately you can capture the entire range of the instrument.
3) The Mono, Or Small Stereo, Balanced Piano
Working just inside the crook of the piano, (the place where the curve of the frame makes the piano narrower at the tail than at the keyboard) an XY, M and S, or a simple mono mike can be used to get the most balanced representation of the instrument while maintaining a good sum to mono when necessary. In this case, you probably won’t want to get too close to the strings so that you can be sure to capture the entire instrument. I suggest using cardioids here to help eliminate unwanted room sound. Try and aim the mike or your array toward the place where the lid connects to the frame while staying at least a good foot or two away from the strings. The sound isn’t quite as detailed, but the stereo choices available during mix make this a good ‘go-to’ technique.
4) The Mellow Piano
The further you move toward the tail of the instrument, the warmer the tone you can capture off the soundboard. Feel free to experiment with distances and miking techniques; there isn’t one I’d necessarily recommend here. For an extremely warm sound, try miking the underside of the soundboard. You might need at least one mike on the upper side to capture enough detail to make the sound useable.
5) The Most Balanced And Natural Piano
If we move our mike arrays just outside of the frame of the piano we can still get a close sound and probably the best natural balance of the instrument. For this technique, I like to use an AB pair, spaced only 1 or 2 feet apart, near the crook of the piano but at least two or three feet away from the frame of the instrument. Be sure to get your array high enough that the microphones can ‘see’ all of the strings in the instrument. As this technique captures the most room, it might not fit a busy rock mix, but instead could be better for solo jazz or similar.
As the mikes are moved away from the hammers and toward the tail of the piano, the warmth of tone increases while the percussiveness decreases. Even in the 5th technique I describe, while the crook of the piano might provide the most balanced tone, you may want to move your array toward the keyboard or toward the tail depending on the type of sound you are going for. I almost always use omnis to record a piano due to their ability to accurately capture the entire range of the instrument, but don’t be afraid to try and skillfully use the proximity effect of cardioids for some interesting sounds. If you’re recording jazz, microphones like Schoeps, DPA, Earthworks, and Sennheiser MKHs are usually the best. They provide great frequency response and transparency, which is expected in the genre. With rock and pop material, feel free to use anything you can dream up to achieve the desired sound. Tube mikes, through a tube pre, and to tape can turn a banging pianist into the perfect fit for a track. Yet, transparent can also still be the way to go. Use your ears to help you determine what technique is best!

Ready to elevate your ears?
It doesn’t have to take years to train your ears.
Get started today — and you’ll be amazed at how quickly using Quiztones for just a few minutes a day will improve your mixes, recordings, and productions!
Eleveate Your Ears