11 Things You Never Thought to Do with Your Guitar Effects Chain
Article Content
In today’s world, most people are mixing and tracking in the box. With this comes a lot more flexibility than in the past, but I find the understanding of signal flow isn’t as strong. (Youngsters these days!!)
I suppose I’m at an advantage as a guitarist. I have pedals to tinker with. Over the years I’ve moved pedals around and tried many different chains. Sometimes on purpose, sometimes by accident.
This idea goes far beyond guitar. These principles apply to plugins as well. Not only for guitar-based plugins like Logic’s “Pedalboard,” but individual plugins for all instruments.
In this article, I’m going to give you 11 variations on signal flow that you can use to create interesting sounds on any instrument.
1. Delay Before Overdrive
Sometimes people don’t realize this, but some of the most acclaimed rock delay sounds have been an analog delay straight into a cranked guitar amp.
What does this mean? When an amp is cranked it naturally overdrives and compresses. It creates a coherency in sound that can’t be replicated.
Solution? Place a delay before an overdrive. You probably have to be conservative with the settings on the overdrive. An amp rarely gets the amount of overdrive most pedals have. Keep it low and notice how it changes the delay.
When you use an overdrive, you’ll notice it’s affected by velocity. The louder the signal source, the more overdrive it’ll have. You can use this to your advantage. If you place the overdrive after the delay, each repeat from the delay will be less overdriven than the last. This method can keep a sound from getting too blurry.
2. Delay After Overdrive
This is the “modern” method for placing a delay. Whatever goes into the delay gets repeated as it sounded. It’s like taking a picture of something and then duplicating it.
I’ll be using the term “snapshot” in this article to describe this scenario.
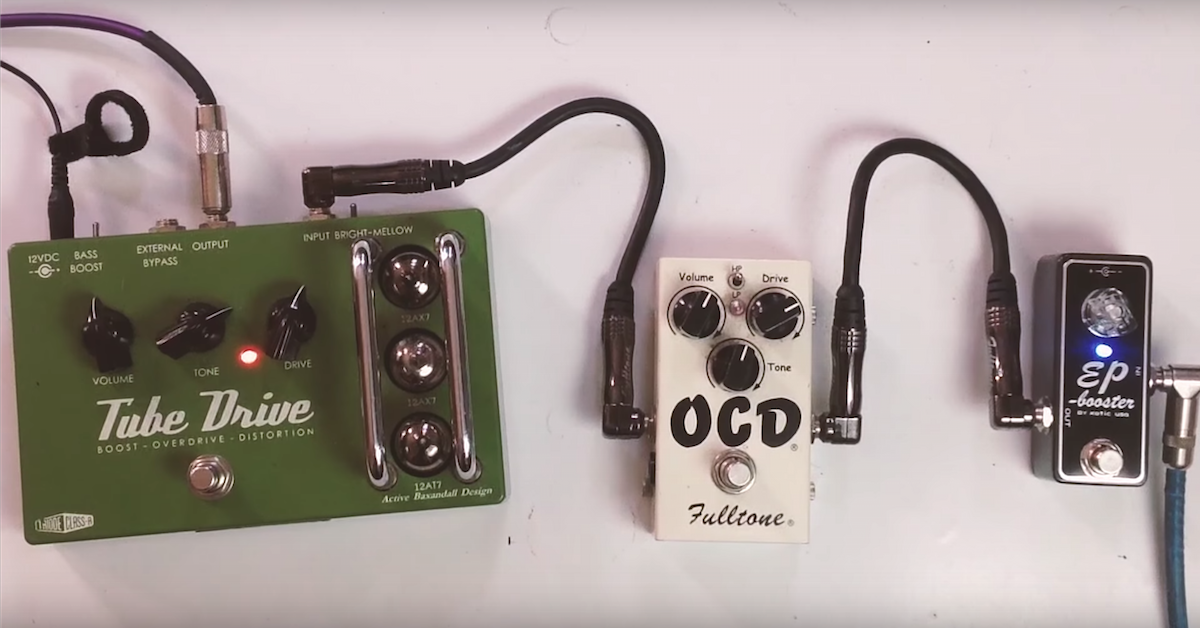
This is the missionary position of signal chain routing. Traditionally, it’s wah, fuzz, overdrives, modulation, and time-based effects.
3. Reverb Before Overdrive
This one has to be subtle. If you run a reverb into heavy distortion, your dog is not going to be happy. In subtle doses, it can help create a hip, vintage sound.
When I’m playing guitar, I like to play a spring reverb into a cranked, slightly overdriven amp. Why? For the same reason, I like to do this with delay. It compresses the signal in a flattering, colorful way.
It kinda sounds like a reverb from records cut in the 50’s. Not hi-fi … Not for the faint of heart … Attempt at your own risk.
4. Tremolo After Reverb
If you set up a nice a big reverb sound and then place a tremolo after it, you can create some cool effects.
It will trip your ears out a bit. At one point your mind hears this big space, but it’s being cut off by a dry pulsing tremolo.
5. Tremolo Before Reverb
This allows you to get a cool pulsing effect without it being jarring. You’ll still hear the tremolo, but it’s distant.
This often works better for ambient type of sounds. It doesn’t remove you from the space.
6. Reverb Before Delay
Think of delay as taking a snapshot of your sound. Whatever sound you send into it, it repeats.
Some cool textures can be created when the snapshot is a reverberated sound.
It can get really cool if you’re running a reverb sound into a backward delay patch. Do we even say patch anymore? Ok, “preset.”
7. Modulation Before Delay
When you place modulation after a delay, you’re affecting the sum of sound coming from the delay. When you place it before the delay, the delay is taking a snapshot of the modulation at that exact second. If you play on top of that snapshot, this will create a neat mod on mod sound. Ooo, Behave!!
8. Tremolo Before Overdrive
At this point, I think you’re getting the idea of how moving things around the chain changes the reaction of sound. P
lacing tremolo before an overdrive means the level of signal hitting the overdrive is going to vary. You can hear the slight adjustments in gain.
9. Wah or Auto Filter Before Distortion
In this position, the wah or auto-filter acts as an exciter for the overdrive. As you adjust the filter, it boosts frequencies which get embellished by the OD. (OD is street for overdrive. See how hip I am?)
When you place the filter first you will hear frequencies “pop” out as you adjust. Think Brian May’s sound.
10. Wah or Auto Filter After Distortion
In this position, the wah or auto-filter acts like an EQ to the sound. It’s almost like adjusting a big tone knob.
There aren’t going to be a lot of frequencies that “pop” out so to speak.
11. Modulation Before Overdrive
Modulation before overdrive works in a similar way as a filter before overdrive. Certain frequencies will excite the overdrive. Try this with a chorus, phaser or flanger. It can be subtle. Or shall I say subtle-icious?
Conclusion
Next time you’re trying to create a sound that’s a bit left of center, think about these variations in signal flow.
They cross my mind a lot when I’m developing a sound. One size does not fit all.


