Mixing with Waves SSL G-Channel Strip Plugin
06/17/2013

Mix Tutorial: Waves SSL G-Channel Strip Plugin
These plugins as part of the Waves SSL 4000 Bundle. They’re PCM Mac platform compatible. They support TDM, RTAS, Audiosuite, VST, and AU plugin formats. There is mono and stereo versions of the plugin that’s included. You can use these on sessions up to 96 kHz and up to a 24-bit depth.
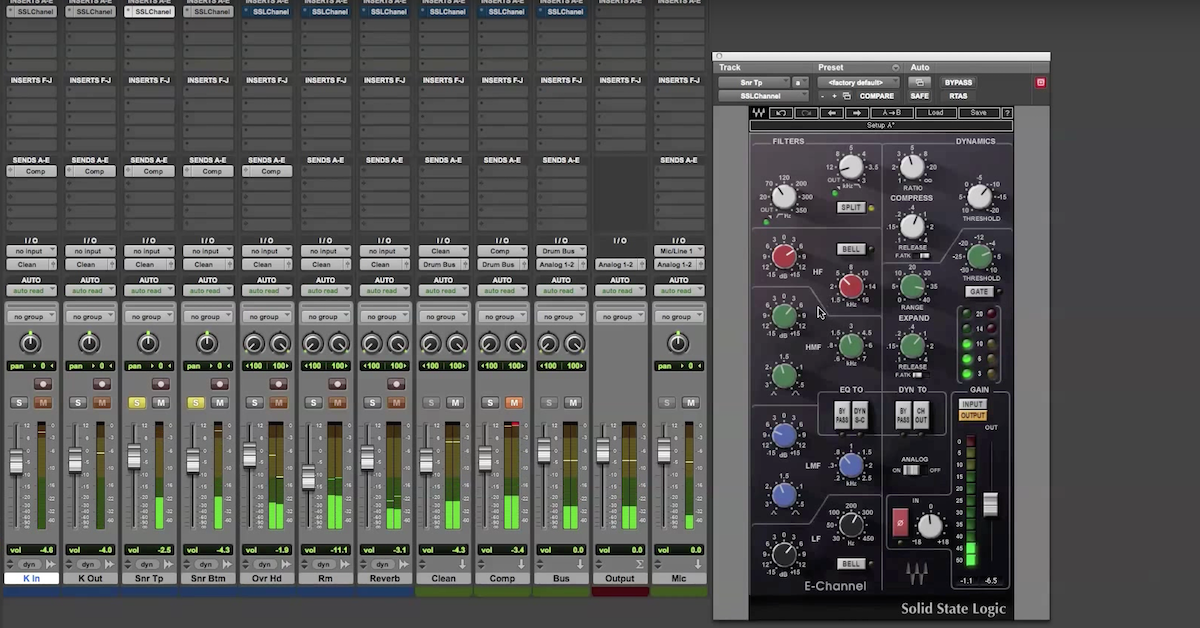
Now let me get to my session. Here you’ll see I have 7 tracks of recorded audio from microphones I have a kick in mic, kick out, snare top, snare bottom, stereo pair of overheads, stereo pair of rooms. And then I have an audio track here — a stereo track of printed reverb from an outboard reverb unit. On each of the audio tracks I went ahead and inserted the SSL G-Channel I’m gonna be using here in the first insert slot.
And then I have some special routing going on because I’m gonna be doing parallel compression on my drum mix. So I have a clean auxiliary bus here that the outputs of these audio tracks are going into. And I’m gonna be just doing almost no compression on this channel, but then on my other auxiliary channel I have compression over here, I’m gonna be doing a lot of compression. I’m gonna run these two in parallel, kind of mix them together to find the balance of what I like. And these are both going into my drum buss auxiliary bus going on over here. And I’m gonna be using the SSL compressor just to add a slight bit of limiting to make sure that I’m not clipping the combined signal.
Let me play you back the audio so you can hear how it sounds without any processing.
[drums]
So on their own without any processing the drums sound pretty good, but they’re gonna be a bit of work if they’re gonna sit in a mix. So let me go through each of the instruments and show you briefly what I’m doing to kind of tighten up the drum sound and also give you an idea about the features of the plugins.
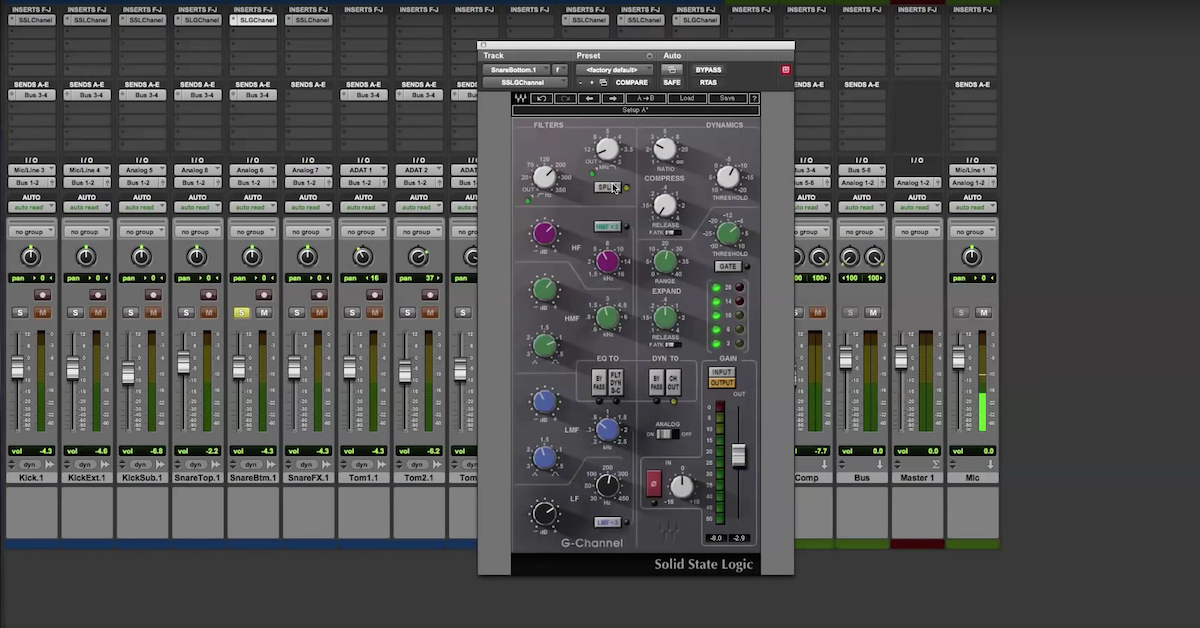
So with the SSL G-Channel, there’s an EQ section and a dynamics section. You can change the internal routing so you can put the EQ before the dynamics or the dynamics before the EQ. The way I’ve got it set up is I’ve got these filters first as the first thing that happens when the audio enters the plugin. There’s a high pass filter and low pass filter. What I’m doing is just rolling off a little bit of the low end to tighten up in case there is just some low rumble going on in my signal. Taking off a little bit of the high end because I don’t really need it for a kick drum.
In the dynamics section, that’s what happens next, is there’s an SSL style compressor, SSL style gate or expander. basic controls you have for the compressor: ratio, threshold, release. And then you have, you can switch between fast attack and fast release. For my kick drum I just have, you know, 3 to 4 dB of gain reduction. Medium release time, I’m gonna be setting the threshold to find that I can just get, you know, a couple of dB of gain reduction. I have a slow attack because what I want to have happen is the transient of the signal to pass without being compressed and then the tail of the signal to be compressed a lot, and what’s that’s gonna do is emphasize the transient, make the drums a little bit more punchy.
With my expander that I’ve got going on, I’m trying to the same, similar sort of thing. So you have a range to control how much expansion is going on. You have a release to control after the signal drops below the threshold, when it’s going to stop gain reduction. I’m using a fast attack because what I want to have happen is as soon as the drum hit goes above the threshold, then I want the signal to pass through the gate or expander, and I’m setting the threshold so it really tightens up my drum hit, really emphasizes the attack or the transient of the hit to make it a little bit more punchy.
Then as far as EQ goes, that’s the final section, there’s a low shelf and a high shelf. And there’s two bell shaped portions of the EQ for a low-mid and high-mid. You can select the frequency here — how much you’re gonna boost of cut. And then the Q of the bell. So let me play you back the kick drum and you can hear what I’m doing.
[kick drum]
Sounds a little boxy or pillowy. Sounds very tighten now, because I’m using the dynamics section to really emphasize the attack, boosting a little bit of the low end, cutting out around 3K where is sounds kind of boxy. Boosting around 2k to give it that snap. Boosting then about 5k to give it that click and high end air.
I’m doing a similar sort of thing with the kick out mic. And a similar sort of thing with the snare. Really tightening things up. Taking out some of that ring in the close mics, but then the overheads I’m still gonna keep a lot of that ring. Boosting now around 200 to 300 Hz because that’s where the fundamental frequency of the snare drum is. I’m gonna move on to overheads now. Doing much less compression, have a lower ratio going on here, rolling off a lot of the low end as you can see, and I found some frequencies that I didn’t like with a sharp Q around 800, maybe 1000-1500 some frequencies that I didn’t like. Adding a little bit of top end to sharpen up the sound of the signal. Move on to the room mics. With the room mics what I’m trying to do is squash them so I’ve got a fast release and a pretty high ratio to get a lot of gain reduction. I’m not using the expander here, roll off again the low end like I did with the overheads. Found some frequencies I didn’t really like, with a sharp Q take them out. And give it a little top end. With the reverb I don’t have any processing going on. I basically have all the EQ set flat and no dynamics.
Next let’s get to the buss compressor. The buss compressor has some similar sort of controls for the compression, you have threshold, make up gain if you want to use it if you’re doing a lot of compression it kind of takes the energy out of the signal and you want to add it back in. You have attack and release controls. You can select your ratio here and if you wanna do a fade out or fade in you can do that with this controls the time.
So what I’m doing here with the clean portion of the — I have the compressor set up, I have it set up so there’s basically no gain reduction going on, so really slow attack, pretty fast release so I can minimize the gain reduction going on. Then for my compression, this one I’ve got a high amount of gain reduction. This is what it sounds like, I’m using some make up gain, pretty fast attack, pretty fast release. The ratio 4 to 1. You can see a fair amount of gain reduction, that’s why I’m adding it back in. It’s really squashing the drums.
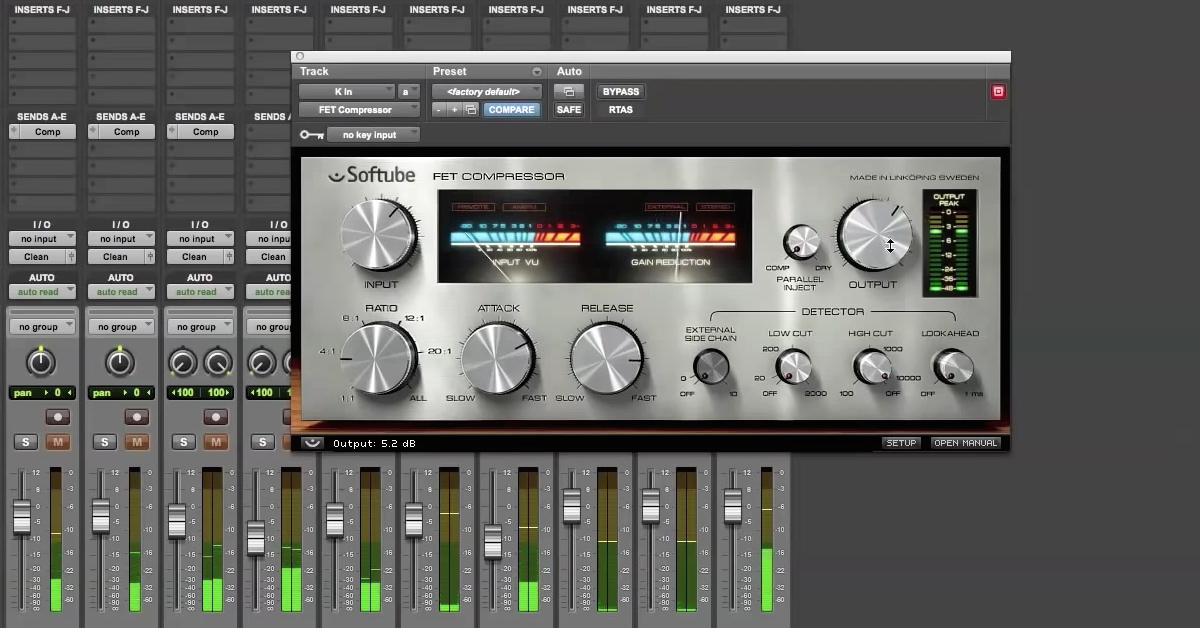
And then for the last one I’ve got the SSL Channel Strip I’m using as kind of a limiter. So I’ve got the 10 to 1 ratio, fast attack, fast release. Threshold pretty high just to make sure there’s no clipping at the output. Just some minor gain reduction throughout the thing. I’ll bypass all of them and add them back in.
Premium Mix Training