Mixing with Waves E-Channel Plugin
06/13/2013
Mixing Drums with Waves E-Channel Plugin
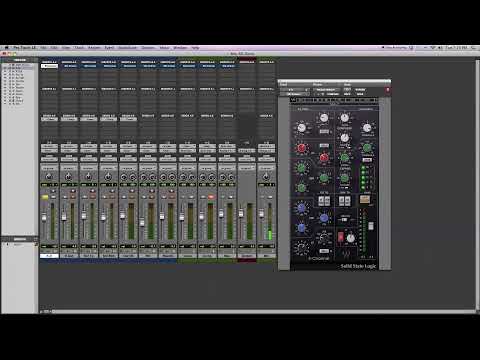
I’m gonna be using the plugin today inside of Pro Tools Native, which means I’m using the RTAS plugin format. Let’s get to the session. Here you’ll see 7 audio tracks of my multitrack drum recording. Starts with kick in, kick out, snare top, snare bottom,a stereo pair of overheads, and a stereo pair of rooms. Finally, I have a printed stereo audio track of an outboard reverb unit. Let me switch over to the mix view so you can see really what’s going on.
For each of these audio tracks I’ve inserted the plugin in the first plugin slot. For the mono tracks I’ve inserted the mono version of the plugin. For the stereo tracks I’ve inserted the stereo version of the plugin. I kind of have some special kind of routing going on, so let me explain that to you hear before I play back the audio.
I have these tracks going into an auxiliary bus called clean. I’m gonna be doing parallel compression so I’m running a clean auxiliary bus here. Next to my compression auxiliary bus, I have these tracks routed going into my compression. And all the tracks, the output is going to clean. Then I have these two auxiliary busses going into my master drum buss. And I’m using this kind of as a master control over these two levels, and I’m gonna just blend these two together to taste. Let me play you back the audio so you can hear how it sounds without any processing.
[dry unprocessed drums]
On their own, the drums sound pretty good, but they’re gonna need a bit of work if they’re gonna sit well in the mix. Let me get into how I’m processing individual instruments and show you the controls of the plugin.
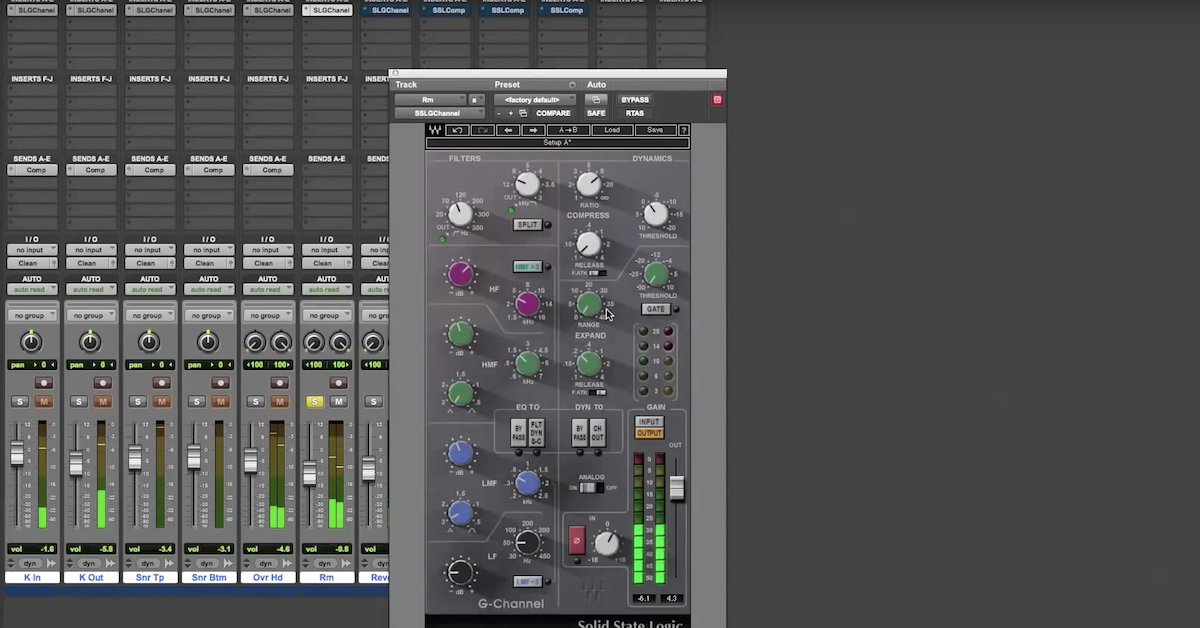
I’ll start with the kick drum. In the plugin there are two main components: the equalizer and the dynamics section. To start with the equalizer, there’s a high pass and a low pass filter here that you can control. Then there are 4 bands of EQ, the high shelf and the low shelf can also be switched into a bell. And then the two middle bands: the low mids and the high mids are your typical parametric EQ. You have a Q setting and you have a how much you want to boost or cut in dB, and you have a frequency control. That’s the EQ section.
Then there’s the dynamics section which consists of the SSL-style compressor and expander or gate. The compressor has your typical controls: ratio, threshold and release. The attack control is either fast attack or slow attack. I have it set here for the instruments on the kick drum and the snare to be a slow attack. What that’s gonna do is let the transient of the hit through. But then compress the tail, and it’s gonna emphasize the transient to make the drums a little bit more punchy. That’s my goal in what I’m trying to do with this processing. The high pass and low pass filters that are going on over here I have clicked on this split control. What that’s going to do is put the filters — based on the internal routing of the plugin — before the dynamics section. So if you click this off, then the filter section takes place after the dynamics section. So what I’m doing just as a matter of preference is rolling off the low end so that’s not gonna influence the compressor.
Next in the expander or the gate control, I have a fast attack to let the transient of the signal through quickly, then what I’m gonna do is just cut off some of the tail of it to make the drums a little bit more punchy. Again, by emphasizing the transient. I’m trying to do the same kind of thing with the dynamics section, both the compressor and the expander. For EQ I’m boosting a bit in the low end. Cutting around 300 Hz to take out some of the boxiness. Boosting around 2k, that’s gonna add some snap to the kick drum, and then a little bit with this high shelf around 5k up until I’m taking out the high frequencies at 10k. So that high shelf is gonna add in a little bit more of that top end click of the kick drum. So let me go ahead and bypass it and put it back in so you can hear what I’m doing.
[kick drum mixing]
So hopefully you can hear that that’s going to emphasize that attack or the transient of the drum. I’m doing a similar sort of thing here with the kick drum out mic. Taking out some of the boxiness and also emphasizing the attack. It’s just gonna make the kick drum sit better in the mix.
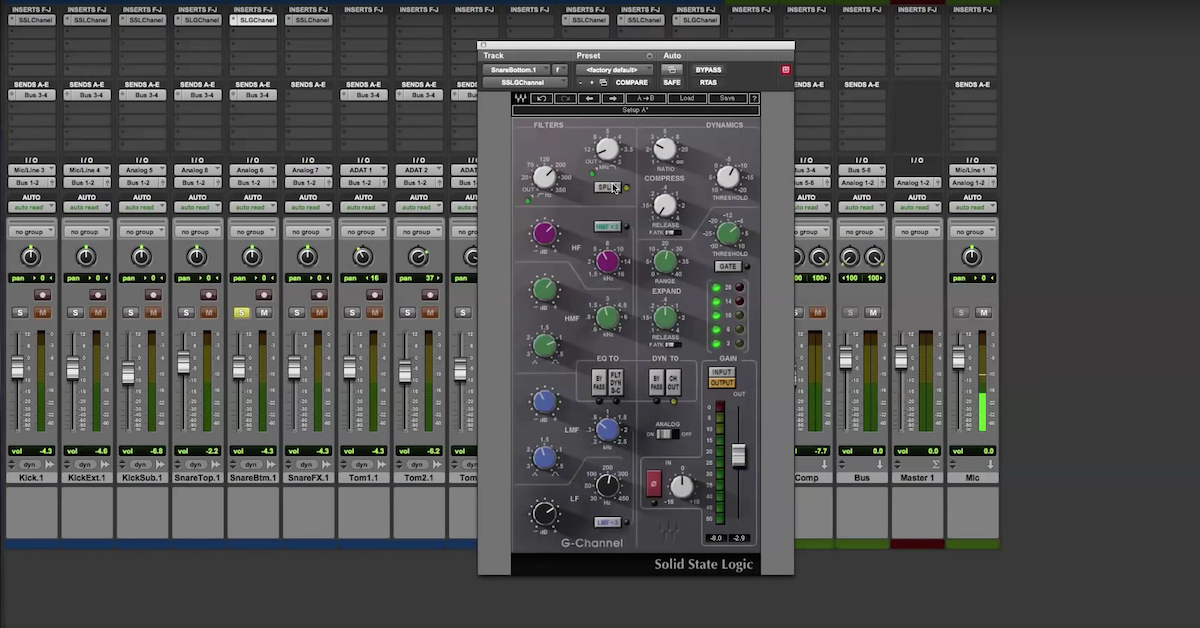
Next I’m doing the same sort of thing with the snare drum. Let me show you those controls.
[snare drum mixing]
Again I have a similar sort of thing with the compressor: slow attack to compress just the tail of the hit and then using the expander to cut off some of the end of the sustain of the drum hit. Boosting around between 200-300Hz, around the fundamental frequency of the snare drum. Rolling off some of the ringiness around 800. Boosting again the snap around 2k and then the click around 5k.
Next I’m gonna move on to the overheads. Using different kind of compression here. Just sort of to smooth things out a little bit. Rather than letting the transient through, just using a low ratio so I’m not doing a whole lot of compression. Not using the expander for the overheads because I don’t want to really take out any of the sustain. Similar sort of EQ going on: boosting a little bit of low end. Boosting a little bit of high end. But I’m using a sharp Q filter for my middle frequencies to take out 2 frequencies that I thought had a little too much ringing around 500 and then around 1300 Hz.
For the room, I’m using a lot of compression here in the dynamics section with an 8 to 1 ratio, medium release. And what that’s just gonna do is make the room ring out.
For the reverb, I’m just letting the signal pass through without any processing. And again I have all these audio tracks together going into this clean channel. On the clean channel I’m not going any processing — just like the reverb channel.
Had these going together into finally this bus. And I just have the dynamics section here acting as a limiter on the highest ratio and I have the threshold so it just barely hits the compressor. Not a whole lot of other processing going on. Just rolling out a bit of the low end.
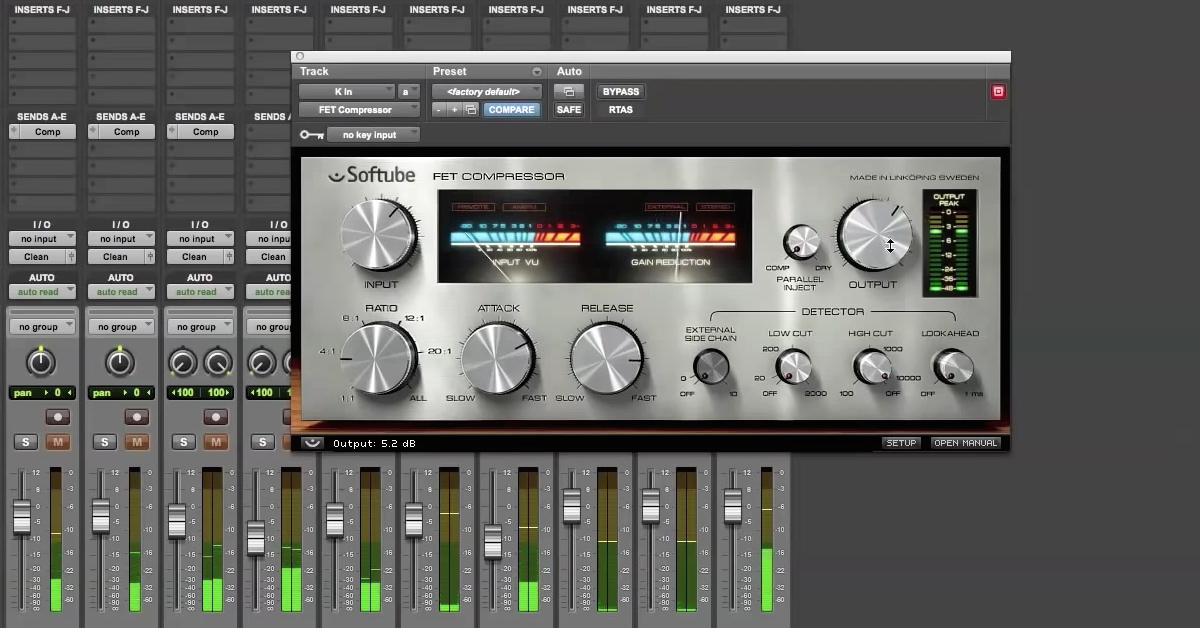
Then for my buss compressor I’ve got a large amount of compression with a higher ratio, pretty fast attack, pretty fast release, just to smash the transients down and I”m going to blend this in now with the clean.
[drums with parallel compression]
Now I’ll bypass all these and kick them back in so you can hear how it sounds without the processing and then with the processing.
[drums with and without processing]
Premium Mix Training