How Human Voice Works + SoundToys Little AlterBoy
04/5/2015

How Human Voice Works + SoundToys Little AlterBoy
I’ve been inspired by this plugin released by SoundToys called Little Alterboy. Now, for awhile, this plugin was a free download, so I hope you all had the chance to pick it up during that timeframe. If not, stay tuned for the future, because SoundToys almost always releases full versions of these smaller plugins at a later date, so you can pick it up then.
What I’d like to do in this video is demonstrate and talk about the features of this plugin, and discuss the signal processing of what’s going on behind the scenes, and how an incoming signal actually gets manipulated by this plugin.
You see on here that it’s listed as a monophonic voice manipulation plugin. What exactly does that mean? In order to understand how it’s going to process a signal, you have to understand some characteristics about the human voice. That’s not to say, though, you couldn’t send all other kinds of signals through it and create some cool, unique effects as well, but to understand how it works, you have to understand those characteristics that are unique to the voice, different from all other kinds of percussive, or even melodic and harmonic sounds that we normally work with in audio.
So, the voice is cool and unique and different from all those other kinds of things. This plugin is very good at manipulating those special characteristics of the voice. So, what I’d like to do is provide some of that background to you as part of this video, and also demonstrate along the way, the different controls of this plugin.
So, when a signal is created by a singer or by someone talking, it starts out as air in a person’s lungs, and that air exits the lungs, and goes through their vocal box, also called the larynx. There, you’re going to find the vocal cords, or also called the vocal folds.
The air passes through those vocal cords are going to vibrate back and forth, and that’s going to create our acoustic signal. That’s going to be the source of our signal – where it originates from.
Now, there are some muscles attached to the vocal cords that are going to determine how fast they can vibrate. This is happening very quickly, relatively speaking. So, for a male singer or talker, we’re in the ballpark of about 100Hz. 100 times per second, these things are going to vibrate back and forth.
Now, for a female singer, we’re closer to 150-200, for a child, maybe 200-250. Those things are happening very, very quickly.
Nonetheless, we have these muscles attached to the vocal cords that are going to determine how the vocal folds open and close. Now, one thing that’s kind of cool about it is that the vocal folds open relatively slowly, and close much much faster. This is going to happen that many times per second. This is going to create a signal that’s actually similar in some ways to, like, a test signal we use all the time in audio, and that’s a sawtooth signal, where what you have is the amplitude of the sawtooth signal is either going to increase slowly, and then decrease very quickly, or the opposite as well.
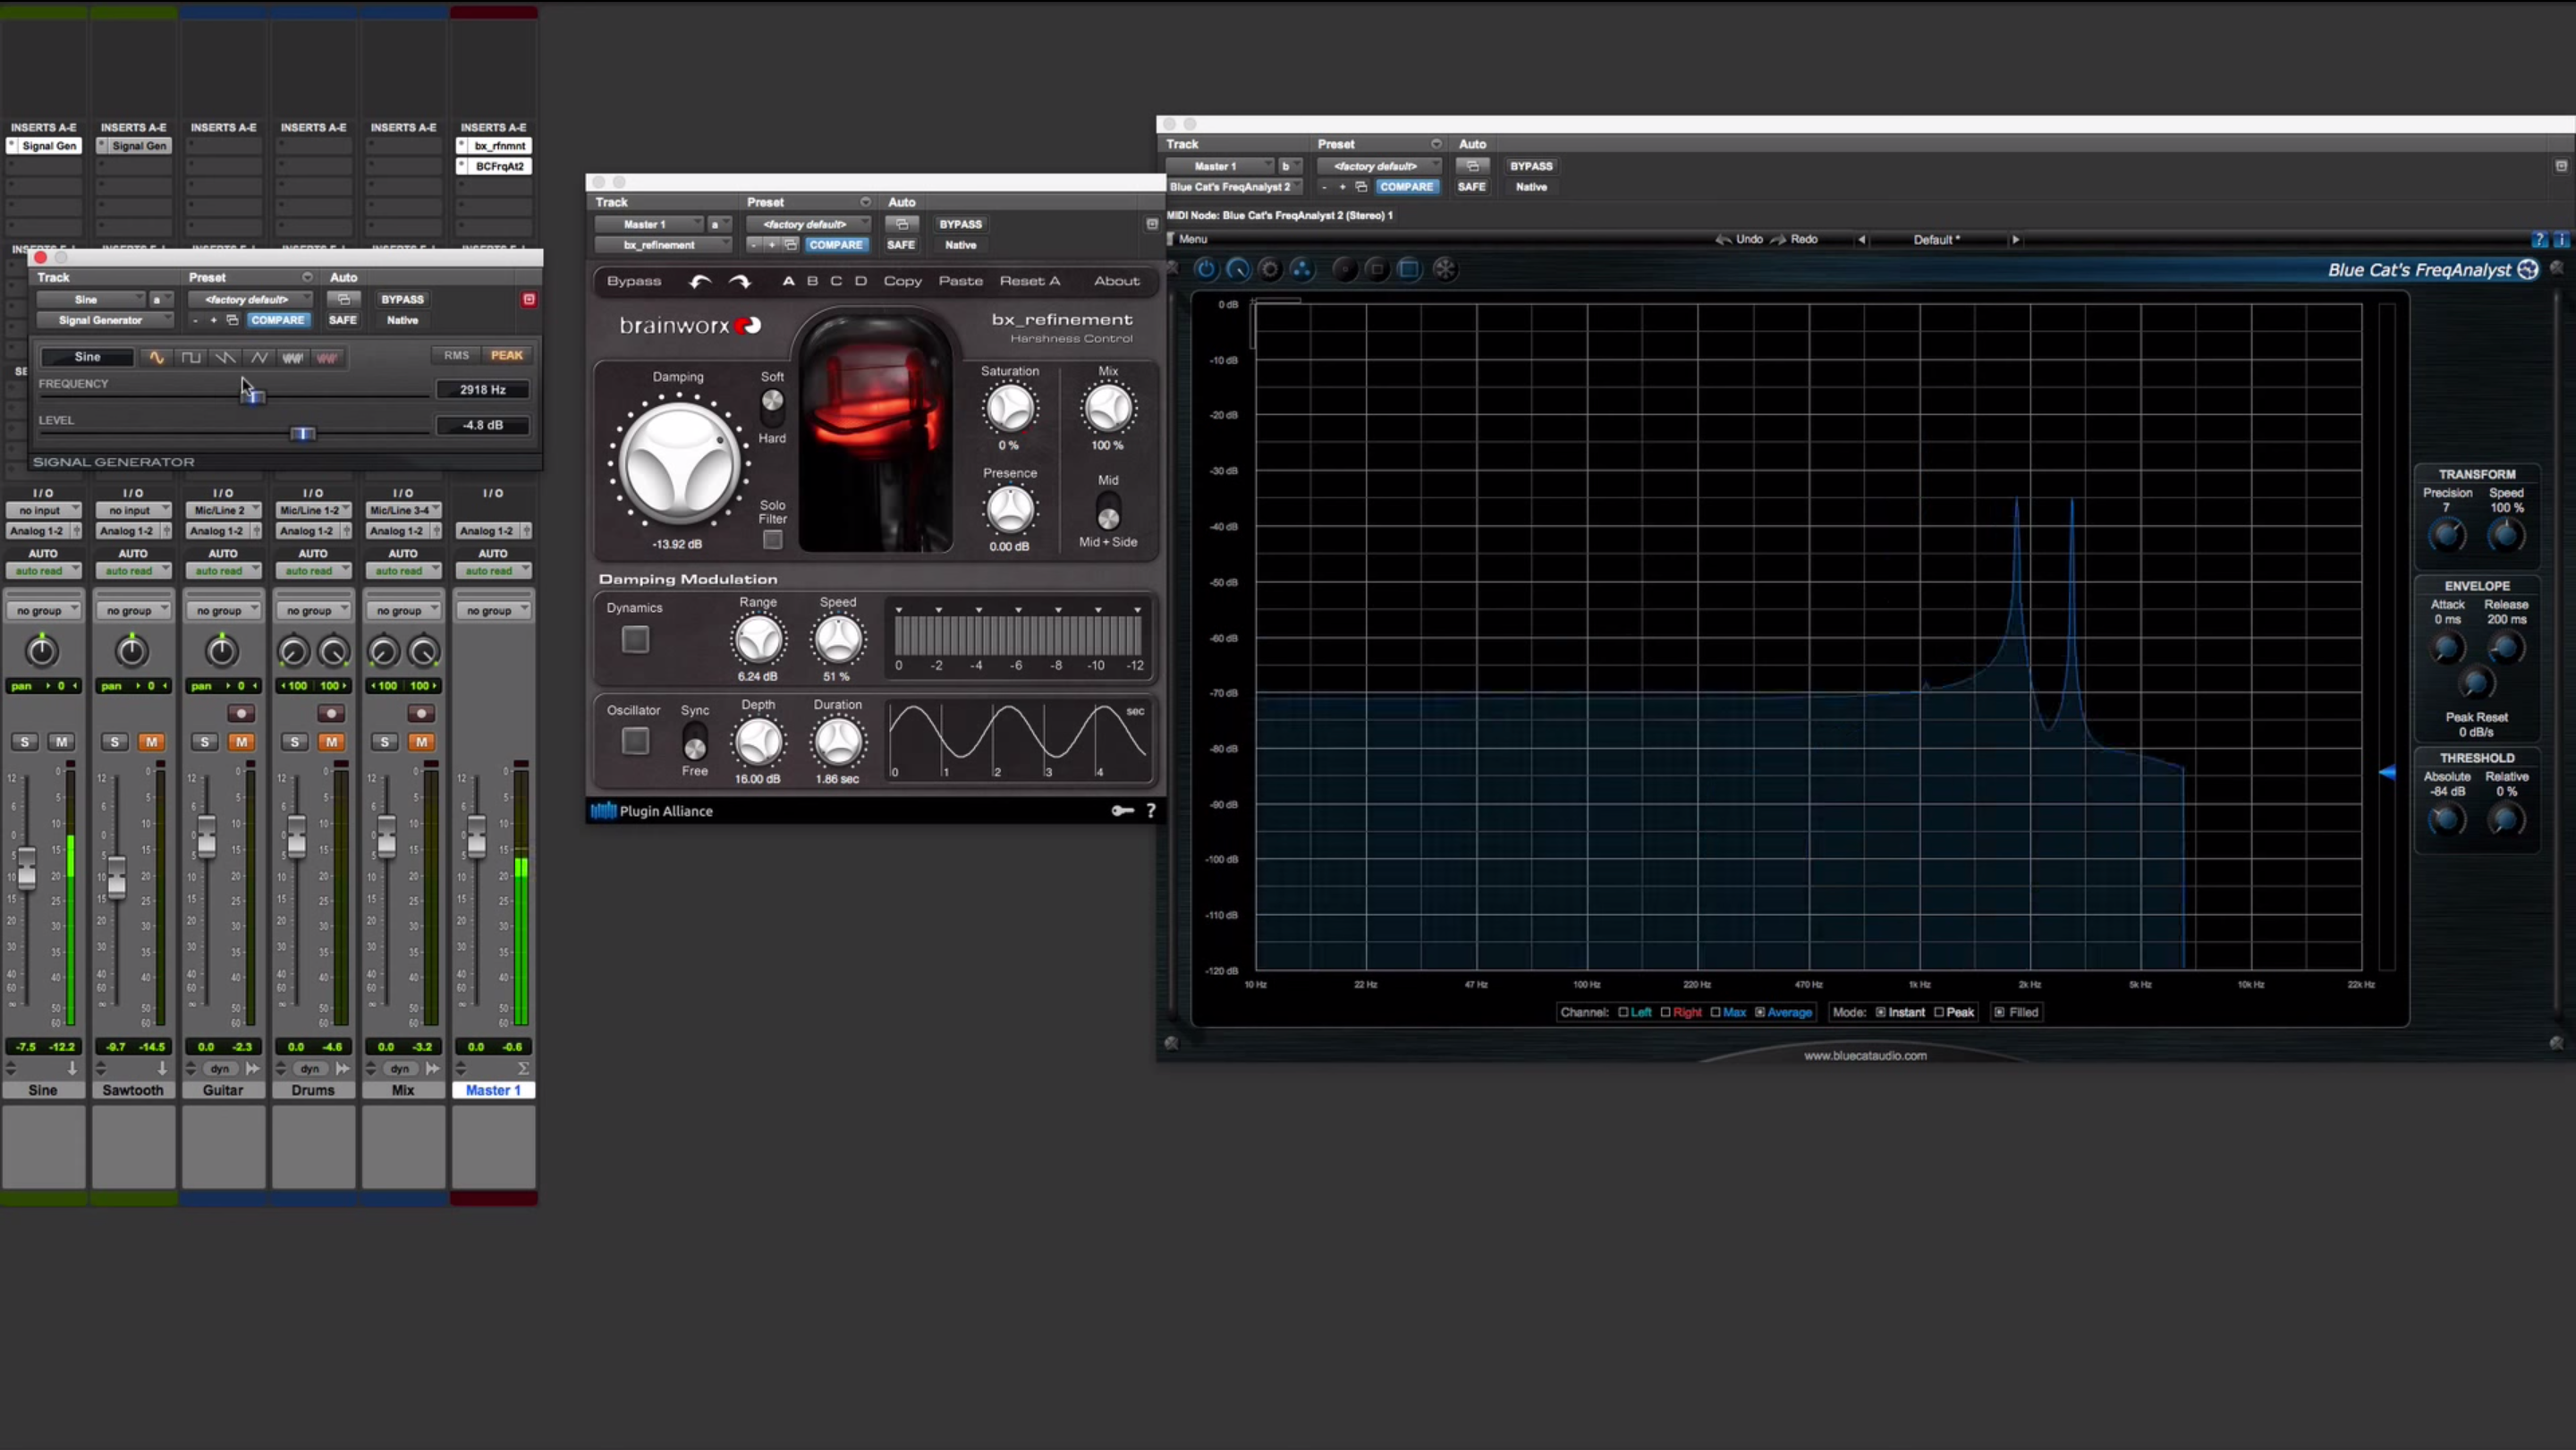
So, what I’m going to do to simulate the synthesis of a voice signal is I’m going to use my sawtooth here – my signal generator at 100Hz for my male talker, and I’m going to create this sawtooth signal. I’m going to send it then into a spectrum analyzer that I’ve got right here. This one is from FabFilter Pro-Q. You can see the harmonics that are created then with my sawtooth signal. The one is at 100hz, and then even and odd harmonics all the way up the spectrum.
So, it’s going to sound like this.
[sawtooth plays]
In some ways, this is a good simulation of the signal that’s created as air passes through the larynx and causes those vocal cords to vibrate. But that’s only part of the story when a singer creates a sound.
So, that signal as it exits the larynx is going to go through a singers vocal tract that consists of the mouth, the nasal cavity, and then also the tongue is a very important factor as well. This vocal tract acts as our resonant tube. There’s going to be some frequencies that are actually going to resonate by going through that system.
So, in many ways, talk about this tract as being a spectral filter. So, you have the source, then you have the filter. Now, what happens is as the singer or the talker changes the configuration of their mouth, whether the jaw is open, or the jaw is closed, whether the tongue is forward in the mouth, or whether the tongue is back, it’s going to change where these resonances occur across the spectrum. So, you have some of the harmonics being accentuated, and increased in amplitude, and you have some of them being decreased, and no matter how you put your mouth, your vocal tract is going to change what kind of frequencies are enhanced.
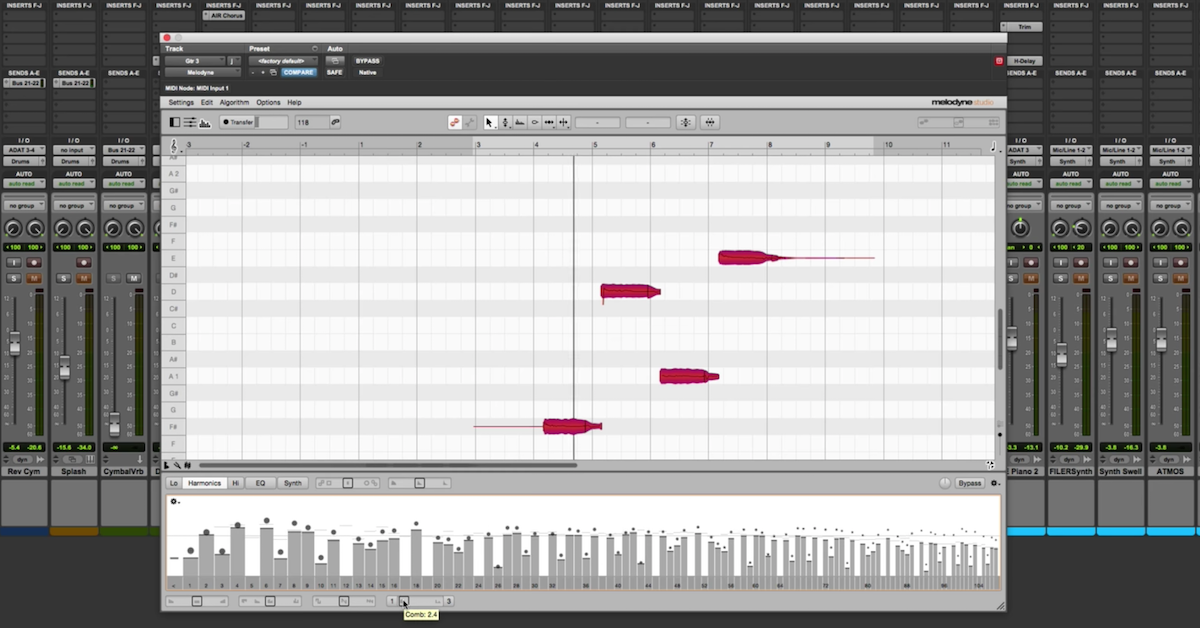
So, how you hear someone’s – when they’re talking, how you understand them saying different vowels or consonants, depends on where these resonances occur. So, what I’ve done here is pulled up on the internet a chart that shows you where these resonances occur in the spectrum for different sounds.
So these are for vowels, here what you’re seeing. The consonants are here just to provide context. So you have the vowels like heed, hid, head, had, and so on. You can see where the frequencies are going to occur of resonances from the vocal tract.
The lower frequency is called the first formant. So, another name for these resonances in general is just formants. The lower one is called F1 for formant one, the upper one is called F2 for formant two.
So, what happens is these resonances are kind of paired together here for these simplified for these first two lower formants. You can come up with all kinds of different vowel sounds. What I’m going to do here is just use one like from hit. The “ih” sound around 320 and 2,500.
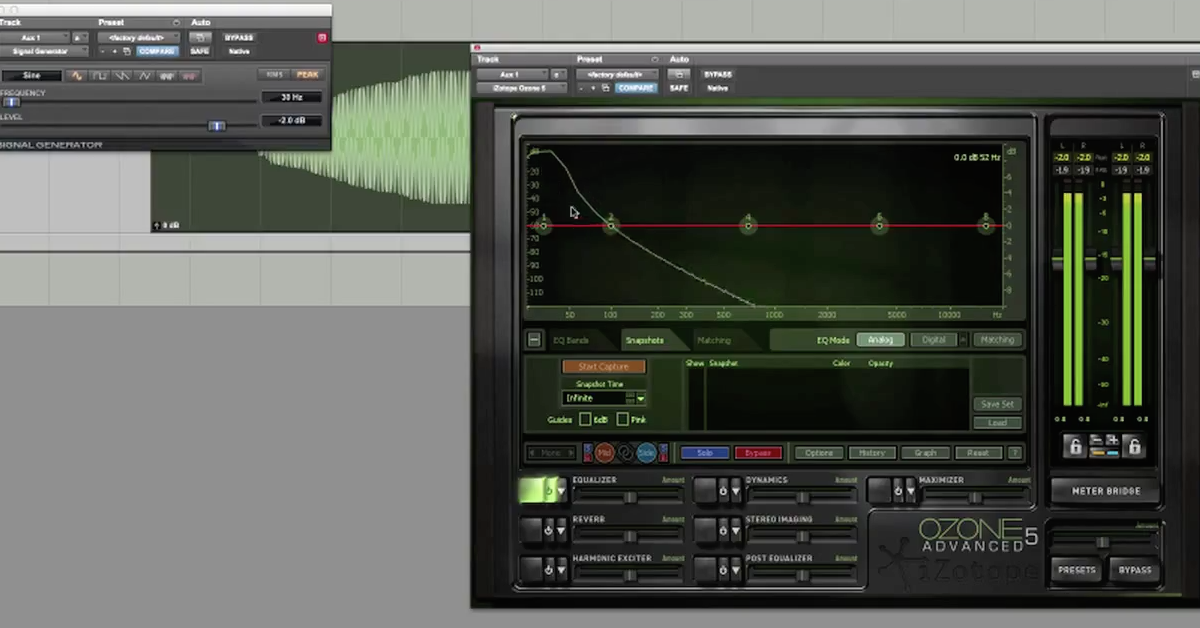
So what I’m going to do then is make use of the equalization as part of this plugin to apply these spectral resonances, these formants to my incoming sawtooth signal. Again, this sawtooth sounds like this.
[sawtooth]
What I’m going to do is turn on these resonances and simulate as if this sawtooth wave from the source is now passing through a vocal tract that now has some resonances around 315 and 2,500.
[sawtooth]
So, even though I’m using a very metallic sounding synthesized signal and an equalizer, you can almost get the impression then of an actual human sound. A vowel sound from a hit – so this is “ih.”
[sawtooth]
And in many ways, synthesizing a human voice is done by doing a similar kind of thing, where you have some sawtooth signal going through an equalizer. So, I’ve done just that. What I’m going to use this for then is a signal that’s going to be sent through Alterboy and look at how Alterboy is going to process this specific signal.
So, let me pull this one way up over here. Next, pull up Alterboy. I’m going to send this as my input signal into Alterboy, and I’m going to use another spectrum analyzer down here so we can look at how this spectrum changes below, and you can also listen to it, and see what each of these controls is going to manipulate in my incoming signal.
So, I start out with my sawtooth that has harmonics at 100, 200, 300, even and odd harmonics all the way up. Applied a spectral filter that has resonances for my formants at 315 and 2,500. I see the same thing right now for the output before I change anything.
First up, let me demonstrate the pitch knob right here. What this one is going to do, as long as I’m in this transpose setting right here, is allow me to change the pitch in semitones all the way up to twelve semitones and down twelve semitones.
So, let me turn the signal back on and just manipulate this control.
[sawtooth plays]
Alright. There are several things I want to point out here.
First up, I’m increasing it. I can go up to a maximum of twelve semitones. What that’s going to do is double my frequency so my harmonics were at 100Hz. Now I’m going up an octave at twelve semitones, so now my fundamental has been moved to 200Hz, my second harmonic has been moved up to 400Hz, and so on.
So, I’m altering the frequency by using the pitch control, such that the frequencies and all my harmonics are changed relative to the fundamental frequency. So, I’ve doubled the frequency, or gone up by twelve, doubled the frequency there. I can do the opposite.
I can go down to minus twelve. Now, my fundamental has been shifted down to 50Hz, and then I have harmonics at 100, 150, 200, and so on up the spectrum.
Now, another thing that’s important to understand about this specific kind of pitch shifting processing is that it’s different in some ways, even more powerful than just your conventional kind of time compression, time expansion sort of pitch effects, because if you’ve ever played around with maybe playing back tape at the wrong speed, where you speed it up or slow it down, and do all that kind of stuff, or you can even do it digitally – similar kind of thing – if you do pitch shifting effects with typical time compression or expansion, not only do you shift the harmonics, but you also end up with these kinds of Alvin and the Chipmunks effects, because when you increase the frequency of the harmonics, you also end up shifting the spectral filter as well, where these resonances occur.
That’s what causes Alvin and the Chipmunks to happen. What’s cool about this pitch processor is that – I’ll demonstrate it again – as you change the frequency of the harmonics, the resonances do not change. So the formants – right? These are being controlled independently of the harmonics here in the signal.
So, let me show you this again.
[sawtooth plays]
So, it doesn’t matter whether I’m up here at one, two, three, four, five, six, my sixth harmonic is at 315Hz, and whatever harmonic this is way up here at 2,500, the resonances are still at the same exact place. I can shift all the way through, and the resonances stay in the exact same place. So this allows me to do pitch shifting on the source signal of my voice without actually changing the resonances that are normally thought of independently as part of the vocal tract.
Well, then that leads me to the formant control, because this is going to allow me to change the frequency of these resonances without changing the frequency of these harmonics. So, I can go all the way up to twelve here…
The harmonics are all in the same place, but now where this resonance has been shifted. It used to be at 325, now its up here around 650.
We can go the opposite. Harmonics are still the same, it’s the resonance that’s now been shifted. The thing to know about it here is the maximum of twelve is shifting up the resonance by a factor of two, just like before. Pitch was shifted up by doubling it in frequency. Before, we had 325 here, 315. Now it’s going up to maybe 630 for one resonance, and 2,500 is now being shifted up to around 5kHz, where the opposite is true here.
We’re bringing the resonance down here around 175, the other one is around 1,200, around that range too.
So, you have a similar kind of processing or relative processing for the formant, but the main thing about this is the very powerful way to independently control the spectral curve of your signal, and also the pitch of your signal independent of the spectral curve.
So, you can avoid all this Alvin and the Chipmunks kind of effects, and it’s a cool way because when a singer actually creates a sound, or when a talker speaks, the vocal tract in many ways can create resonances that are independent of the frequencies that are contained in the source signal.
So now, we can manipulate those kinds of things as well by using this kind of plugin processor. Those are the main controls to understand about the plugin, or kind of the cool things or complicated things about it.
The last things I’ll show you with Quantize, what it’s going to do is just shift the signal relative to a chromatic scale, so it actually has to fit notes C, C#, D, and so on. So you’ll hear…
[sawtooth plays, adjusting pitch]
If I was at 100Hz before, it ends up getting moved down to an actual musical scale.
Also, the robot is a little bit different. Watch this. If I start out with my sawtooth wave that has harmonics at even and odd frequencies. So, I go to robot, I no longer have that consistent kind of spectrum here where it’s no longer just 100, 200, and so on. So, it sounds like this.
[sawtooth plays]
The last thing to know about this is the drive control. This is a harmonic algorithm that’s taken out of the SoundToys Decapitator. The Decapitator has a bunch of different distortion effects, and they just pulled one of them out is my understanding, and put them here just to have some extra kind of tricks up your sleeve when you’re playing around with this plugin.
Last, you have the wet/dry knob to mix between unprocessed and processed in this plugin.
Other than that, though, that really takes care of everything. Hopefully by seeing what’s going on here with the plugin, how you can manipulate that harmonics, the frequency of the harmonics without changing the spectral curve, or how you can change the spectral curve without changing the harmonics.
You can see that this plugin is pretty cool. It’s very powerful, and you can do all kinds of cool effects with it, so go and see what you can come up with, see what kind of unique things you can apply this for. Maybe with voice, or maybe not with voice, and let us know what you end up doing with it.
We love to hear those kinds of things, so until next time, take care guys, and I’ll catch you then.
Premium Mix Training