A Guide to Bussing in a Mix (+ Processing Tips)
11/11/2019
Article Content
Separating instruments into mix groups is an essential part of audio production. Processing audio at the buss level, rather than with inserts on individual tracks, can not only lead to a more efficient workflow but also help productions shine in a natural and very musical way.
Every DAW offers some straightforward means of routing tracks to busses, whether it’s the very literal approach to signal flow used by Pro Tools or the more “meta” functionality of a DAW like Ableton, knowing how and when to make the best use of this kind of signal flow and processing can be a bit more nuanced.
Buss processing can be the key to getting more power and clarity out of a mix or an easy way to flatten and drain the life from it.
This article is meant to be a guide through some of the most common instances that call for bussing instruments.
Phase Correlated Tracks
Any time we have multiple mics capturing a single sound source — a group of mics used to record a drum kit, a pair of mics on a guitar cab or piano, a string quartet recorded live in a room together — processing those tracks together on one buss is usually the best way to start. No matter how many mics are used to represent a complex instrument like a drum kit or grand piano, it’s still ultimately one instrument. Bussing those mics together ensures that it gets treated as one instrument in your mix.
Even relatively benign processing like EQ and Compression, when used on a single track, can change the phase relationship of that track to others that were recorded with it. In these scenarios, processing individual tracks too heavily can end up being counterproductive.
Rather than hearing problems with individual mics used in these sorts of setups, view the group of mics as one whole. If one mic on a guitar cab is making the guitar sound too bright, as is the case in the example below, the problem isn’t that that mic is too bright, it’s that the guitar tone overall is too bright.
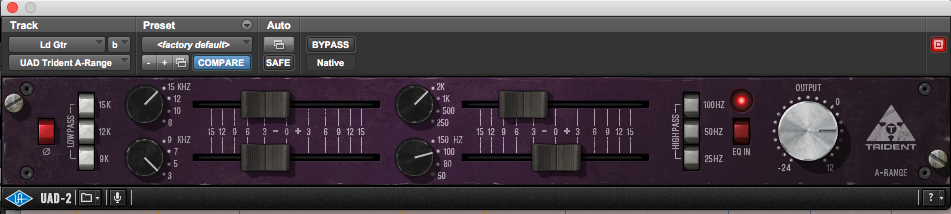
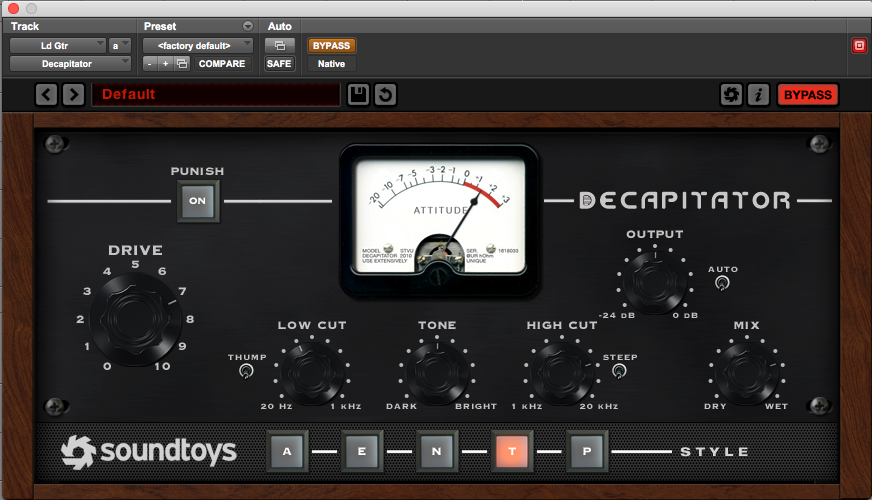
Route all mics on the cab to one buss and process them together. Here, I used my favorite EQ for electric guitars, the Trident A-Range (when I’m tracking at Big Bad Sound, I love to use the real thing! At home I use UAD’s excellent emulation) to reign in harsh high mids around 3 kHz, and to pull back high frequencies above 10 kHz that are not really needed to make electric guitar shine. I also used Soundtoys Decapitator to give the lead some additional thickness and grit.
Before
After
Similarly, if a recording of a drum kit sounds dull, has too much muddy midrange, or lacks power in the low end, a good place to start fixing those problems is on the drum buss.
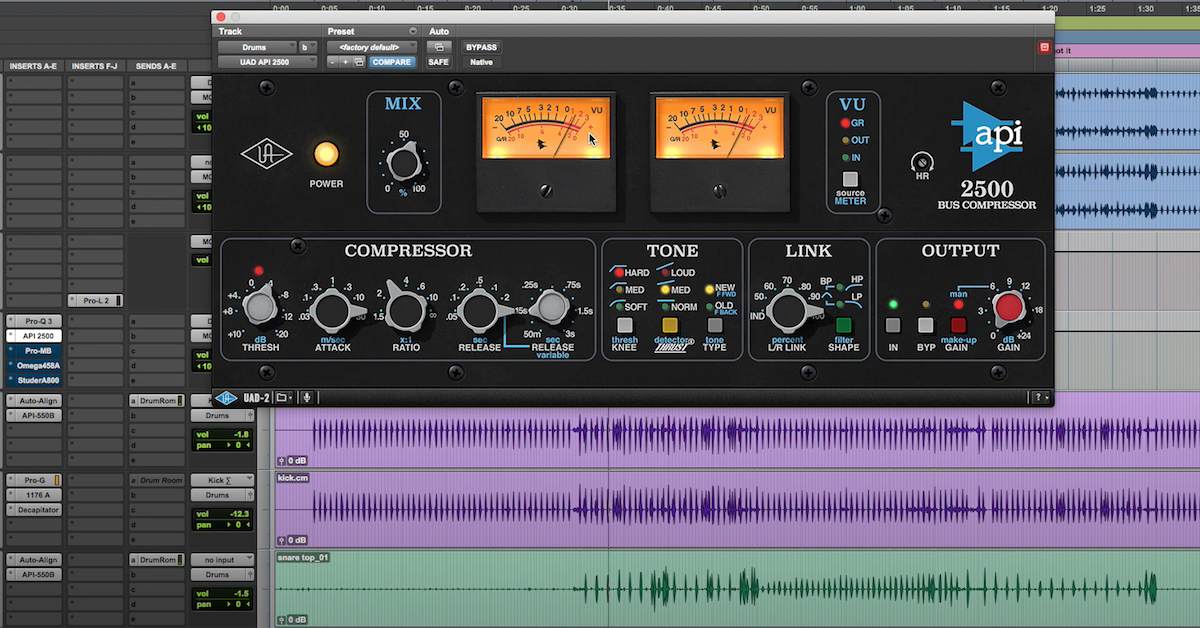
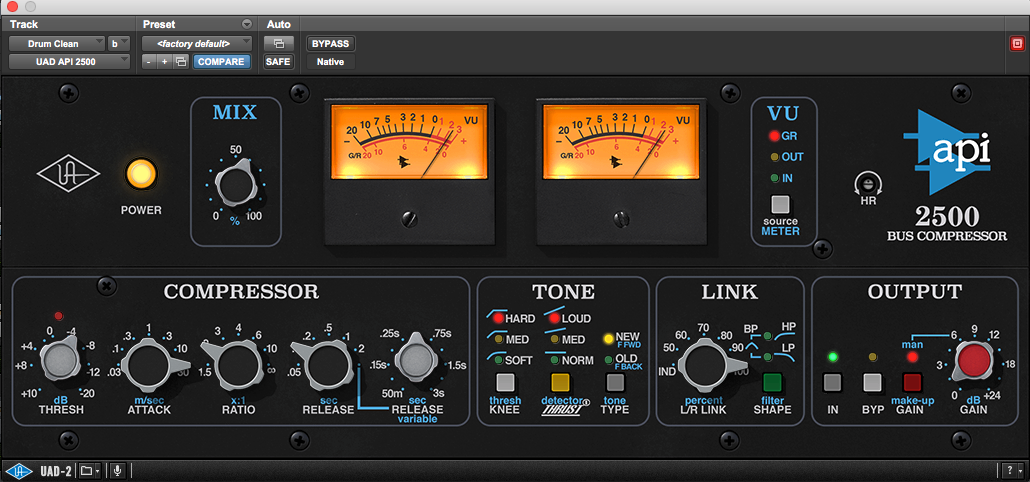
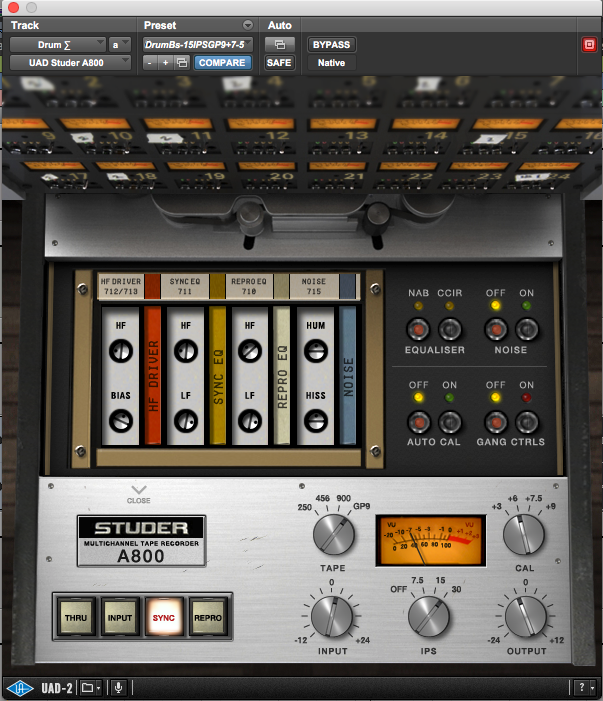
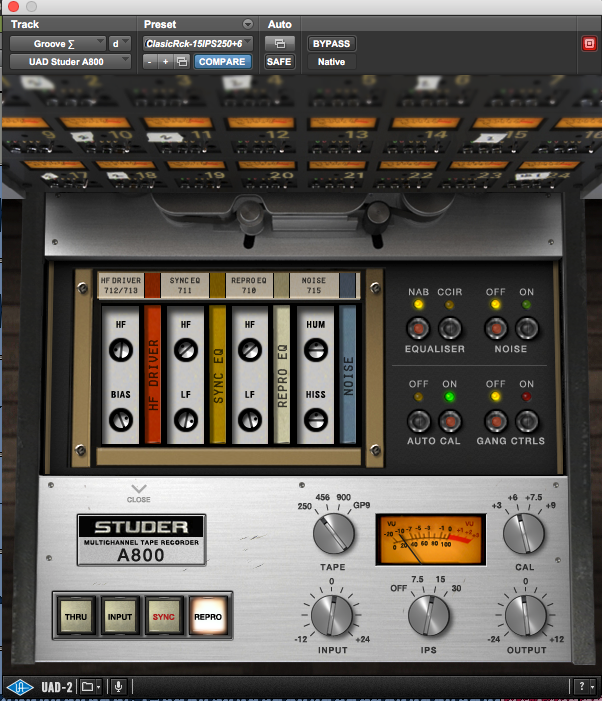
Listen to the examples below. The whole kit is routed to one buss, where I made surgical EQ cuts intended to rein in midrange mud and high-mid harshness. The whole kit then received about 3 dB of compression via UAD’s API 2500 buss compressor emulation (my favorite for drums). From there, I used UAD’s Studer A-800 emulation for some subtle saturation and glue.

Before
After
All of this processing was done across the entire kit at the buss level. The kit as a whole sounded a bit muddy and lacking punch, so I made broad stroke processing choices to tighten up the kit. From there, I addressed individual issues with particular parts of the kit using parallel processing. Check out my article on mixing home recorded drums for some of my go-to drum parallel processing moves.
Additionally, when a performance is captured live in a room — like two mics recording a vocalist while they play the accompaniment on guitar — those tracks are best treated together, too. Gentle processing, especially compression, generally works best in these scenarios.
Doubles and Harmonies
Parts that double or harmonize each other are typically best processed together. There isn’t as much danger here in processing individual tracks — if they weren’t recorded live in the same room, they don’t have the same potential to create phase interference with each other. That being said, at some point, those linked parts will be best routed and processed together.
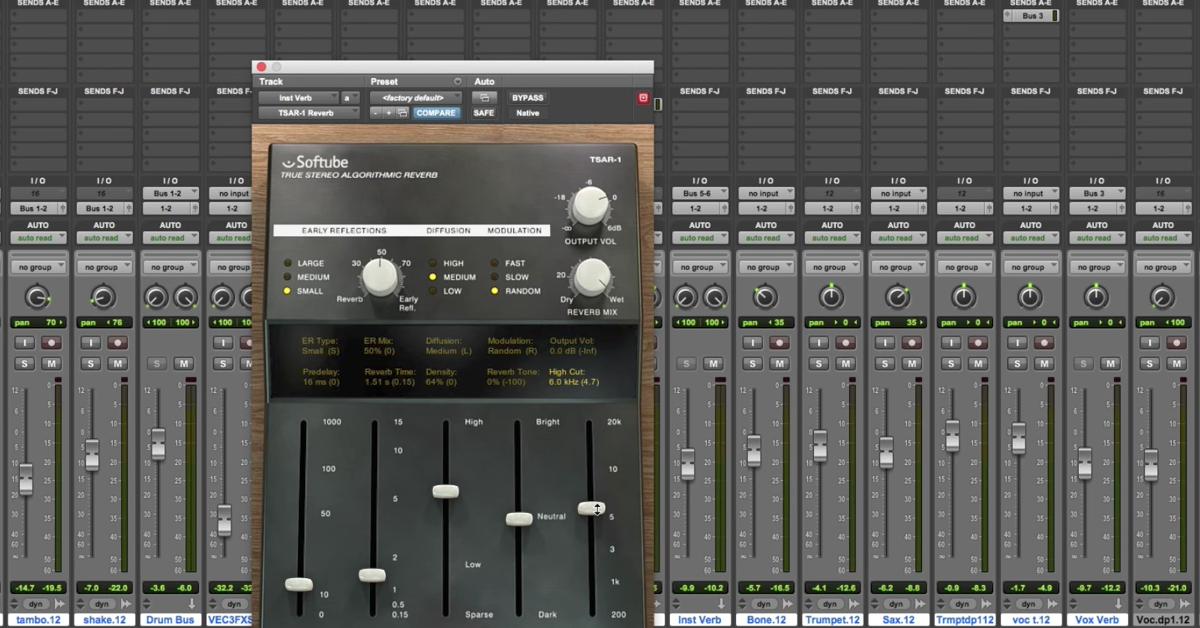
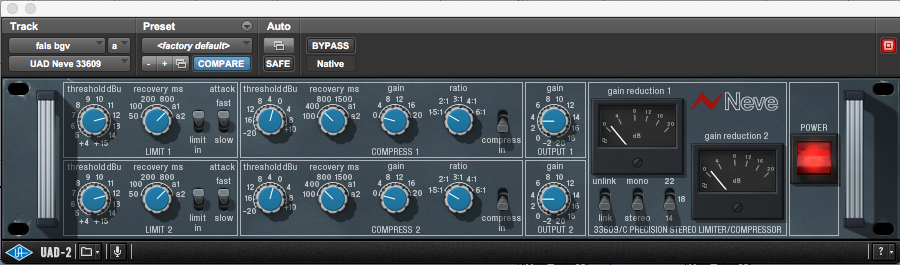
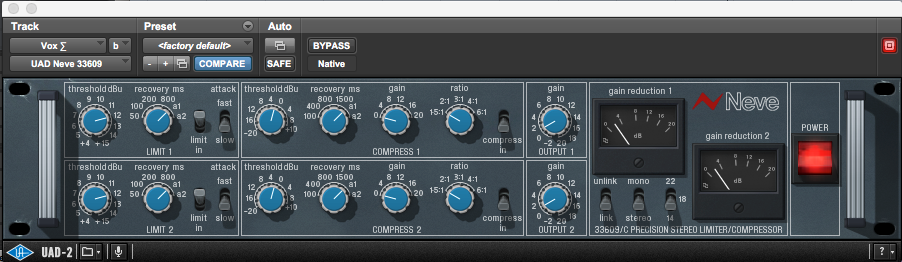
Think of layers of vocal harmonies or a melody played by multiple instruments stacked together. It’s typical to want a group of instruments or voices like that to “breathe” together. Usually, choices can be made about how the whole group is meant to sound, and the group can then be processed together as a whole. I bussed this stack of six tracks of falsetto vocals together so that they could be compressed together using UAD’s Neve 33609. I find it to be a great compressor for controlling dynamics, especially used on a backup vocal buss.
Before
After
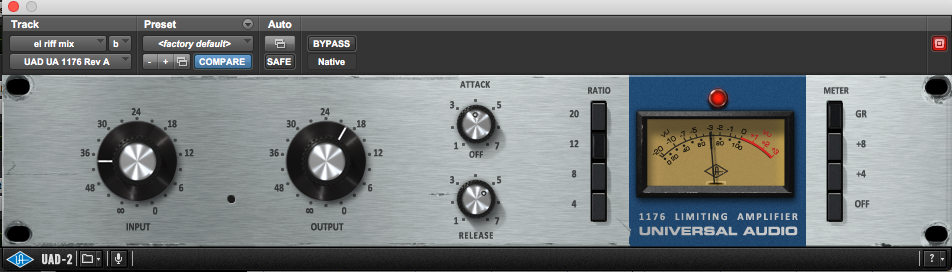
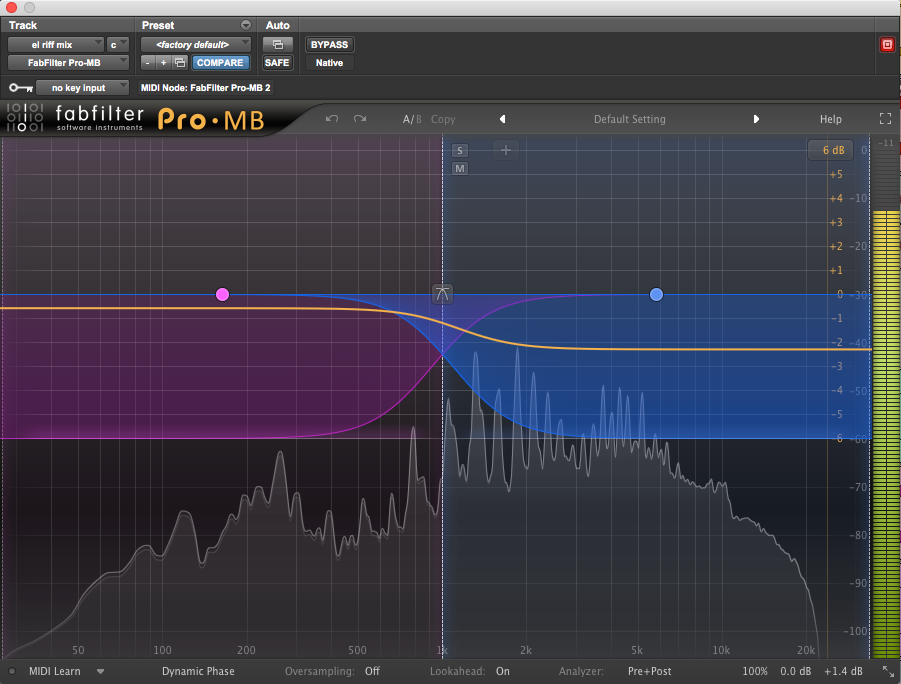
In the example below, the artist (Marmalade Mountain) tripled a lead guitar line across three octaves. Since the three layers follow one melody exactly, I compressed the three together using UAD’s Blue Stripe 1176 plugin, using a relatively fast attack/release and high ratio (I particularly like the 12:1 and 20:1 settings for lead guitar). The 1176 is a bit more aggressive of a compressor than I’d typically use on a buss, but since these guitars are effectively functioning as one instrument, I liked what it did. From there, I used a multiband compressor (Fabfilter’s Pro MB) to tame some of the “fizzy” distorted high-end and keep the lower midrange from getting out of control.
Before
After
Rhythmically Related Parts
In the case of doubles and harmonies, instruments in one group are related both by rhythm and by frequency — they play the same (or connected) pitches in the same rhythm. But instruments that are connected only rhythmically can often be effectively grouped together too.
A very common example of this would be auxiliary percussion, like shaker or tambourine, which often works best when bussed with the rest of the drum kit. Taken to a more extreme level, a whole instrumental groove may be best treated as a unit, processed together to maximize the impact of the parts and to glue the instruments together.
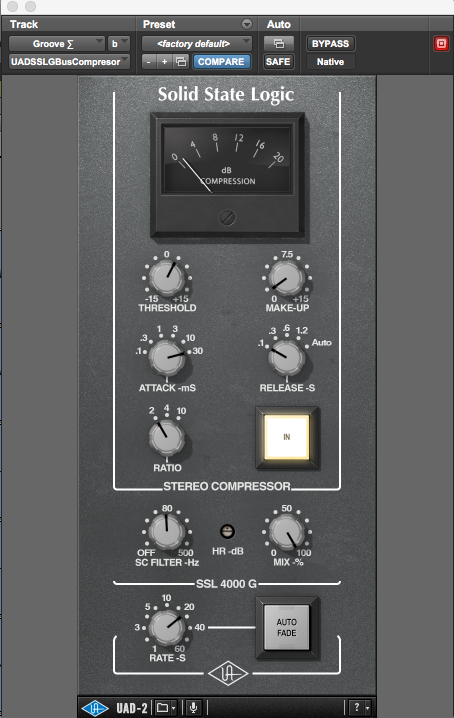
In this example, the bass and rhythm guitars are both tied fairly closely to the kick drum (rather than rhythm guitars following the snare). After EQing some of the mud out of the groove (similar to the drum kit processing I did in the above example), I used an emulation of the SSL G Buss Compressor (UAD and Waves both make great plugin versions) reducing about 2 dB when the bass, kick, and guitars hit together.
The slow attack (30 ms) helps the snap of the kick sneak through while the compressor helps tighten up the impact of the rhythm section. A relatively quick release (100 ms) allows the groove to breathe, keeping the spaces between those hits from receiving too heavy compression. I finished the buss chain with the UAD Studer plugin again, further gluing the groove together and subtly sculpting the low-end in particular as the three layers work as one.
Before
After
Frequency Related Parts
Parts that don’t necessarily match rhythmically but that share frequency content also often work well bussed together. What I mean by “frequency content” is something a bit more general than tracks that double or harmonize each other. Rather than having specifically linked pitches, tracks in this category more broadly occupy similar parts of the frequency spectrum.
Take the string parts in the example below. There are two distinct elements to the string section in this piece (a collaboration by composers Nick Sena and Dan Rosen). One is a repetitive, rhythmic, staccato part, and the other is a more melodic legato layer.
Each of those is arranged across both high and low strings. Regardless of the gap between the ranges of lower and higher strings, the various string groups and melodies are meant to shine through in the mix in similar frequencies. The air and articulation of the bow is not radically different between a cello and a violin.
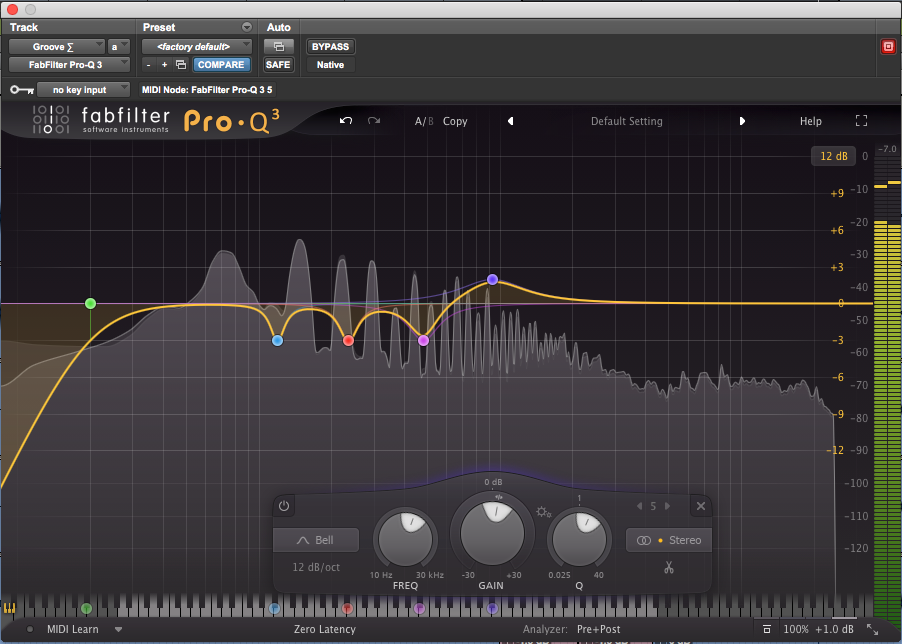
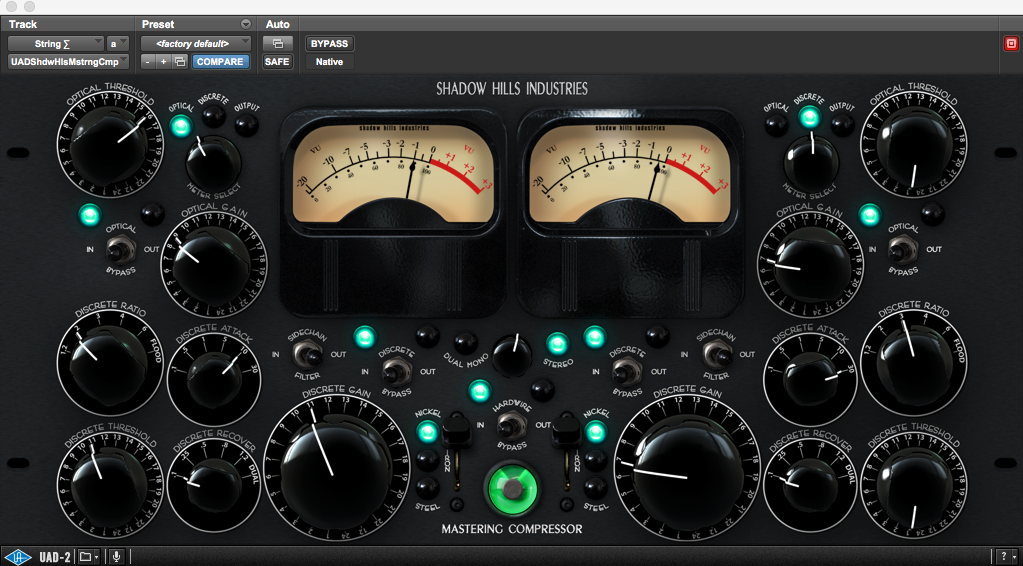
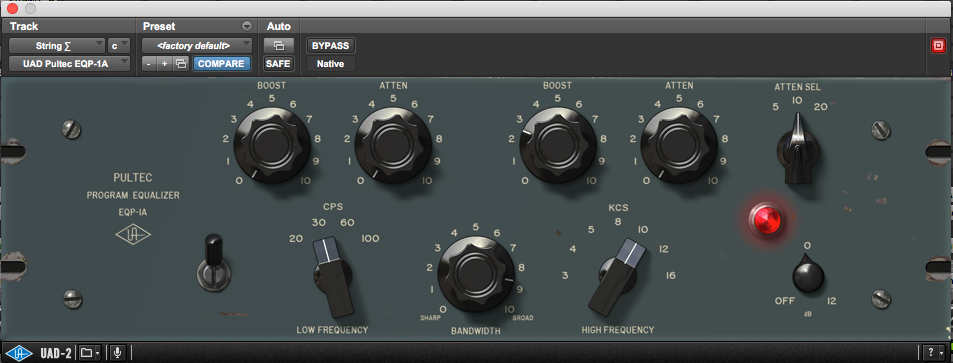
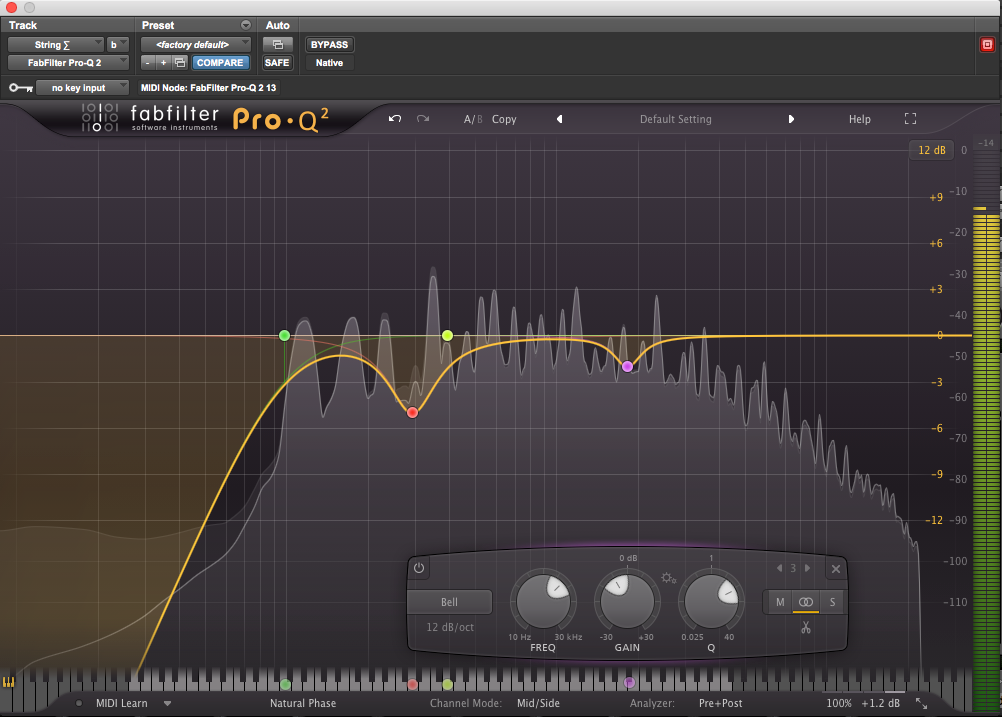
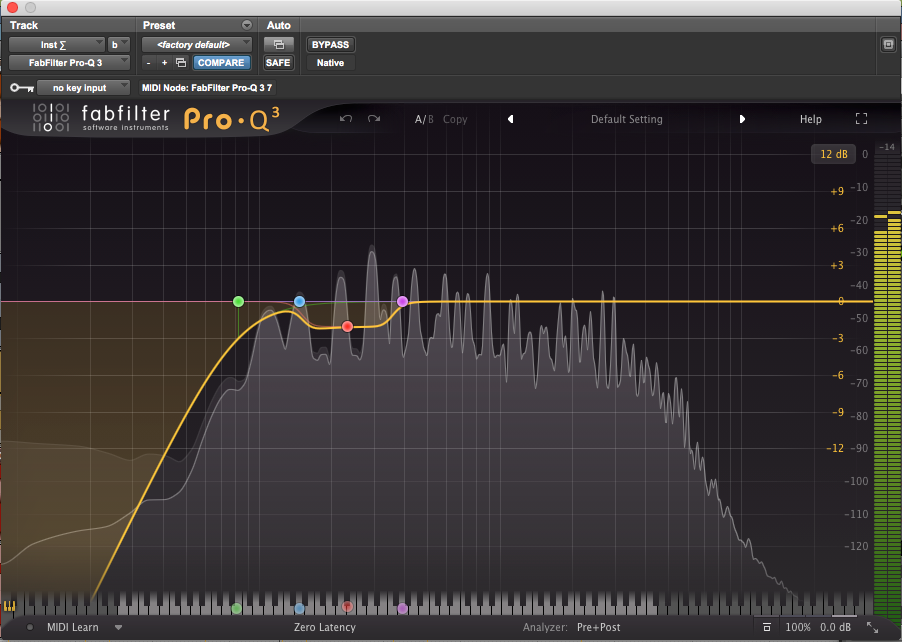
Because the parts being bussed together are rhythmically very different, I couldn’t drive the buss compressor especially hard. UAD’s Shadow Hills Mastering Compressor emulation, which adds a very musical “shine” to the high end when used on its “nickel” setting, to reduce no more than 1 dB in each of its two stages. I used a Pultec EQP emulation to add even more air, and the FabFilter Pro Q to clean up the midrange.
Soloed
In the Mix

Ready to elevate your ears?
It doesn’t have to take years to train your ears.
Get started today — and you’ll be amazed at how quickly using Quiztones for just a few minutes a day will improve your mixes, recordings, and productions!
It is worth noting that I did compress only the staccato strings fairly heavily before they reached the main string buss, but I didn’t want that heavy compression to obscure the melodic legato strings that needed to shine through in the arrangement. Here are those staccato strings soloed, receiving a generous amount of compression (5 dB) from a DBX 160 compressor emulation.
Parts That Are Equally (Un)Important
Another reason to buss instruments together in a mix is to prioritize more and less important instruments in the arrangement and to control their dynamic range. It may be that a group of instruments is very important, say, a lead vocal and backup vocals singing harmonies behind it. Though the vocal may be the most important element of the song, there will still be a limit to how much space all the vocals can take up without negatively impacting the rest of the arrangement.
When the lead vocal in this example (from a forthcoming LP by The Rose Petals) is joined by a double, a direct harmony part, and a chorus of “oohs,” the vocal buss compressor (UAD’s Neve 33609 again) keeps the various vocal parts from swelling out of control and feeling like they swallow the whole mix.
Soloed
In the Mix
By the same token, a song may feature a whole group of instruments — guitars, keys, samples and synths — that are collectively all meant to play a supporting role to certain core elements. Grouping those instruments together allows us to do things like making broad EQ cuts to clear space for more important elements like vocals, lead instruments, bass, or kick drum.
I used EQ on the instrumental buss — rhythm and lead guitars, organ, and synthesizer pad — to filter out low frequencies that the kick drum and bass needed, and to cut across the fundamental frequencies of the vocal part. Using that sort of targeted cut to create space for another instrument is a technique I explored in my article on controlling midrange in a busy mix.
Soloed
In the Mix
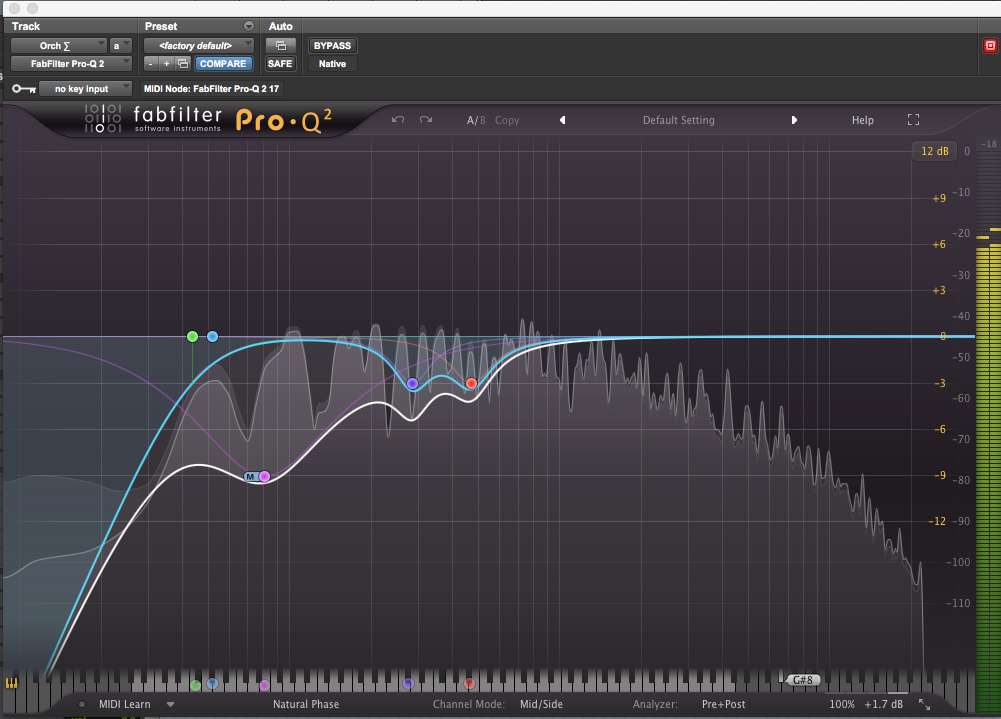
In another piece by Nick Sena and Dan Rosen, I grouped string and brass parts into one buss for orchestral instruments. Both the strings and brass featured lines in lower registers that needed to feel powerful at peak moments in the piece, but they had to share space with hip hop drums and synth bass that would compete for low-end real estate.
I gave the orchestral buss a deep, broad scoop centered around 80 Hz, but only to the mid-channel, leaving the sides unaffected. The result is that the mono bass and kick can claim the bass frequencies in the center channel, while the power of the orchestra feels as if it moves to the side, making the section sound wider.
Have a listen to the before and after, and then the whole part in context:
Before
After
In Context
Conclusion
Every piece of music is unique, and these tips on bussing are by no means meant to be a magic bullet or a one-size-fits-all approach. That being said, understanding why certain instruments should be grouped together, and how far to push the processing on that group, can go a long way toward helping a track gel together in a way that feels musical and natural.
Understanding how various instruments work together and play off each other is always the first step toward carving out their roles in the mix. Hopefully, this article has given you some new ways to hear your productions that will get your tracks hitting harder and coming through clearer.
Premium Mix Training